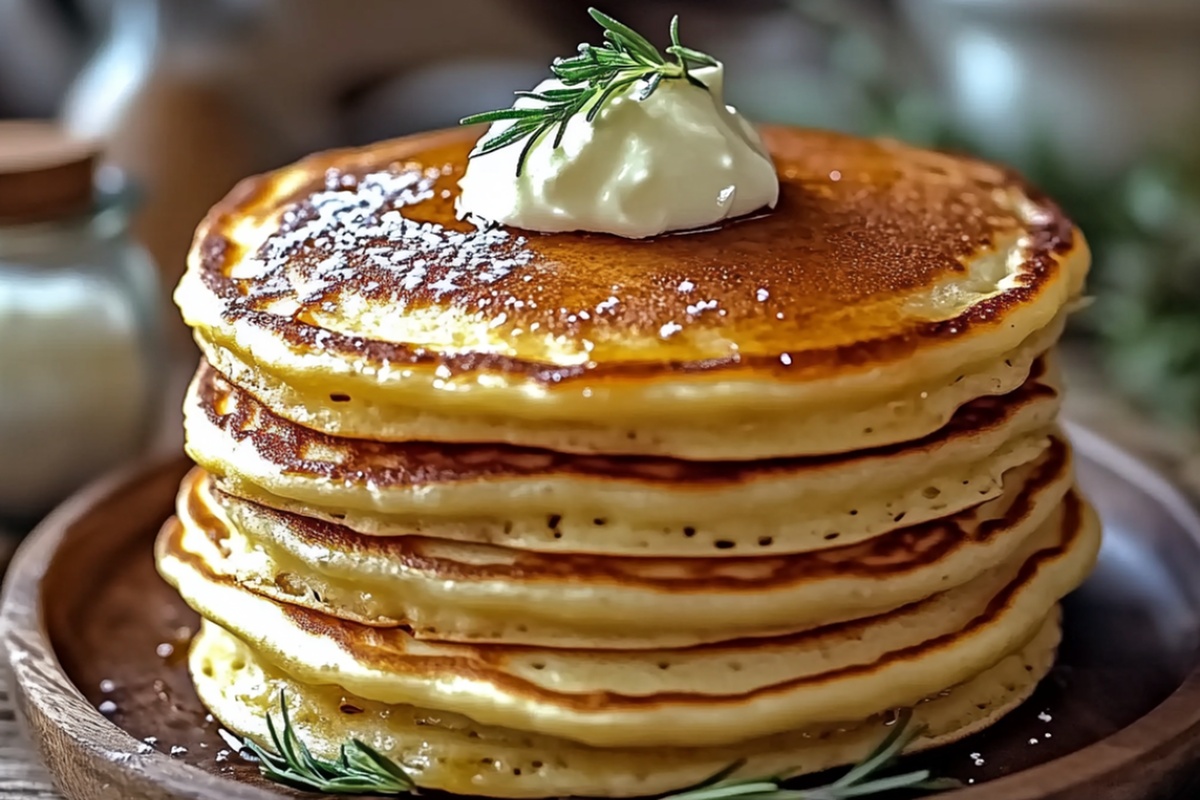
Grandma’s Golden Old Fashioned Pancakes Recipe
Warm memories of sunday morning breakfasts spark joy with these classic old fashioned pancakes that melt in your mouth.
Grandma’s secret recipe brings comfort straight from her weathered cookbook.
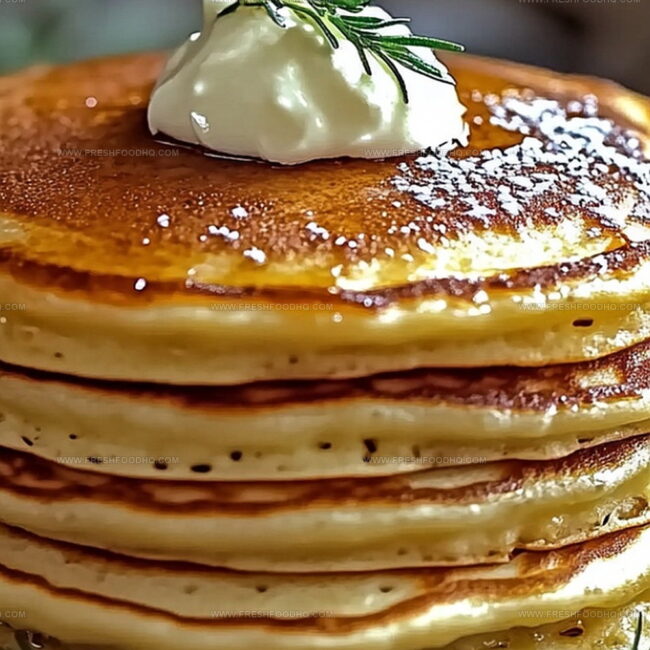
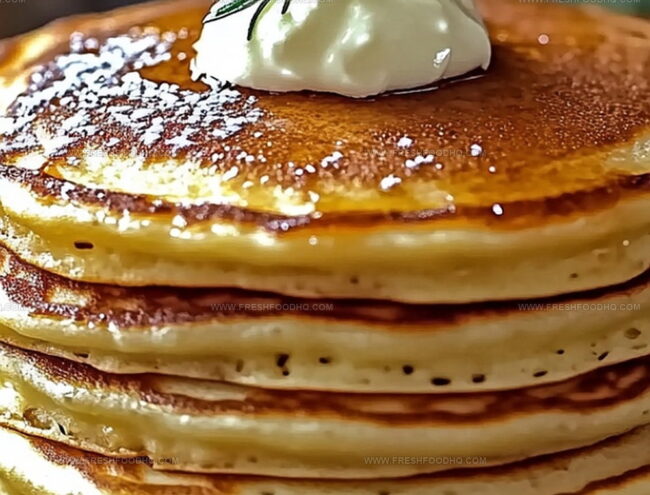
Fluffy and light, each golden disk promises a delightful morning experience.
Crisp edges and soft centers create a perfect texture combination.
Simple ingredients from your pantry transform into a magical morning treat.
Whipping up these pancakes connects you to generations of home cooking traditions.
Dive into this nostalgic breakfast that will make everyone at the table smile.
Why Old Fashioned Pancakes Are a Timeless Breakfast Classic
Ingredients for Fluffy Old Fashioned Pancakes
For the Dry Ingredients:For the Wet Ingredients:For the Cooking:For the Optional Toppings:How to Make Old Fashioned Pancakes from Scratch

Step 1: Prepare Dry Ingredients
Grab a spacious mixing bowl and whisk together flour, baking powder, sugar, and salt until everything is evenly distributed and looks light and fluffy.
Step 2: Blend Wet Components
In a separate bowl, crack the egg and whisk it gently.
Pour in milk, add melted butter, and splash some vanilla extract. Stir the mixture until all ingredients are smoothly combined.
Step 3: Create Pancake Batter
Slowly pour the wet ingredients into the dry mixture. Gently fold and mix with a spatula or whisk.
Stop mixing as soon as the ingredients are just combined – a few small lumps are perfectly fine and will help create tender pancakes.
Step 4: Heat Cooking Surface
Warm up a griddle or non-stick skillet over medium heat.
Lightly brush the surface with oil or butter to prevent sticking.
Step 5: Cook Pancakes
Ladle batter onto the hot surface, creating circular shapes.
Watch for small bubbles forming on the top of each pancake. When bubbles appear and edges look slightly dry, carefully flip the pancake.
Cook the other side until golden brown.
Step 6: Serve and Enjoy
Transfer pancakes to a plate.
Top with your favorite garnishes.
Tips for Fluffy and Tender Pancakes Every Time
Variations to Try with Classic Pancakes
What Goes Well with Old Fashioned Pancakes
Elevate Breakfast Bliss: Perfect Pairings
How to Store Pancakes for Quick Reheating
Store leftover pancakes in an airtight container in the refrigerator for up to 3 days. Layer pancakes between sheets of parchment paper to prevent sticking.
Place cooled pancakes in a freezer-safe bag or container. Separate layers with wax paper. Freeze for up to 1 month for best quality and taste.
Warm individual pancakes for 15-20 seconds on a microwave-safe plate. Add a damp paper towel on top to prevent drying out and maintain softness.
Arrange pancakes on a baking sheet, cover with foil, and warm at 350°F for 5-7 minutes. This method helps restore original texture and prevents sogginess.
FAQs
Yes, you can prepare the pancake batter the night before and store it in the refrigerator. Just give it a gentle stir before cooking, as some separation may occur overnight.
Look for small bubbles forming on the surface of the pancake and slightly dry edges. This usually takes about 2-3 minutes on the first side, indicating it’s time to flip.
If the batter is too thick, add a little milk to thin it out. If it’s too thin, mix in a bit more flour until you reach the right consistency – similar to heavy cream.
Print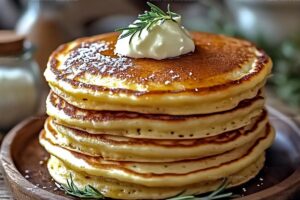
Old Fashioned Pancakes Recipe
- Total Time: 25 minutes
- Yield: 4 1x
Description
Fluffy Old Fashioned Pancakes bring nostalgic comfort straight from Grandma’s kitchen, offering a classic breakfast experience. Golden-brown edges and tender centers invite you to savor each delightful bite of pure morning happiness.
Ingredients
Main Ingredients:
- 1 1/2 cups (360 ml) all-purpose flour
- 1 1/4 cups (300 ml) milk
- 1 egg
Leavening and Seasoning:
- 3 1/2 teaspoons baking powder
- 1/2 teaspoon salt
- 1 tablespoon sugar
Fat and Flavor:
- 3 tablespoons (45 ml) melted butter
- 1 teaspoon vanilla extract (optional)
Instructions
- Whisk flour, baking powder, sugar, and salt together in a spacious mixing bowl until thoroughly integrated.
- In a separate vessel, vigorously beat the egg, then incorporate milk, melted butter, and vanilla extract until smoothly blended.
- Gently cascade wet ingredients into dry ingredients, stirring minimally to create a slightly lumpy batter – overmixing will compromise pancake texture.
- Preheat a griddle or non-stick skillet to medium heat (approximately 375°F), lightly coating surface with oil or butter to prevent sticking.
- Ladle batter onto hot surface, creating circular formations roughly 4 inches in diameter, allowing pancakes to cook until distinctive bubbles emerge across the surface.
- When bubble formations become consistent and edges appear matte, carefully flip pancakes using a broad spatula, cooking reverse side until achieving a golden-brown complexion.
- Transfer cooked pancakes to a warming plate, maintaining temperature and preventing sogginess while completing subsequent batches.
- Present immediately with preferred accompaniments such as maple syrup, fresh seasonal berries, whipped cream, or a delicate butter pat for enhanced flavor profile.
Notes
- Rest the batter for 5-10 minutes before cooking to allow flour to absorb liquid and create fluffier pancakes.
- Use room temperature ingredients to ensure even mixing and consistent texture throughout the batter.
- Swap all-purpose flour with whole wheat or gluten-free alternatives for different dietary needs without compromising taste.
- add more milk for thinner pancakes or more flour for thicker ones.
- Prep Time: 10 minutes
- Cook Time: 15 minutes
- Category: Breakfast, Snacks, Desserts
- Method: Frying
- Cuisine: American
Nutrition
- Serving Size: 4
- Calories: 280 kcal
- Sugar: 5 g
- Sodium: 350 mg
- Fat: 9 g
- Saturated Fat: 5 g
- Unsaturated Fat: 3 g
- Trans Fat: 0.2 g
- Carbohydrates: 38 g
- Fiber: 1.2 g
- Protein: 7 g
- Cholesterol: 55 mg
Ethan Caldwell
Founder & Culinary Innovator
Expertise
Farm-to-table cooking, Seasonal recipe creation, Culinary storytelling, Food photography and styling
Education
The Chef’s Academy (Indianapolis, IN)
Ethan didn’t just fall in love with food, he grew into it, surrounded by fields, farmers’ markets, and family meals that told a story.
After sharpening his skills at The Chef’s Academy, he took his passion straight into the farm-to-table movement, working side-by-side with local growers and seasonal flavors.
He believes every recipe should feel like a walk through a summer market: colorful, fresh, and full of possibility.
Outside the kitchen, Ethan’s idea of a perfect day is hiking mountain trails, digging into heirloom vegetables, and hosting casual dinners where seconds are always encouraged.