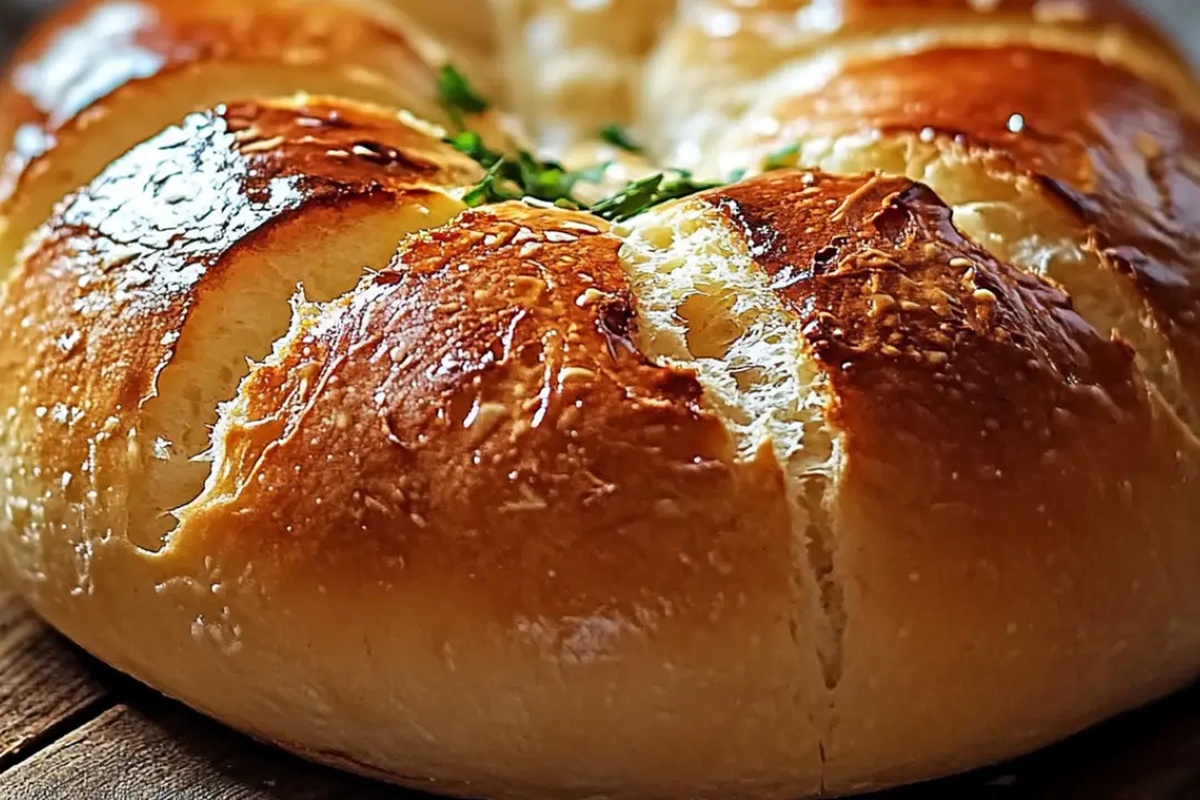
Cook Fluffy No-Oven Stovetop Bread Recipe in a Flash
Crafting delicious no-oven stovetop bread might seem like culinary magic, but it’s surprisingly simple.
Skilled home cooks can whip up warm, fragrant loaves without traditional baking equipment.
Our foolproof method transforms ordinary ingredients into extraordinary comfort food.
Skillet techniques bring professional bakery results right to your kitchen countertop.
Minimal tools and basic pantry staples are all you need for success.
This technique opens delightful possibilities for bread lovers everywhere.
Prepare to impress yourself with an unexpectedly easy cooking adventure that delivers fresh, warm bread in minutes.
No Oven Needed: Making Stovetop Bread with Ease
Ingredients for No-Oven Stovetop Bread
For the Base Ingredients:For the Liquid Ingredients:For the Cooking Preparation:How to Prepare No-Oven Stovetop Bread Perfectly
Step 1: Create Dough Base
Mix flour, sugar, salt, and instant yeast in a large mixing bowl. Slowly pour warm water and olive oil into the dry ingredients.
Stir everything together until a soft, shaggy dough begins to form.
Step 2: Knead and Develop Texture
Transfer the dough onto a floured countertop.
Massage and stretch the dough using the heel of your hand, folding and pressing repeatedly. Continue kneading for 8-10 minutes until the dough becomes silky smooth and springs back when gently pressed.
Step 3: Allow Dough to Rise
Coat a clean bowl with a thin layer of oil. Place the kneaded dough inside and drape a lightweight kitchen towel over the top.
Position the bowl in a cozy, draft-free spot for about one hour. The dough should puff up and nearly double in volume.
Step 4: Shape Bread Portions
Gently deflate the risen dough by pressing down with your fist. Divide the dough into small, equally sized rounds.
Roll each portion between your palms to create smooth, uniform bread pieces.
Step 5: Cook on Stovetop
Warm a non-stick skillet over low heat.
Lightly brush the pan’s surface with oil. Carefully place one dough round into the skillet.
Cover with a tight-fitting lid and cook for 5-7 minutes until the bottom develops a golden-brown crust. Flip the bread and repeat on the other side, ensuring even cooking.
Step 6: Finish and Enjoy
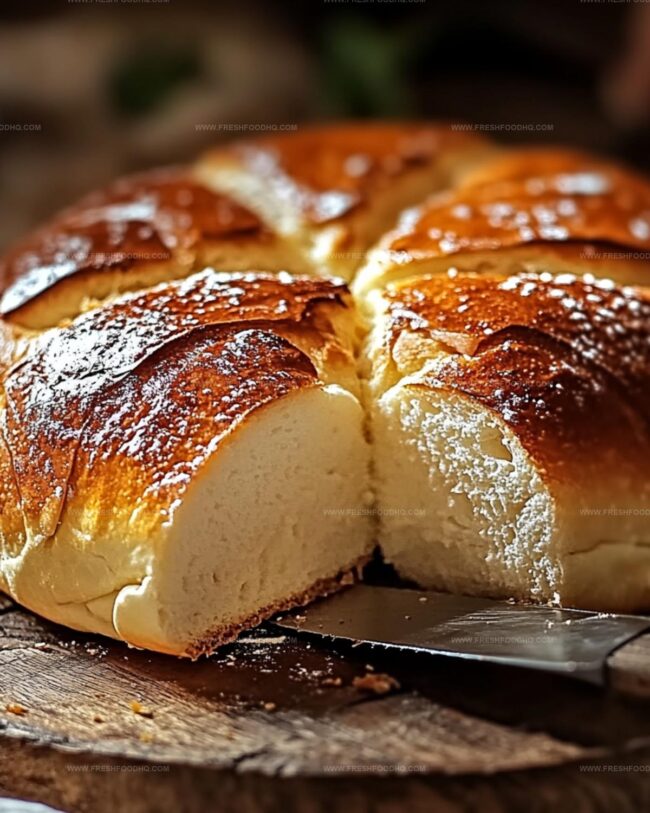
Remove the bread from the skillet and let it rest for a few minutes. Slice and serve warm, perfect for dipping or spreading with your favorite toppings.
Pro Tips for Soft and Flavorful No-Oven Stovetop Bread
Variations to Try with No-Oven Stovetop Bread
Pairing Suggestions for Stovetop Bread
How to Keep No-Oven Stovetop Bread Fresh
Wrap cooled bread tightly in plastic wrap or aluminum foil, then place in an airtight container. Refrigerate for up to 4 days, keeping moisture and freshness intact.
Stack bread with parchment paper between each piece, seal in a freezer-safe bag, and freeze for up to 3 months. Remove excess air to prevent freezer burn.
Store at room temperature in a bread box or sealed container for 2-3 days, ensuring the bread stays soft and prevents moisture buildup.
Warm briefly in a skillet over low heat for 1-2 minutes per side, or microwave wrapped in a damp paper towel for 10-15 seconds to restore softness and warmth.
FAQs
No, yeast is crucial for bread rising and creating the right texture. Without yeast, you’ll end up with a flat, dense product that won’t resemble bread.
Absolutely. Kneading develops gluten, which gives bread its structure and helps it rise properly. Spend 8-10 minutes kneading to ensure a soft, elastic dough.
A non-stick skillet with a tight-fitting lid is ideal. Cast iron or heavy-bottomed pans also work well, providing even heat distribution for consistent cooking.
Print
No-Oven Stovetop Bread Recipe
- Total Time: 29 minutes
- Yield: 8 1x
Description
Homemade no-oven stovetop bread delivers comfort without traditional baking methods. Crafted with simple ingredients and a skillet, this rustic loaf connects hungry souls to delicious, freshly made comfort.
Ingredients
Main Dry Ingredients:
- 2.5 cups (590 ml) all-purpose flour
- 1 teaspoon salt
- 1 teaspoon sugar
Leavening Agent:
- 1 teaspoon instant yeast
Liquid Ingredients:
- 3/4 cup (180 ml) warm water
- 2 tablespoons (30 ml) olive oil
Instructions
- In a spacious mixing vessel, amalgamate flour, sugar, salt, and instant yeast, creating a dry foundation for your artisan bread.
- Pour warm water and olive oil into the dry ingredients, gently blending until a cohesive, slightly sticky dough emerges.
- Transfer the raw dough onto a lightly dusted work surface, executing a rhythmic kneading technique for approximately 8 minutes until the texture transforms into a silky, resilient consistency.
- Nestle the kneaded dough into a generously oiled container, drape with a pristine cloth, and allow it to rest in a draft-free environment for 60 minutes, observing its gradual expansion.
- Deflate the risen dough with a strategic punch, releasing trapped air bubbles, then partition into 2-4 uniform segments depending on desired bread size.
- Mold each segment into rounded or elongated shapes, ensuring smooth surfaces without extensive handling.
- Activate a non-stick skillet at minimal heat, applying a gossamer layer of oil to prevent adherence.
- Carefully position a dough portion into the pan, immediately covering with a tight-fitting lid to trap essential moisture and generate even heat circulation.
- Cook for 5-7 minutes, monitoring the underside for a golden-brown caramelization, then delicately flip and repeat the process for the opposite surface.
- Extract the bread, allowing a brief cooling period to set internal structures, then slice and present while retaining optimal warmth and texture.
Notes
- Ensure water temperature is lukewarm (around 110°F) to activate yeast without killing it, preventing dense bread texture.
- Knead dough thoroughly to develop gluten, creating a soft and stretchy bread with better rise and structure.
- Control stovetop heat carefully; low and slow cooking prevents burning while allowing even internal cooking and golden exterior.
- For gluten-free version, substitute all-purpose flour with a blend of rice flour, potato starch, and xanthan gum to maintain similar texture and elasticity.
- Prep Time: 15 minutes
- Cook Time: 14 minutes
- Category: Breakfast, Lunch, Dinner, Snacks
- Method: Frying
- Cuisine: American
Nutrition
- Serving Size: 8
- Calories: 164 kcal
- Sugar: 0.1 g
- Sodium: 154 mg
- Fat: 3.7 g
- Saturated Fat: 0.5 g
- Unsaturated Fat: 3.2 g
- Trans Fat: 0 g
- Carbohydrates: 28.4 g
- Fiber: 1.2 g
- Protein: 4.8 g
- Cholesterol: 0 mg
Ethan Caldwell
Founder & Culinary Innovator
Expertise
Farm-to-table cooking, Seasonal recipe creation, Culinary storytelling, Food photography and styling
Education
The Chef’s Academy (Indianapolis, IN)
Ethan didn’t just fall in love with food, he grew into it, surrounded by fields, farmers’ markets, and family meals that told a story.
After sharpening his skills at The Chef’s Academy, he took his passion straight into the farm-to-table movement, working side-by-side with local growers and seasonal flavors.
He believes every recipe should feel like a walk through a summer market: colorful, fresh, and full of possibility.
Outside the kitchen, Ethan’s idea of a perfect day is hiking mountain trails, digging into heirloom vegetables, and hosting casual dinners where seconds are always encouraged.