
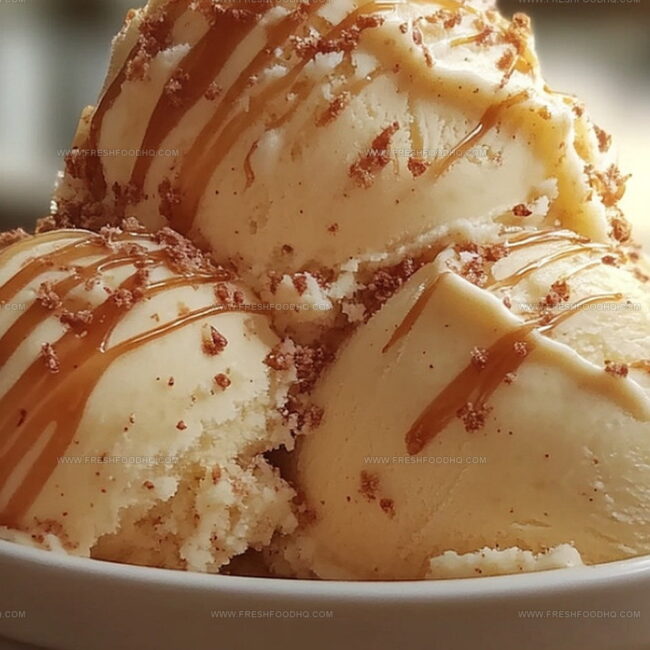
Silky Homemade Salted Caramel Ice Cream Recipe: Sweet Magic
Sweet memories dance through kitchens when homemade salted caramel ice cream becomes a delightful afternoon project.
Crafting this creamy treat requires simple ingredients and a touch of culinary magic.
Sugar transforms into golden nectar under careful watching, promising rich depths of flavor.
Kitchenware becomes your playground while exploring delicate balance between sweet and salty notes.
Whisking and stirring create smooth textures that melt effortlessly on warm summer afternoons.
Imagine cool spoonfuls packed with complex caramel undertones that surprise and delight.
Bring out your inner dessert artist and prepare to charm everyone around the table.
Homemade Salted Caramel Ice Cream Recipe To Indulge In
Ingredients For Homemade Salted Caramel Ice Cream
For the Base:For the Flavor Enhancers:For the Seasoning:How To Make Homemade Salted Caramel Ice Cream Deliciously
Step 1: Create Creamy Caramel Base
Grab a large mixing bowl and combine these delightful ingredients:Whisk everything together until the mixture becomes silky smooth and looks like a golden dream. Make sure all ingredients are perfectly blended with no lumps.
Step 2: Churn Into Dreamy Goodness
Pour the luscious mixture into your ice cream maker. Let the machine work its magic for about 25 minutes.
Watch as the liquid transforms into a soft, cloud-like texture that’s reminiscent of soft-serve ice cream. The consistency should be light and airy with a rich caramel color.
Step 3: Freeze And Set
Carefully transfer the freshly churned ice cream into a freezer-safe container. Use a spatula to smooth the top, creating an even surface.
Place the container in the freezer and let it chill for at least 4 hours. This resting time allows the ice cream to firm up and develop a perfect, scoopable texture.
Step 4: Scoop And Celebrate
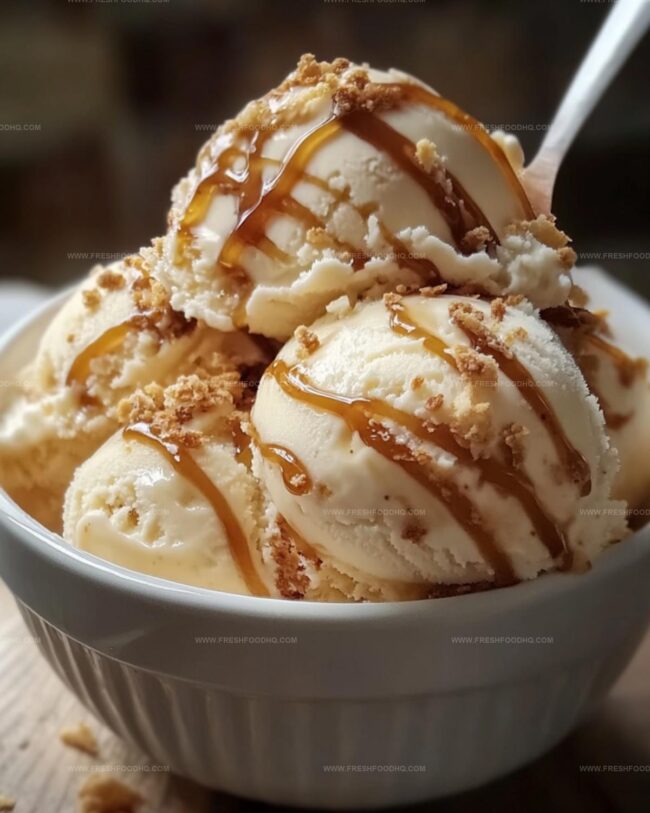
Pull out your frozen creation and serve in crisp waffle cones or elegant dessert bowls. Each spoonful promises a rich, salty-sweet experience that will make taste buds dance with joy.
The homemade caramel ice cream is ready to be devoured and enjoyed!
Tips To Achieve Perfect Homemade Salted Caramel Ice Cream
Variations To Try On Homemade Salted Caramel Ice Cream
Pairings That Enhance Homemade Salted Caramel Ice Cream
How To Store Salted Caramel Ice Cream Freshly
Transfer the leftover ice cream to an airtight container with a tight-fitting lid, pressing plastic wrap directly onto the surface to prevent ice crystals from forming. Keep in the coldest part of the freezer for up to 2 weeks.
Cover the ice cream with a layer of plastic wrap before sealing the container, which creates a protective barrier against moisture and preserves the creamy texture.
Remove the ice cream from the freezer 5-10 minutes before serving, allowing it to soften slightly at room temperature for easier scooping and optimal flavor.
If the ice cream becomes too hard, place the sealed container in the refrigerator for 15-20 minutes to gently soften it without compromising the smooth consistency.
FAQs
Sea salt is recommended for its clean, pure flavor that complements the caramel. Flaky sea salt like Maldon adds a nice texture and subtle crunch to the ice cream.
While an ice cream maker produces the smoothest texture, you can use the no-churn method by whipping heavy cream, then folding in condensed milk and caramel sauce. Freeze in a container, stirring every hour to break up ice crystals.
Use a high-quality caramel sauce or make your own from scratch by caramelizing sugar. Alternatively, add a tablespoon of dark brown sugar to deepen the caramel notes in the base mixture.
Print
Homemade Salted Caramel Ice Cream Recipe
- Total Time: 40 minutes
- Yield: 6 1x
Description
Silky homemade salted caramel ice cream delivers pure indulgence with rich, golden sweetness melting across each creamy spoonful. Cool dessert lovers will swoon over this classic treat’s perfect balance of salty-sweet complexity that lingers deliciously on the palate.
Ingredients
Main Ingredients:
- 2 cups heavy cream
- 1 cup whole milk
Sweeteners and Flavor Enhancers:
- 3/4 cup caramel sauce
- 1 teaspoon vanilla extract
Seasoning:
- 1/2 teaspoon sea salt
Instructions
- In a large saucepan, gently warm the cream and milk over medium heat until tiny bubbles form around the edges, avoiding boiling.
- Remove from heat and whisk in caramel sauce, ensuring a silky smooth texture without lumps.
- Incorporate vanilla extract and sea salt, stirring thoroughly to distribute flavors evenly throughout the liquid base.
- Chill the mixture in the refrigerator for 30 minutes, allowing ingredients to meld and temperature to drop.
- Pour the chilled base into an ice cream maker and churn at 35°F for 20-25 minutes until it reaches a soft, creamy consistency.
- Carefully transfer the churned ice cream into a freezer-safe container, using a spatula to create an even surface.
- Cover with plastic wrap, pressing directly onto the ice cream to prevent ice crystal formation.
- Freeze for 4-6 hours until firm and scoopable.
- Before serving, let the ice cream sit at room temperature for 2-3 minutes to soften slightly for easier scooping.
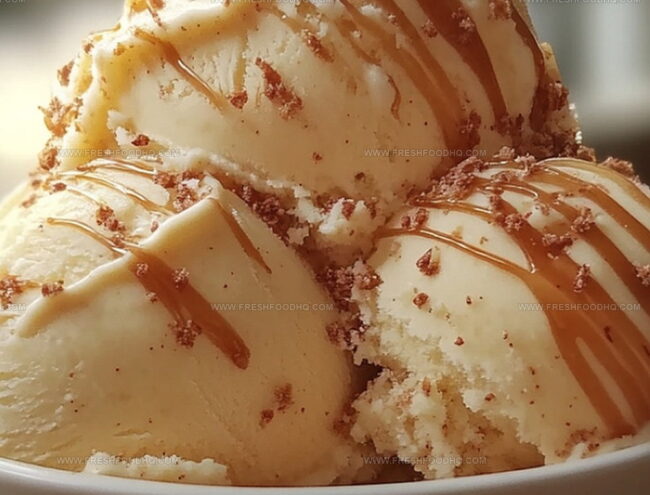
- Garnish with an extra sprinkle of sea salt or drizzle of caramel sauce if desired, and enjoy immediately.
Notes
- Enhance the caramel depth by using dark brown sugar instead of plain caramel sauce for a richer, more complex flavor profile.
- Sprinkle extra flaky sea salt on top just before serving to create a delightful crunchy texture and intensify the sweet-salty contrast.
- For a dairy-free version, substitute coconut cream and almond milk, which will add a subtle nutty undertone to the ice cream.
- Prevent ice crystals by adding a tablespoon of vodka or corn syrup to the mixture, ensuring a smoother, creamier final texture.
- Prep Time: 40 minutes
- Cook Time: 0 minutes
- Category: Desserts
- Method: Churning
- Cuisine: American
Nutrition
- Serving Size: 6
- Calories: 250 kcal
- Sugar: 28 g
- Sodium: 90 mg
- Fat: 15 g
- Saturated Fat: 9 g
- Unsaturated Fat: 5 g
- Trans Fat: 0.5 g
- Carbohydrates: 30 g
- Fiber: 0 g
- Protein: 3 g
- Cholesterol: 65 mg
Ethan Caldwell
Founder & Culinary Innovator
Expertise
Farm-to-table cooking, Seasonal recipe creation, Culinary storytelling, Food photography and styling
Education
The Chef’s Academy (Indianapolis, IN)
Ethan didn’t just fall in love with food, he grew into it, surrounded by fields, farmers’ markets, and family meals that told a story.
After sharpening his skills at The Chef’s Academy, he took his passion straight into the farm-to-table movement, working side-by-side with local growers and seasonal flavors.
He believes every recipe should feel like a walk through a summer market: colorful, fresh, and full of possibility.
Outside the kitchen, Ethan’s idea of a perfect day is hiking mountain trails, digging into heirloom vegetables, and hosting casual dinners where seconds are always encouraged.