Rustic Hillbilly Pie Recipe: Country Comfort in Every Bite
Nestled in the heart of rural kitchens, hillbilly pie emerged as a clever solution for hungry folks with limited ingredients.
Resourceful cooks crafted this humble dessert using pantry staples and creative spirit.
Frugal doesn’t mean flavorless – this pie proves that deliciousness knows no economic boundaries.
Simple yet satisfying, the recipe celebrates ingenuity and warmth of home cooking.
Comfort comes in many forms, and this unpretentious treat delivers a hearty slice of nostalgia.
Chances are you’ll fall in love with its rustic charm and unpretentious goodness.
Let’s uncover the magic behind this classic comfort dish that turns simple ingredients into something extraordinary.
Comfort Food Classic: Hillbilly Pie (Poor Man’s Pie)
Ingredients for Hillbilly Pie (Poor Man’s Pie)
For the Main Components:For the Seasonings and Flavor Enhancers:For the Optional Garnishes:How to Bake Hillbilly Pie the Right Way
Step 1: Warm Up the Oven
Fire up your oven to a cozy 350°F (175°C), getting ready for a sweet adventure.
Step 2: Melt Butter in Baking Dish
Pop a stick of butter into an 8×8 casserole dish and let it transform into a golden puddle while the oven heats.
Step 3: Create Smooth Batter
In a mixing bowl, whisk together:Blend until the mixture becomes silky and lump-free.
Step 4: Layer Melted Butter Base
Pull the casserole dish out of the oven with the melted butter and gently pour the flour mixture directly over the butter, creating a creamy foundation.
Step 5: Add Fruity Topping
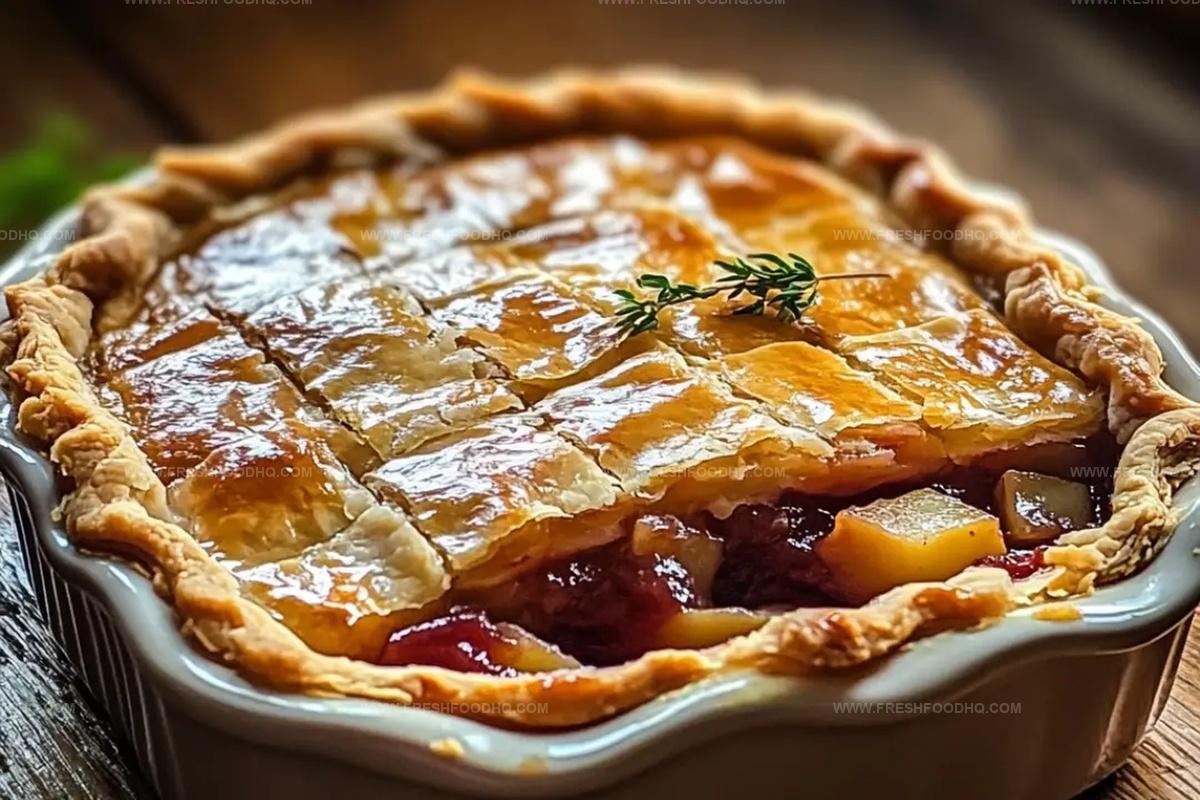
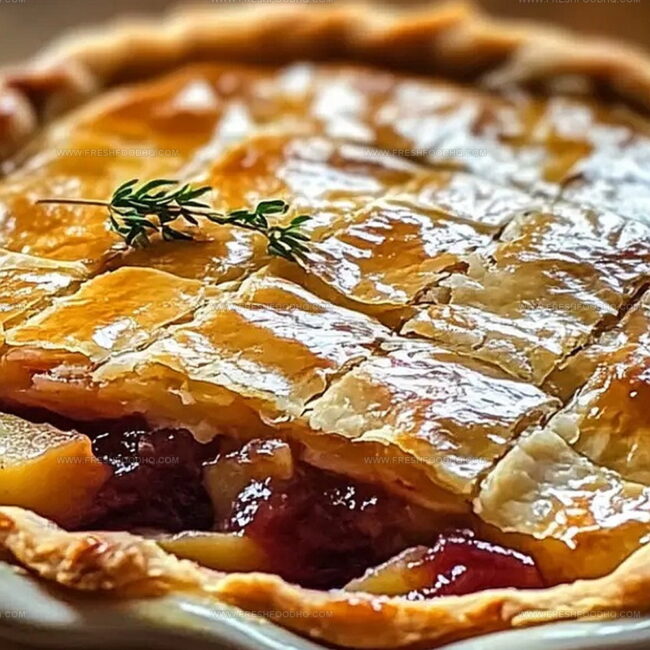
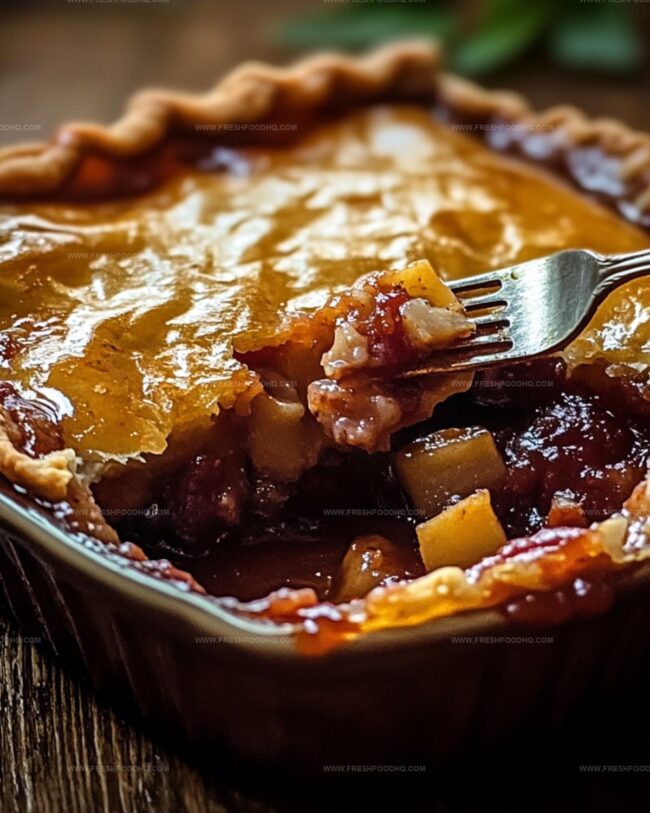
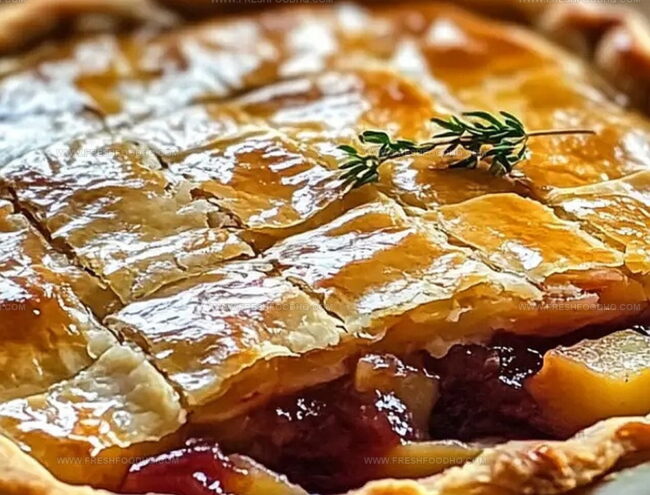
Carefully spread your favorite fruit pie filling across the top of the batter. Resist the urge to stir – let the layers remain distinct.
Step 6: Bake to Golden Perfection
Slide the dish back into the oven and bake for about 30 minutes. Watch for a golden, bubbly top that signals deliciousness is ready.
Step 7: Cool and Serve
Allow the pie to rest and cool slightly. Serve warm or at room temperature for a comforting treat that feels like a hug from the kitchen.
Pro Tips for Hearty Hillbilly Pie Success
Variations to Customize Hillbilly Pie
Pairing Ideas to Serve with Hillbilly Pie
Storage Tips for Hillbilly Pie Freshness
Store leftover pie in an airtight container in the refrigerator for up to 3-4 days. Cover with plastic wrap or aluminum foil to prevent drying out and absorbing other food odors.
Wrap individual slices or the entire pie tightly in plastic wrap, then place in a freezer-safe container. Freeze for up to 2-3 months without losing flavor or texture.
Warm slices at 350F for 10-15 minutes, covering loosely with foil to prevent burning. This method helps restore the pie’s original crispy edges and warm, gooey center.
Heat individual slices for 30-45 seconds on medium power. Let stand for a minute to distribute heat evenly and prevent soggy texture.
FAQs
This simple dessert originated in the Appalachian region during the Great Depression, when families created delicious treats with minimal ingredients they had on hand.
Absolutely! While cherry or peach are traditional, you can experiment with apple, blueberry, or any canned fruit filling you prefer.
Yes, Hillbilly Pie is known as a “Poor Man’s Pie” because it uses very affordable ingredients like self-rising flour, sugar, milk, and canned fruit filling, making it extremely economical.
Not at all! This recipe is incredibly easy and perfect for beginner bakers. It requires minimal preparation and basic mixing, with no complicated techniques needed.
Print
Hillbilly Pie (Poor Mans Pie) Recipe
- Total Time: 45 minutes
- Yield: 8 1x
Description
Hillbilly pie delivers comfort through layers of simple, hearty ingredients that celebrate rustic Southern cooking traditions. Warm, flaky pastry hugs a rich filling, promising delicious memories with each comforting bite you’ll savor.
Ingredients
Main Ingredients:
- 12 ounces (340 grams) fruit pie filling
- 1 cup (240 milliliters) milk
- 1 cup (200 grams) sugar
- 1 cup (120 grams) self-rising flour
Dairy and Fat:
- 1 stick (113 grams) butter, melted
Instructions
- Warm the oven to 350F (175C), preparing a foundational environment for the pie’s transformation.
- Position the butter stick directly into an 8×8 casserole dish, allowing it to liquify while the oven heats.
- Craft a silky batter by thoroughly blending self-rising flour, sugar, and milk until achieving a uniformly smooth consistency.
- Extract the casserole dish with its molten butter, then delicately cascade the flour mixture across the melted foundation.
- Carefully distribute fruit pie filling atop the batter, maintaining a gentle touch and resisting any urge to stir or mix layers.
- Transfer the prepared dish into the preheated oven, allowing the pie to bake approximately 30-35 minutes until the surface transforms into a golden, effervescent landscape.
- After removing from the oven, permit the pie to settle and cool for 10-15 minutes, enabling structural integrity and enhanced flavor development.
- Serve the pie warm or at ambient temperature, embracing its rustic, comforting essence.
Notes
- Melting butter directly in the baking dish creates a crispy, golden crust that adds delightful texture and rich flavor to the pie.
- Swap traditional pie filling with fresh or frozen berries, peaches, or apple compote to customize the dessert according to seasonal availability or personal preference.
- Replace self-rising flour with a gluten-free alternative like almond or coconut flour mixed with baking powder to make the recipe suitable for those with wheat sensitivities.
- Enhance the pie’s appeal by topping with vanilla ice cream, whipped cream, or a sprinkle of cinnamon to elevate its rustic charm and provide an extra layer of indulgence.
- Prep Time: 10 minutes
- Cook Time: 35 minutes
- Category: Lunch, Dinner, Appetizer
- Method: Baking
- Cuisine: American
Nutrition
- Serving Size: 8
- Calories: 275 kcal
- Sugar: 26 g
- Sodium: 230 mg
- Fat: 11 g
- Saturated Fat: 7 g
- Unsaturated Fat: 3 g
- Trans Fat: 0.5 g
- Carbohydrates: 40 g
- Fiber: 1 g
- Protein: 3 g
- Cholesterol: 30 mg
Ethan Caldwell
Founder & Culinary Innovator
Expertise
Farm-to-table cooking, Seasonal recipe creation, Culinary storytelling, Food photography and styling
Education
The Chef’s Academy (Indianapolis, IN)
Ethan didn’t just fall in love with food, he grew into it, surrounded by fields, farmers’ markets, and family meals that told a story.
After sharpening his skills at The Chef’s Academy, he took his passion straight into the farm-to-table movement, working side-by-side with local growers and seasonal flavors.
He believes every recipe should feel like a walk through a summer market: colorful, fresh, and full of possibility.
Outside the kitchen, Ethan’s idea of a perfect day is hiking mountain trails, digging into heirloom vegetables, and hosting casual dinners where seconds are always encouraged.