
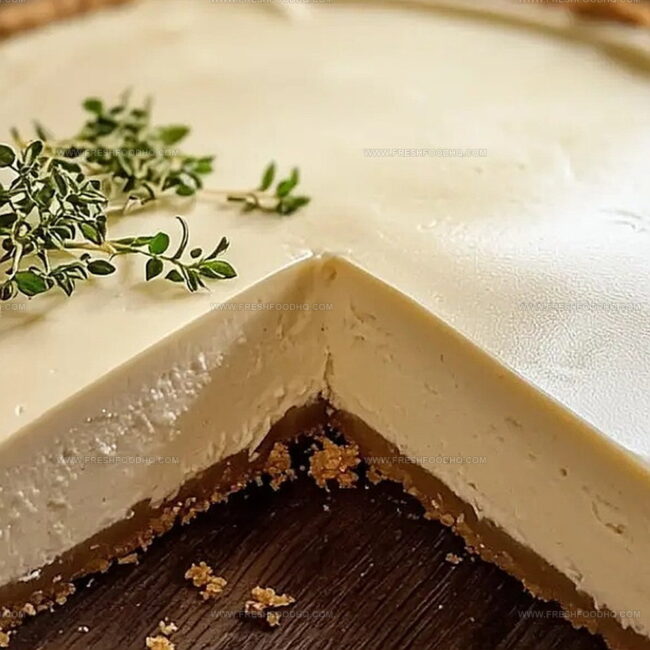
The Creamiest Vanilla Bean Cheesecake Recipe With Vanilla Wafer Crust
Crafting a delectable vanilla bean cheesecake with its crisp wafer crust transports you straight to dessert paradise.
Creamy layers promise indulgent moments of pure bliss.
Smooth cream cheese mingles with delicate vanilla notes, creating a sophisticated treat.
Each bite reveals luxurious textures that dance across your palate.
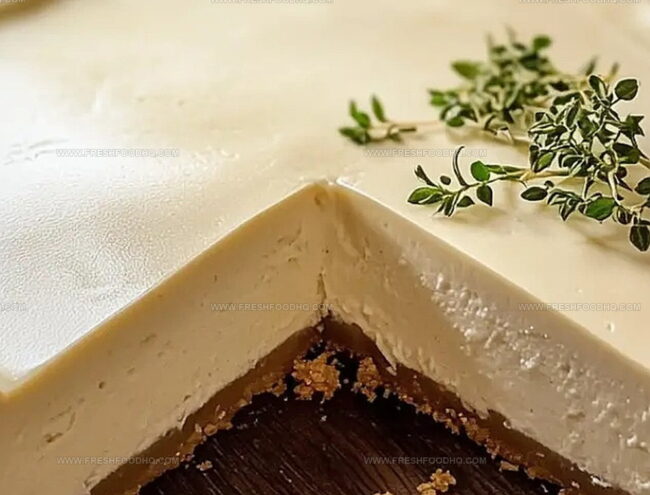
Rich and velvety, this dessert elevates simple ingredients into an extraordinary experience.
Fragrant vanilla beans whisper elegance through every decadent slice.
Savor this irresistible cheesecake that transforms an ordinary evening into something magical.
The Irresistible Charm of Vanilla Bean Cheesecake with Wafer Crust
Ingredients for Silky Vanilla Bean Cheesecake with Crunchy Crust
For the Crust:For the Cheesecake Filling:For the Topping:Easy Instructions to Bake Your Dream Vanilla Bean Cheesecake
Step 1: Prepare Crust Foundation
Grab your vanilla wafers and crush them into fine, sandy crumbs using a food processor or by placing them in a sealed bag and smashing with a rolling pin. Combine the crumbs with melted butter and sugar, mixing until the ingredients stick together perfectly.
Press this mixture firmly into the bottom of a 9-inch springform pan, creating an even layer that slightly climbs the sides. Bake the crust for 10 minutes, then set aside to cool completely.
Ingredients:Step 2: Whip Up Creamy Cheesecake Filling
In a large mixing bowl, beat cream cheese and sugar until the mixture becomes silky smooth and free of lumps. Gently fold in sour cream, vanilla extract, and the precious seeds scraped from a fresh vanilla bean.
Add eggs one at a time, stirring gently to maintain the mixture’s delicate texture. Blend in flour and heavy cream until the filling looks perfectly uniform and luxurious.
Ingredients:Step 3: Bake to Cheesecake Perfection
Pour the velvety filling over the cooled crust, spreading it evenly. Place the springform pan on a baking sheet and slide into a preheated oven.
Bake until the edges look set but the center still has a gentle wobble. This typically takes 60 to 70 minutes.
Once done, turn off the oven and crack the door open, allowing the cheesecake to cool slowly for one hour to prevent unsightly cracks.
Step 4: Cool and Chill
Remove the cheesecake from the oven and carefully run a knife around the edges to prevent sticking.
Let it cool completely at room temperature. Cover and refrigerate for at least 6 hours or overnight to develop rich, deep flavors.
Step 5: Serve and Indulge
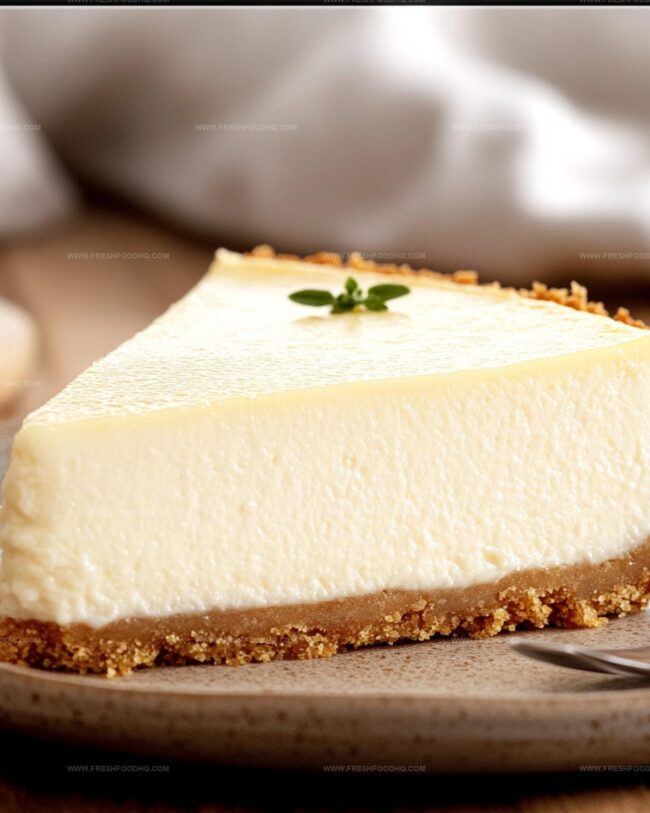
Carefully release the cheesecake from the springform pan. For an extra touch of elegance, top with fluffy whipped cream and sprinkle with delicate vanilla bean specks.
Slice and savor each decadent bite of this heavenly dessert!
Expert Tips to Perfect Your Cheesecake Every Time
Flavor Variations to Take Your Vanilla Bean Cheesecake Next Level
Pairing Suggestions to Complement Your Cheesecake Slice
How to Store Vanilla Bean Cheesecake to Keep It Fresh and Creamy
Store the cheesecake in an airtight container or tightly wrapped with plastic wrap for up to 5 days in the refrigerator. Keep it away from strong-smelling foods to prevent flavor absorption.
Wrap the entire cheesecake or individual slices in plastic wrap, then place in a freezer-safe container. Freeze for up to 2 months. Thaw overnight in the refrigerator before serving.
Bring refrigerated cheesecake to room temperature for 30 minutes. For a slightly warmed slice, microwave on low power for 10-15 seconds, being careful not to overheat.
When ready to serve, add fresh whipped cream or additional vanilla bean specks to revive the presentation and enhance the flavor.
FAQs
Vanilla beans provide a more intense, complex flavor compared to extract. The tiny black seeds release a rich, aromatic taste that elevates the entire dessert’s flavor profile.
Yes, you can use vanilla extract, but you’ll lose the authentic vanilla bean’s depth. Use 1-2 teaspoons of high-quality pure vanilla extract as a replacement.
Flour helps stabilize the cheesecake, preventing cracks and creating a smoother, more consistent texture. It acts as a binding agent for the eggs and cream cheese.
Print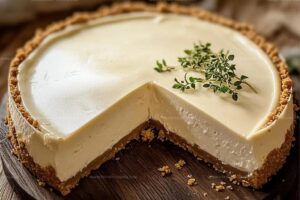
Vanilla Bean Cheesecake With A Vanilla Wafer Crust Recipe
- Total Time: 1 hour 35 minutes
- Yield: 12 1x
Description
Silky vanilla bean cheesecake nestles atop a crisp vanilla wafer crust, creating a luxurious dessert that whispers elegance. Creamy textures and rich vanilla notes invite you to savor each heavenly bite of this classic American sweet indulgence.
Ingredients
Main Ingredients:
- 3 (8 ounces/226 grams) packages cream cheese, softened
- 1 cup granulated sugar
- 3 large eggs
- 1 vanilla bean (or 1 teaspoon vanilla bean paste)
Crust Ingredients:
- 2 cups vanilla wafer crumbs (about 50 wafers)
- 1/3 cup unsalted butter, melted
- 2 tablespoons granulated sugar
Complementary Ingredients:
- 1 cup sour cream
- 1 tablespoon pure vanilla extract
- 2 tablespoons all-purpose flour
- 1/4 cup heavy cream
Optional Topping:
- Fresh whipped cream
- Vanilla bean specks
Instructions
- Pulverize vanilla wafers into fine, uniform crumbs using a food processor or by crushing within a sealed bag with a rolling pin.
- Combine crumbs with melted butter and sugar, creating a cohesive mixture that will form the foundation of the cheesecake.
- Press the crumb mixture compactly into the base of a 9-inch springform pan, ensuring an even, firm layer that extends slightly up the sides.
- Bake the crust at 325F (160C) for 10 minutes, then allow to cool completely before proceeding.
- In a spacious mixing bowl, whip softened cream cheese and sugar until achieving a silky, lump-free consistency.
- Incorporate sour cream, vanilla extract, and freshly scraped vanilla bean seeds, blending thoroughly to distribute flavors evenly.
- Gently introduce eggs one at a time, mixing minimally to maintain the batter’s delicate structure.
- Fold in flour and heavy cream, creating a smooth, homogeneous filling without overmixing.
- Carefully pour the prepared filling over the cooled crust, ensuring an even distribution.
- Position the springform pan on a baking sheet and bake for 60-70 minutes at 325F (160C), watching for slightly jiggly center and set edges.
- After baking, switch off the oven, leave the door slightly ajar, and allow the cheesecake to gradually cool for one hour, preventing potential surface cracks.
- Once cooled to room temperature, gently separate the cheesecake edges from the pan using a thin knife.
- Refrigerate for a minimum of 6 hours, preferably overnight, to develop optimal flavor and texture.
- Carefully release the cheesecake from the springform pan.
- Embellish with freshly whipped cream and optional vanilla bean specks before serving.
Notes
- Prevent crust crumbling by packing the vanilla wafer mixture tightly into the pan, ensuring a solid and compact base for your cheesecake.
- Achieve ultra-smooth filling by bringing cream cheese to room temperature before mixing, which eliminates lumps and creates a silky texture.
- Control moisture by using a water bath method, placing the springform pan in a larger pan filled with hot water during baking to prevent surface cracking and ensure even cooking.
- Adapt for gluten-free diets by substituting vanilla wafers with gluten-free graham crackers or almond flour-based cookies, maintaining the delicious crunchy crust profile.
- Prep Time: 25 minutes
- Cook Time: 1 hour 10 minutes
- Category: Desserts
- Method: Baking
- Cuisine: American
Nutrition
- Serving Size: 12
- Calories: 350 kcal
- Sugar: 22 g
- Sodium: 180 mg
- Fat: 27 g
- Saturated Fat: 16 g
- Unsaturated Fat: 10 g
- Trans Fat: 0.5 g
- Carbohydrates: 21 g
- Fiber: 0.5 g
- Protein: 6 g
- Cholesterol: 95 mg
Ethan Caldwell
Founder & Culinary Innovator
Expertise
Farm-to-table cooking, Seasonal recipe creation, Culinary storytelling, Food photography and styling
Education
The Chef’s Academy (Indianapolis, IN)
Ethan didn’t just fall in love with food, he grew into it, surrounded by fields, farmers’ markets, and family meals that told a story.
After sharpening his skills at The Chef’s Academy, he took his passion straight into the farm-to-table movement, working side-by-side with local growers and seasonal flavors.
He believes every recipe should feel like a walk through a summer market: colorful, fresh, and full of possibility.
Outside the kitchen, Ethan’s idea of a perfect day is hiking mountain trails, digging into heirloom vegetables, and hosting casual dinners where seconds are always encouraged.