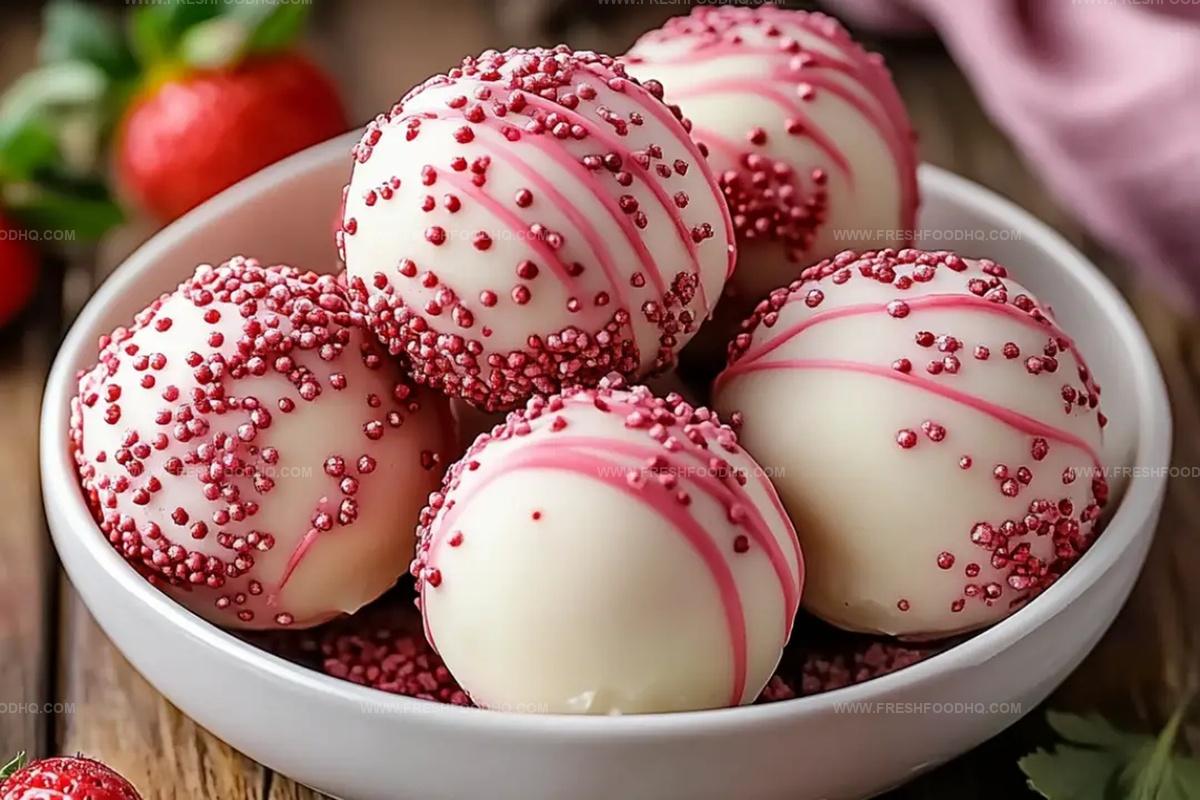
The Dreamiest Strawberry Cheesecake Truffle Balls Recipe Ever
Whipping up delectable strawberry cheesecake truffle balls promises pure culinary magic for sweet enthusiasts.
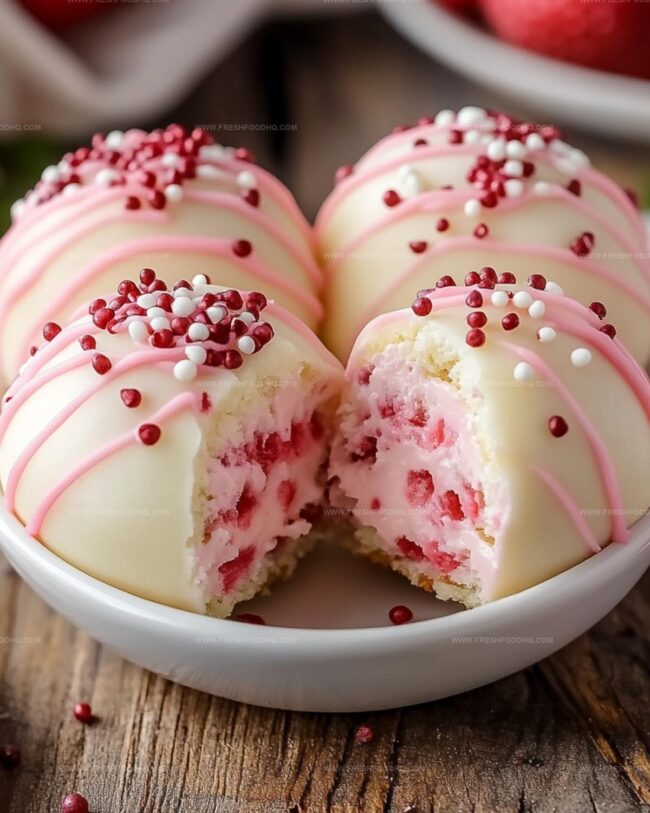
Creamy textures blend seamlessly with fruity bursts of flavor.
Elegant bite-sized treats capture dessert perfection in every delightful morsel.
Minimal ingredients and simple techniques make these truffles accessible to bakers of all skill levels.
Rich cream cheese provides a luxurious base that complements fresh strawberry notes.
Each small sphere delivers intense cheesecake essence without complicated preparation.
We bet you’ll fall in love with these irresistible little delights that melt deliciously on your tongue.
Grab your mixing bowl and let’s create something spectacular!
Why Strawberry Cheesecake Truffle Balls Are Loved
Ingredients for Strawberry Cheesecake Truffle Balls
For the Cake Base:For the Mix-Ins:For the Coating and Decoration:How to Prepare Strawberry Cheesecake Truffle Balls
Step 1: Create Cake Base
Open the strawberry cake mix package and prepare the dry mixture in a large mixing bowl. Ensure the ingredients are well combined and free of any lumps.
Step 2: Blend Creamy Goodness
Combine the prepared cake mix with softened cream cheese in the bowl. Mix thoroughly until the mixture transforms into a smooth, cohesive dough.
Gently fold in cream cheese chips to add extra texture and richness.
Step 3: Form Delightful Spheres
Using clean hands or a small cookie scoop, roll the mixture into bite-sized balls.
Each ball should be approximately one inch in diameter. Arrange the formed balls on a parchment-lined baking sheet, ensuring they are not touching each other.
Step 4: Prepare Delectable Coatings
Set up two separate microwave-safe bowls:Melt each coating separately in the microwave, using 20-second intervals. Stir between each interval until the coatings are completely smooth and glossy.
Step 5: Dunk and Coat
Place each cake ball on a fork. Carefully submerge the ball into the melted vanilla wafers, ensuring complete and even coverage.
Gently tap the fork on the bowl’s edge to remove excess coating. Carefully transfer the coated ball back to the parchment-lined sheet.
Step 6: Add Decorative Swirls
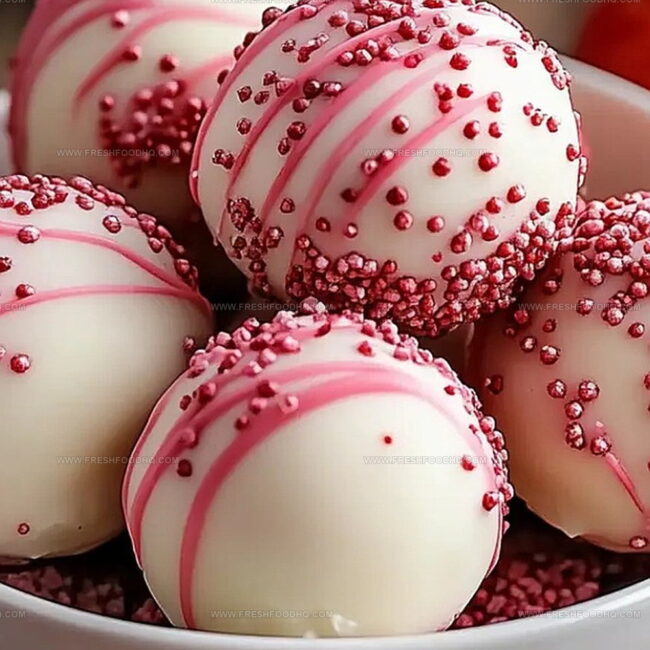
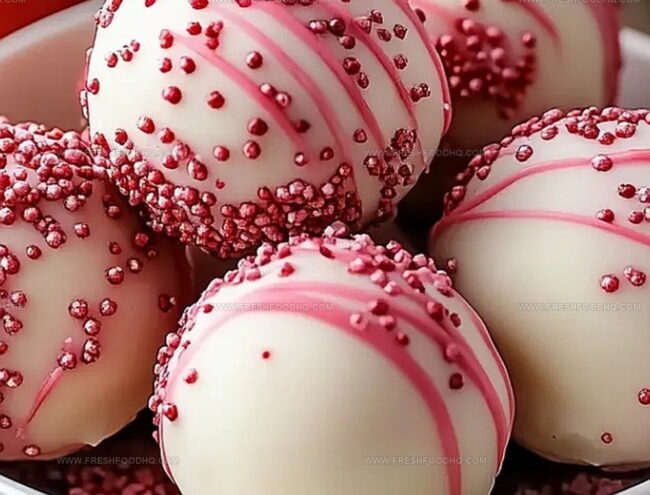
Once the vanilla coating begins to set, use a spoon to drizzle pink candy melts over the truffle balls. Create elegant, artistic swirls by moving the spoon in a zigzag motion.
Step 7: Sprinkle Magic
For an extra festive touch, sprinkle colorful decorations over the truffle balls while the coating remains wet. Choose sprinkles that complement the pink and white color scheme.
Step 8: Chill and Enjoy
Place the decorated truffle balls in the refrigerator for approximately 30 minutes. This allows the coating to completely set and enhances the flavor.
Serve chilled or at room temperature for a delightful dessert experience.
Tips for Making Strawberry Cheesecake Truffle Balls
Flavor Variations of Strawberry Cheesecake Truffle Balls
What to Pair with Strawberry Cheesecake Truffle Balls
Storing Strawberry Cheesecake Truffle Balls Correctly
Store truffle balls in an airtight container between layers of parchment paper. Keep in the refrigerator for up to 5 days to maintain freshness and prevent bacterial growth.
Place cake balls in a freezer-safe container, separating layers with wax paper. Freeze for up to 3 months. Thaw overnight in the refrigerator before serving.
Warm individual truffle balls for 10-15 seconds on low power. Check temperature to avoid melting the coating completely. Let sit for a minute before enjoying.
Remove from refrigerator 15-20 minutes before serving to soften slightly and enhance flavor. Consume within 2 hours for optimal taste and texture.
FAQs
You’ll need strawberry cake mix, cream cheese, cream cheese chips, vanilla melting wafers, pink candy melts, and optional sprinkles.
Yes, you can experiment with other cake mix flavors like vanilla, chocolate, or red velvet to create different truffle ball variations.
Make sure the mixture is well combined and chilled before dipping, and use a fork to help coat and drain excess melting wafers.
A cookie scoop helps create uniform balls, but you can also use your hands. A baking sheet lined with parchment paper is recommended for easy cleanup and setting.
Print
Strawberry Cheesecake Truffle Balls Recipe
- Total Time: 55 minutes
- Yield: 20 1x
Description
Irresistible strawberry cheesecake truffle balls merge creamy cheesecake with sweet strawberry essence in one perfect bite-sized treat. Rich flavors and smooth textures blend seamlessly, promising pure indulgence that delights you from first taste to last morsel.
Ingredients
Primary Ingredients:
- 8 ounces cream cheese, softened
- 1 cup strawberries, fresh
- 1 1/2 cups graham cracker crumbs
Binding and Flavor Enhancers:
- 2 tablespoons powdered sugar
- 1 teaspoon vanilla extract
Coating and Decoration:
- 12 ounces white chocolate chips
- Optional: Sprinkles (for decoration)
Instructions
- Pulverize the strawberry cake mix into fine crumbs, ensuring no large chunks remain and disregarding the liquid ingredients specified on the package.
- Integrate softened cream cheese into the cake mix crumbs, kneading thoroughly until a uniform, malleable dough emerges. Incorporate chopped cream cheese chips, folding gently to distribute evenly.
- Craft compact spheres approximately one inch in diameter, utilizing clean hands or a uniform cookie scoop. Arrange the orbs methodically on a parchment-lined baking tray.
- Transform vanilla melting wafers and pink candy melts into liquid form through careful microwave heating. Execute this process in brief 20-second intervals, stirring consistently to maintain smooth consistency and prevent scorching.
- Submerge each dough sphere completely into melted vanilla wafers using a fork as a supportive utensil. Allow excess coating to drip away by gentle tapping, then delicately position each coated truffle onto the prepared surface.
- Once vanilla coating slightly solidifies, embellish truffles with elegant pink candy melt drizzles. Create artistic swirls using a spoon, ensuring aesthetic appeal and flavor complexity.
- While coating remains glossy, optionally dust truffles with complementary sprinkles for textural intrigue and visual vibrancy.
- Refrigerate truffles for approximately 30 minutes at 40°F to guarantee complete coating solidification. Serve chilled or allow brief tempering to room temperature for optimal enjoyment.
Notes
- Soften cream cheese completely at room temperature to ensure smooth, lump-free mixing for perfect cake ball texture.
- Chill mixture for 15-20 minutes before rolling to make handling easier and prevent sticky hands during ball formation.
- Use a small cookie scoop for uniform size and consistent truffle appearance, which helps even coating and professional presentation.
- For gluten-free option, substitute strawberry cake mix with gluten-free cake mix and ensure all coating ingredients are certified gluten-free.
- Prep Time: 25 minutes
- Cook Time: 30 minutes
- Category: Desserts, Snacks
- Method: Blending
- Cuisine: American
Nutrition
- Serving Size: 20
- Calories: 130
- Sugar: 9.8 g
- Sodium: 70 mg
- Fat: 8.1 g
- Saturated Fat: 4.9 g
- Unsaturated Fat: 3.1 g
- Trans Fat: 0.1 g
- Carbohydrates: 13.5 g
- Fiber: 0.3 g
- Protein: 1.6 g
- Cholesterol: 14 mg
Ethan Caldwell
Founder & Culinary Innovator
Expertise
Farm-to-table cooking, Seasonal recipe creation, Culinary storytelling, Food photography and styling
Education
The Chef’s Academy (Indianapolis, IN)
Ethan didn’t just fall in love with food, he grew into it, surrounded by fields, farmers’ markets, and family meals that told a story.
After sharpening his skills at The Chef’s Academy, he took his passion straight into the farm-to-table movement, working side-by-side with local growers and seasonal flavors.
He believes every recipe should feel like a walk through a summer market: colorful, fresh, and full of possibility.
Outside the kitchen, Ethan’s idea of a perfect day is hiking mountain trails, digging into heirloom vegetables, and hosting casual dinners where seconds are always encouraged.