The Perfect Red Velvet Cookie Cups Recipe for Sweet Treats
Baking these delightful red velvet cookie cups will transport you to a world of sweet, chocolatey bliss.
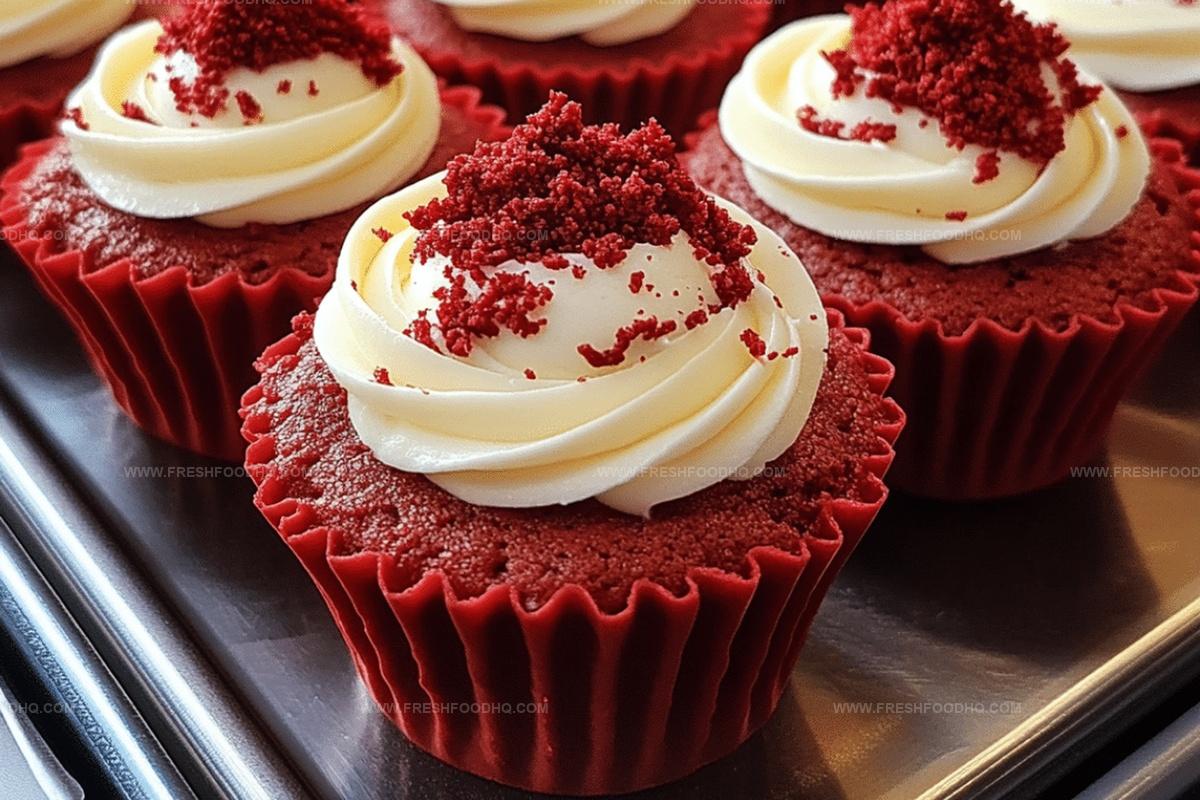
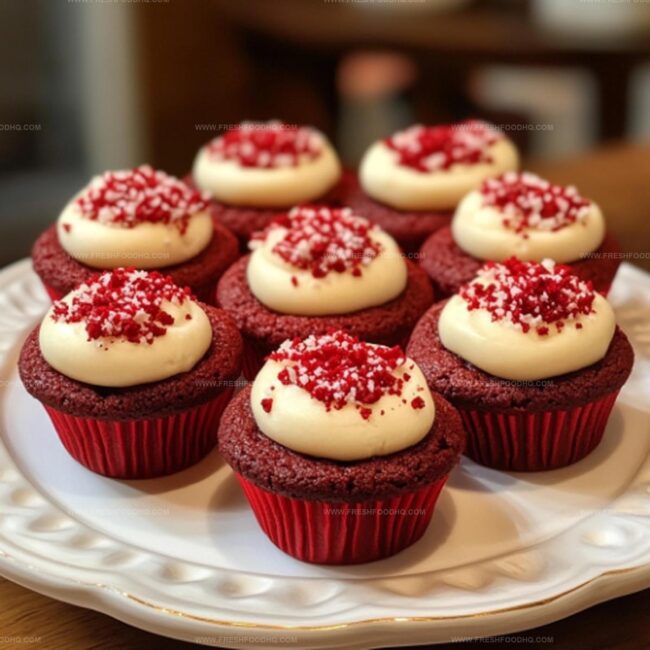
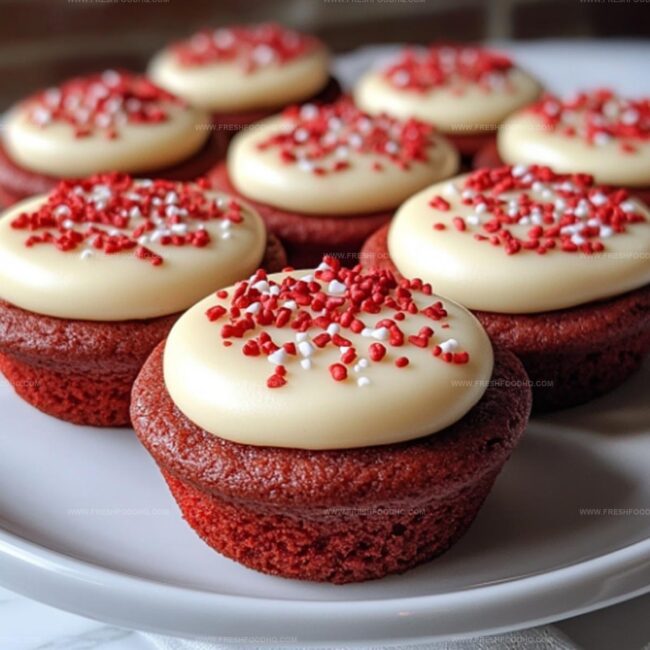
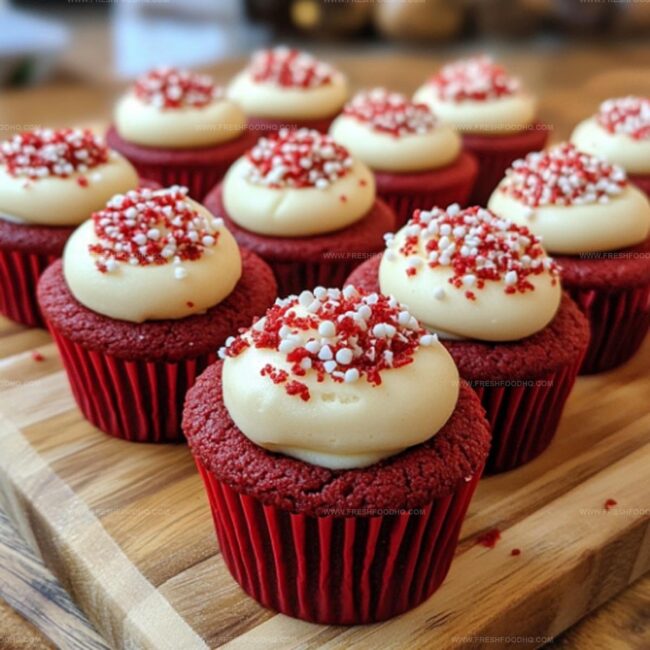
Crimson-hued dough swirls with rich cream cheese filling, creating a mesmerizing dessert.
Soft, velvety textures melt in your mouth with each bite.
Decadent layers of flavor promise an unforgettable treat that looks as stunning as it tastes.
Chocolate lovers and dessert enthusiasts will absolutely adore this simple yet impressive creation.
Crafted with love, these cookie cups make any gathering feel extra special.
You won’t be able to resist their irresistible charm and mouthwatering appeal.
What Goes In Red Velvet Cookie Cups
Main Ingredients:Wet Ingredients:Frosting Ingredients:Baking Essentials:How To Make Red Velvet Cookie Cups
Step 1: Warm Up the Oven
Fire up your oven to a toasty 350F (175C). This sets the stage for your delightful cookie cup transformation.
Step 2: Create the Dry Powder Blend
Grab a medium bowl and whisk together these magical dry ingredients:Set this dusty mixture aside for the grand cookie cup creation.
Step 3: Cream the Sweet Base
In a large mixing bowl, dance your mixer through:Blend until the mixture becomes creamy and dreamy.
Step 4: Add the Color and Flavor Boosters
Pour into the buttery mixture:Mix everything until perfectly combined and vibrant red.
Step 5: Marry the Wet and Dry Ingredients
Slowly introduce the dry powder blend into the wet ingredients. Stir gently until a smooth, luscious dough forms.
Step 6: Shape the Cookie Cups
Scoop tablespoon-sized dough portions into a greased muffin tin. Use your fingers to press centers, creating adorable little cups.
Step 7: Bake to Perfection
Slide the muffin tin into the oven. Bake for 8-10 minutes until a toothpick comes out clean. Let them cool completely in the tin.
Step 8: Whip Up the Creamy Frosting
Beat together these heavenly ingredients:Blend until smooth and cloud-like.
Step 9: Fill the Cookie Cups
Once cooled, pipe or spoon the dreamy cream cheese frosting into each cookie cup.
Step 10: Celebrate and Devour
Serve these gorgeous red velvet cookie cups and watch smiles bloom!
Handy Hints For Red Velvet Cookie Cups
New Twists On Red Velvet Cookie Cups
Best Things To Serve With Red Velvet Cookie Cups
Ways To Store Red Velvet Cookie Cups
FAQ Guide For Red Velvet Cookie Cups
The red food coloring creates the signature vibrant red hue, which is traditionally enhanced by a small amount of cocoa powder and white vinegar in the recipe.
You can use a mini muffin pan or carefully shape the dough into cups on a regular baking sheet, though the results might be less uniform.
White vinegar helps activate the baking soda, creating a tender texture and enhancing the slight tanginess characteristic of red velvet desserts.
Gently press the center of each dough ball with the back of a spoon or your thumb after placing them in the muffin tin to create an indentation for the frosting.
What’s Sweet About Red Velvet Cookie Cups

Red Velvet Cookie Cups Recipe
- Total Time: 23-25 minutes
- Yield: 12 1x
Description
Indulgent red velvet cookie cups blend rich chocolate and cream cheese frosting into a delightful dessert experience. Sweet Southern charm meets modern baking magic, inviting you to savor each luxurious bite of this irresistible treat.
Ingredients
Main Ingredients:
- 1.5 cups (360 ml) all-purpose flour
- 1/4 cup (30 g) unsweetened cocoa powder
- 1/4 cup (57 g) butter, softened
- 1/2 cup (100 g) granulated sugar
- 1/2 cup (110 g) brown sugar, packed
- 1 egg
Leavening and Seasoning Ingredients:
- 1/2 teaspoon kosher salt
- 1 teaspoon baking soda
- 1 teaspoon white vinegar
Flavoring and Coloring Ingredients:
- 1 tablespoon red food coloring
- 1/2 teaspoon vanilla extract
Instructions
- Heat the oven to 350F (175C) and generously grease a muffin tin to prevent sticking.
- Sift together the flour, cocoa powder, salt, and baking soda in a medium bowl, ensuring no lumps remain.
- Cream the softened butter with granulated and brown sugars in a large mixing bowl until the mixture becomes light and fluffy.
- Incorporate the egg, vibrant red food coloring, vanilla extract, and white vinegar into the butter mixture, blending until fully integrated.
- Slowly fold the dry ingredients into the wet ingredients, stirring gently until a uniform dough forms.
- Portion the dough into tablespoon-sized balls and place them into the prepared muffin tin, using your fingers to create a gentle indentation in the center of each.
- Bake for 8-10 minutes, watching for slight golden edges and a set center. Remove from oven and allow to cool completely within the tin.
- Prepare the cream cheese frosting by whipping softened cream cheese, butter, powdered sugar, and vanilla extract until smooth and airy.
- Once cookies have cooled, fill each cup with the cream cheese frosting using a piping bag or spoon.
- Serve immediately for the best texture and flavor experience.
Notes
- Chill the dough for 30 minutes before baking to prevent spreading and maintain a perfect cup shape.
- Use gel food coloring for a more vibrant red color without altering the cookie’s texture.
- For a gluten-free version, swap all-purpose flour with a 1:1 gluten-free baking blend and ensure all other ingredients are certified gluten-free.
- Reduce sugar content by using a natural sweetener like stevia or monk fruit for a lower-calorie alternative without compromising taste.
- Prep Time: 15 minutes
- Cook Time: 8-10 minutes
- Category: Desserts, Snacks
- Method: Baking
- Cuisine: American
Nutrition
- Serving Size: 12
- Calories: 150
- Sugar: 10 g
- Sodium: 120 mg
- Fat: 7 g
- Saturated Fat: 4 g
- Unsaturated Fat: 3 g
- Trans Fat: 0.1 g
- Carbohydrates: 22 g
- Fiber: 1 g
- Protein: 2 g
- Cholesterol: 25 mg
Samantha Lee
Recipe Developer & Content Creator
Expertise
Plant-based and vegetarian recipes, Recipe testing and development, Food blogging and digital content creation, Culinary education and workshops
Education
Oregon Culinary Institute (Portland, OR)
Samantha sees cooking like painting, every fresh herb, every juicy tomato, a new splash of color on a canvas.
After graduating from Oregon Culinary Institute, she blended her love of global cuisines and plant-based cooking into recipes that feel fresh, fearless, and full of heart.
Samantha’s kitchen is a place where comfort food gets a modern remix and every meal feels like a little adventure. When she’s not cooking, she’s out exploring farmers’ markets, sketching new recipe ideas, or getting her hands dirty in a community garden.