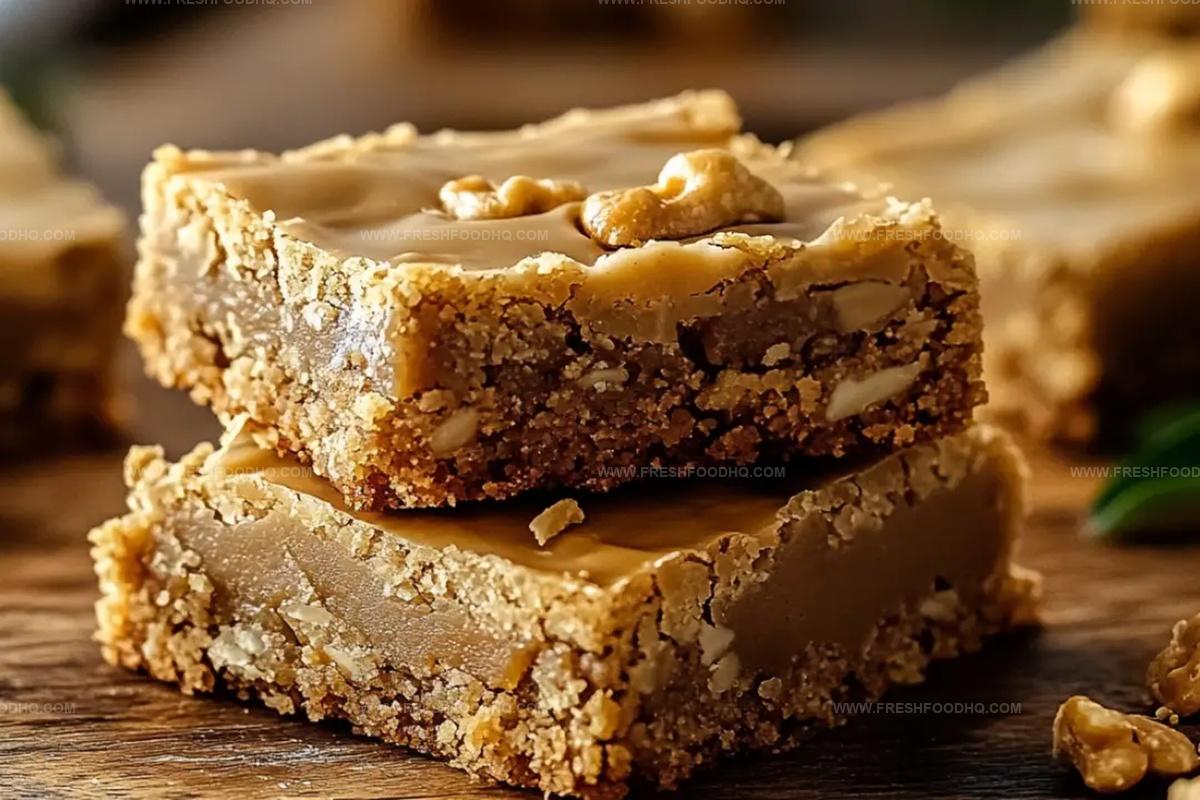
Nostalgic Peanut Butter Lunch Lady Cookie Bars Recipe
Nostalgic peanut butter lunch lady cookie bars capture memories from school cafeterias with their irresistible sweetness.
Soft, chewy rectangles remind me of childhood afternoons.
Classic comfort meets indulgent dessert in this simple treat.
Cafeteria memories flood back with each buttery bite.
Minimal ingredients create maximum flavor in these beloved bars.
School lunch magic transforms into a homemade delicacy.
Peanut Butter Lunch Lady Cookie Bars: Classic Comfort Meets Peanut Butter
Ingredients for Peanut Butter Lunch Lady Cookie Bars
For the Base:For the Wet Ingredients:For the Peanut Butter and Butter:For the Frosting:How to Bake Peanut Butter Lunch Lady Cookie Bars
Step 1: Prepare the Oven
Crank up your oven to a toasty 400°F (200°C). Grab a cookie sheet and give it a generous coating of grease to prevent any sticky situations.
Step 2: Blend Dry Ingredients
In a spacious mixing bowl, toss together:Whisk these dry ingredients until they’re perfectly combined.
Step 3: Whip Up Wet Ingredients
In a separate bowl, crack open some eggs and add:Whisk these ingredients until they’re smooth and well-incorporated.
Step 4: Create the Cookie Base
Grab a saucepan and gently melt:Once melted and smooth, pour this mixture into the dry ingredients. Then fold in the egg mixture, stirring until everything is thoroughly blended.
Step 5: Bake to Golden Perfection
Spread the cookie batter evenly across the greased cookie sheet. Slide it into the preheated oven and bake for 20 minutes.
Look for a gorgeous golden-brown color as your signal that these bars are ready.
Step 6: Whip Up Creamy Frosting
In the same saucepan, melt together:Stir in:Mix until you’ve got a smooth, dreamy frosting.
Step 7: Frost and Finish
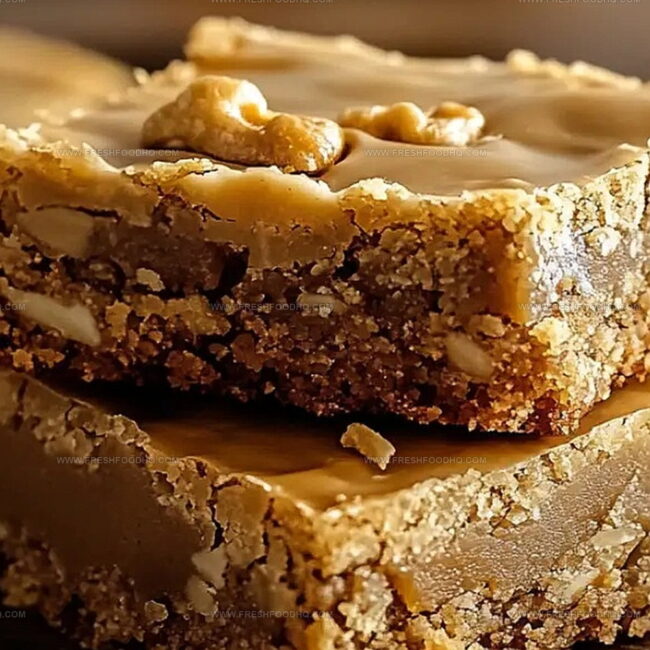
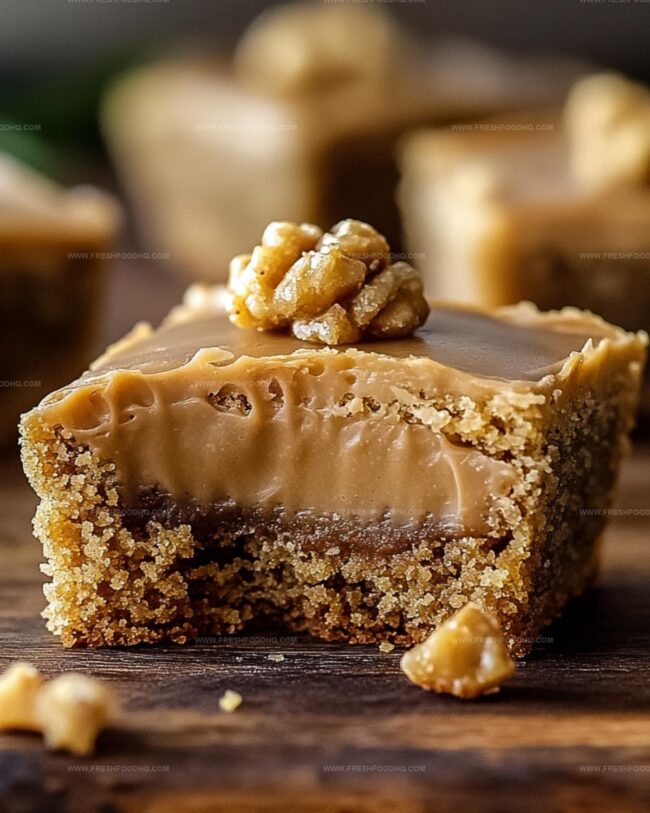
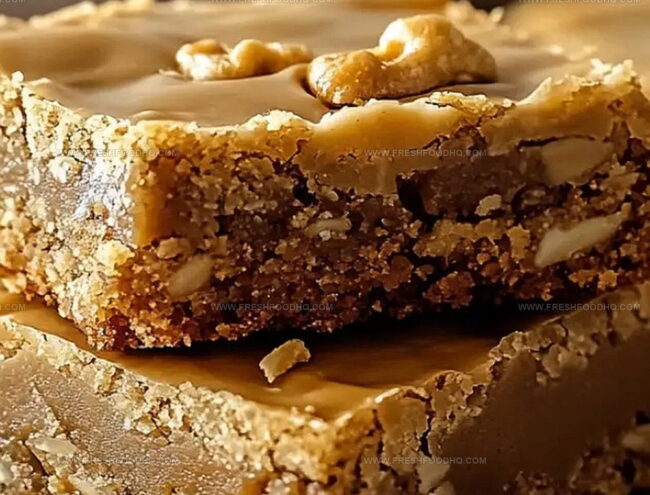
Once the cookie bars have completely cooled, spread that luscious peanut butter frosting evenly across the top.
Step 8: Serve and Savor
Let the frosting set for a few minutes, then slice into delectable squares.
These peanut butter bars are ready to rock your taste buds!
Tips for Peanut Butter Lunch Lady Cookie Bars Success
Variations on Peanut Butter Lunch Lady Cookie Bars
Pairing Ideas for Peanut Butter Lunch Lady Cookie Bars
Storage Suggestions for Peanut Butter Lunch Lady Cookie Bars
Store covered in an airtight container for up to 5 days. Keep bars between parchment paper layers to prevent sticking.
Wrap individual bars tightly in plastic wrap, then place in freezer bag. Freeze up to 3 months for best quality.
Keep at room temperature in sealed container for 2-3 days, away from direct sunlight or heat sources.
Warm gently in microwave for 10-15 seconds or let bars sit at room temperature for soft, fresh texture. Avoid overheating to maintain moisture.
FAQs
These bars are a delicious treat, but they’re not considered a health food. They’re high in sugar and calories, best enjoyed as an occasional indulgence.
Yes, you can substitute smooth peanut butter with crunchy peanut butter. The texture will be slightly different, but the flavor will remain similar.
Look for a golden brown color and a slightly firm touch in the center. When a toothpick inserted comes out clean, the bars are ready.
You can try using a gluten-free all-purpose flour blend as a direct substitute for regular flour. Results may vary slightly in texture.
Print
Peanut Butter Lunch Lady Cookie Bars Recipe
- Total Time: 45 minutes
- Yield: 24 1x
Description
Nostalgic school cafeteria peanut butter lunch lady cookie bars bring comfort and sweet memories to dessert lovers. Creamy peanut butter meets classic cookie base, creating irresistible bars perfect for sharing with friends and family.
Ingredients
Main Ingredients:
- 3 sticks (339 grams) butter
- 1 1/2 cups (362 grams) peanut butter
- 2 eggs
- 2 cups (400 grams) sugar
Dry Ingredients:
- 2 cups (240 grams) flour
- 1 teaspoon baking soda
- 1 teaspoon salt
- 4 cups (454 grams) powdered sugar
Liquid and Flavor Ingredients:
- 1 teaspoon vanilla extract
- 1/2 cup (120 milliliters) milk
Instructions
- Preheat the oven to 400°F (200°C) and prepare a cookie sheet with a light grease coating to prevent sticking.
- In a spacious mixing bowl, thoroughly blend the dry ingredients, ensuring an even distribution of flour, sugar, baking soda, and salt.
- Whisk the wet ingredients in a separate bowl, combining eggs, milk, and vanilla extract until smooth and well integrated.
- Create a creamy base by gently melting butter and peanut butter together in a saucepan over low heat, maintaining a consistent temperature.
- Fold the melted butter and peanut butter mixture into the dry ingredients, then gradually incorporate the egg mixture, stirring until the batter achieves a uniform consistency.
- Transfer the batter to the prepared cookie sheet, using a spatula to spread it evenly across the surface, ensuring a consistent thickness.
- Bake for 20 minutes, monitoring until the edges turn a golden brown and the center appears set and slightly firm.
- Allow the baked bars to cool completely at room temperature, which helps stabilize the texture.
- Prepare the frosting by melting butter and peanut butter, then gradually whisking in milk and powdered sugar until achieving a smooth, spreadable consistency.
- Once the bars have cooled, generously spread the peanut butter frosting across the entire surface, creating an even layer.
- Let the frosting set for 5-7 minutes to slightly firm up before cutting into squares and serving.
Notes
- Adjust oven temperature carefully to prevent burning, as 400F is quite high for cookie bars.
- Replace regular milk with plant-based alternatives like almond or oat milk for dairy-free version.
- Use natural peanut butter without added sugars to control overall sweetness and enhance authentic flavor.
- Consider reducing sugar content by 25% if you prefer less sweet desserts without compromising texture.
- Prep Time: 25 minutes
- Cook Time: 20 minutes
- Category: Desserts, Snacks
- Method: Baking
- Cuisine: American
Nutrition
- Serving Size: 24
- Calories: 301 kcal
- Sugar: 28 g
- Sodium: 208 mg
- Fat: 19 g
- Saturated Fat: 7 g
- Unsaturated Fat: 10 g
- Trans Fat: 0.5 g
- Carbohydrates: 34 g
- Fiber: 2 g
- Protein: 6 g
- Cholesterol: 35 mg
Ethan Caldwell
Founder & Culinary Innovator
Expertise
Farm-to-table cooking, Seasonal recipe creation, Culinary storytelling, Food photography and styling
Education
The Chef’s Academy (Indianapolis, IN)
Ethan didn’t just fall in love with food, he grew into it, surrounded by fields, farmers’ markets, and family meals that told a story.
After sharpening his skills at The Chef’s Academy, he took his passion straight into the farm-to-table movement, working side-by-side with local growers and seasonal flavors.
He believes every recipe should feel like a walk through a summer market: colorful, fresh, and full of possibility.
Outside the kitchen, Ethan’s idea of a perfect day is hiking mountain trails, digging into heirloom vegetables, and hosting casual dinners where seconds are always encouraged.