
The Coziest Old-Fashioned Apple Crisp Recipe for Fall Nights
Warm memories of grandma’s kitchen float through my favorite old-fashioned apple crisp recipe, promising comfort in every delectable bite.
Crisp autumn afternoons call for something sweet and nostalgic.
Fragrant cinnamon and tender apples merge into a delightful dessert that whispers of home.
Generations have savored this simple yet magnificent treat, passing down culinary traditions with love.
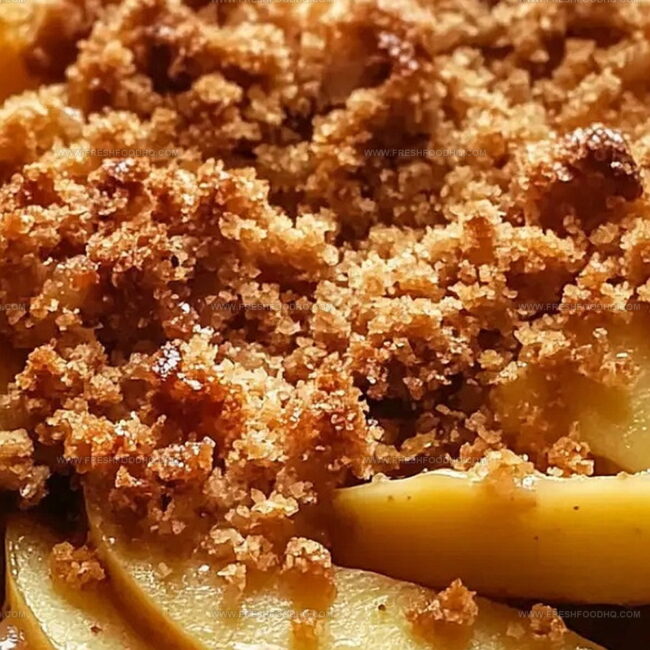
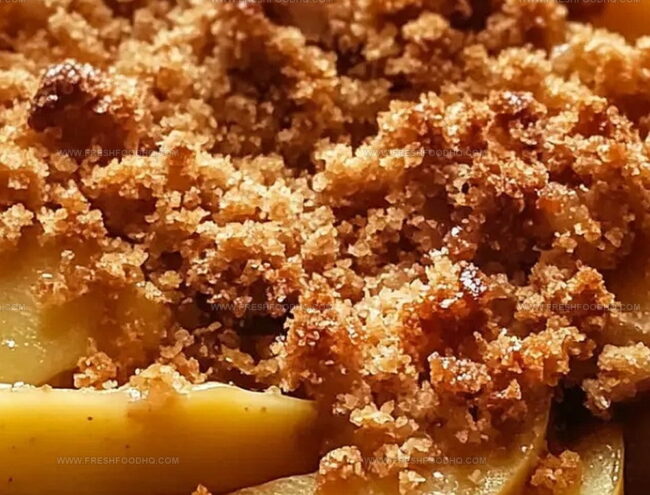
Ripe orchard fruits nestle beneath a golden, crumbly topping that promises delicious satisfaction.
Each spoonful connects you to cherished moments of shared meals and gentle laughter.
Why Old-Fashioned Apple Crisp Is a Classic Treat
Ingredients Needed for Old-Fashioned Apple Crisp
For the Fruit Base:For the Topping:For the Seasoning and Enhancers:How to Make Old-Fashioned Apple Crisp Perfectly
Step 1: Prepare Baking Setup
Warm up your oven to 350°F (175°C). Grab a 9×9-inch baking dish and coat it lightly with nonstick cooking spray to prevent sticking.
Step 2: Slice and Arrange Apples
Peel and slice crisp apples into uniform pieces. Spread them evenly across the prepared baking dish, creating a delightful fruity base.
Step 3: Create Crumbly Topping
In a mixing bowl, combine the following ingredients:Crack an egg into the dry ingredients and mix until the texture resembles coarse, crumbly goodness.
Step 4: Top the Apple Layer
Sprinkle the crumbly mixture generously and evenly over the arranged apple slices, ensuring complete coverage.
Step 5: Add Buttery Finish
Drizzle melted butter across the entire topping, which will help create a golden, crispy crust during baking.
Step 6: Bake to Perfection
Place the dish in the preheated oven and bake for 30-40 minutes.
Look for tender apples and a beautifully bronzed topping.
Step 7: Serve and Enjoy
Allow the apple crisp to cool slightly.
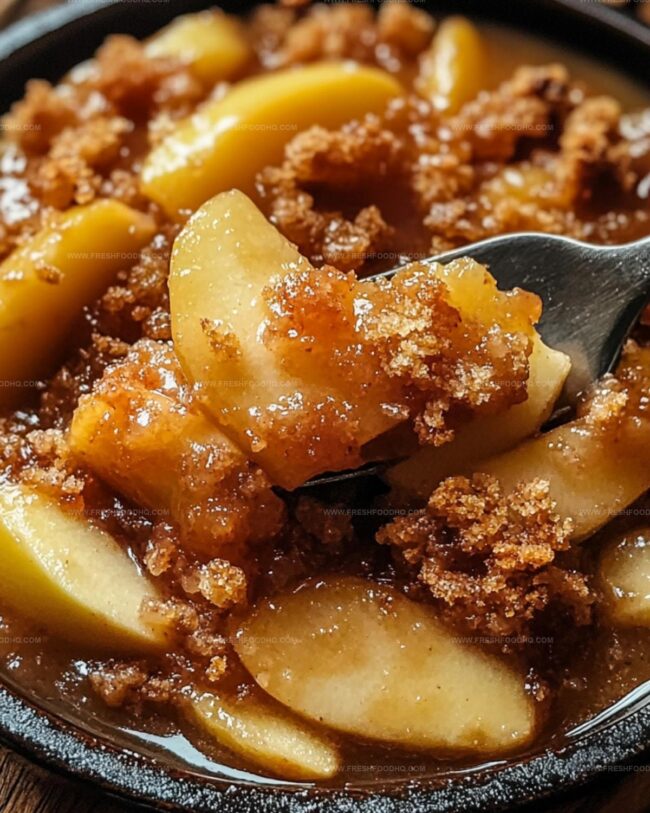
Serve warm with a scoop of vanilla ice cream or a dollop of whipped cream for an irresistible dessert experience.
Tips to Achieve the Best Old-Fashioned Apple Crisp
Variations to Try on Old-Fashioned Apple Crisp
What Goes Well with Old-Fashioned Apple Crisp
How to Store Old-Fashioned Apple Crisp Correctly
Store leftover apple crisp in an airtight container in the refrigerator for up to 4 days. Cover tightly with plastic wrap or lid to prevent moisture loss and preserve flavor.
Wrap the crisp securely in plastic wrap, then aluminum foil. Freeze for up to 3 months. Thaw overnight in the refrigerator before reheating.
Warm in a preheated 350F oven for 15-20 minutes. Cover with foil to prevent topping from burning while restoring crispness and warm, gooey texture.
Zap individual portions for 30-45 seconds on medium power. Add a splash of water to prevent drying out and maintain the crisp’s moistness.
FAQs
Different apple varieties add complexity to flavor and texture. Mixing sweet and tart apples like Granny Smith and Honeycrisp creates a more balanced and interesting dessert.
Yes, simply substitute the all-purpose flour with gluten-free flour blend. The crumb topping will maintain a similar texture and taste.
Look for golden brown topping and apples that are tender when pierced with a fork. The edges should be bubbling slightly, indicating the apples are fully cooked.
Apple crisp is most delicious when served warm, allowing the crumb topping to remain crispy and the apples to be soft and fragrant.
Print
Old-Fashioned Apple Crisp Recipe
- Total Time: 1 hour
- Yield: 6 1x
Description
Warm autumn days welcome homemade old-fashioned apple crisp brimming with sweet cinnamon-spiced apples and a golden, crumbly oat topping. Comfort meets nostalgia in this classic dessert that brings family and friends together around a delightful, irresistible treat you’ll savor to the last delicious bite.
Ingredients
Fruits:
- 5–6 cups apples, peeled and sliced
Dry Ingredients:
- 1 cup all-purpose flour
- 3/4 cup sugar
- 1 teaspoon baking powder
- 1 teaspoon ground cinnamon
- 3/4 teaspoon salt
Wet Ingredients:
- 1 egg, unbeaten
- 1/3 cup (5 1/3 tablespoons) butter, melted
Instructions
- Warm the oven to 350F (175C) and coat a 9×9-inch baking dish with nonstick cooking spray to ensure smooth release.
- Layer the meticulously peeled and uniformly sliced apples across the entire surface of the prepared baking dish, creating an even foundation.
- Create the crumb topping by whisking together flour, sugar, baking powder, ground cinnamon, and salt in a mixing bowl, then integrate the egg until the mixture transforms into a textured, granular consistency.
- Generously distribute the crumbly mixture across the apple layer, ensuring complete and balanced coverage.
- Carefully cascade the melted butter over the entire topping, allowing it to seep and enhance the crumb’s potential for crispy browning.
- Transfer the dish to the preheated oven and bake for 30-40 minutes, monitoring until the apples become tender when pierced with a fork and the topping achieves a rich, golden-brown complexion.
- Allow the crisp to rest and slightly cool for 10-15 minutes, which helps the dessert set and intensifies flavors. Complement with a scoop of vanilla ice cream or dollop of whipped cream for an elevated dessert experience.
Notes
- Choose crisp, tart apples like Granny Smith or Honeycrisp for the best balance of sweetness and texture in your apple crisp.
- Cut apples into uniform slices to ensure even baking and consistent softness throughout the dessert.
- Adjust sugar levels based on apple variety – sweeter apples need less added sugar, while tart apples might require a bit more.
- For a gluten-free version, swap regular flour with almond flour or gluten-free all-purpose flour blend to maintain the crumbly topping texture.
- Prep Time: 20 minutes
- Cook Time: 40 minutes
- Category: Desserts
- Method: Baking
- Cuisine: American
Nutrition
- Serving Size: 6
- Calories: 243 kcal
- Sugar: 19 g
- Sodium: 152 mg
- Fat: 9 g
- Saturated Fat: 5 g
- Unsaturated Fat: 3 g
- Trans Fat: 0.2 g
- Carbohydrates: 38 g
- Fiber: 3 g
- Protein: 2 g
- Cholesterol: 44 mg
Ethan Caldwell
Founder & Culinary Innovator
Expertise
Farm-to-table cooking, Seasonal recipe creation, Culinary storytelling, Food photography and styling
Education
The Chef’s Academy (Indianapolis, IN)
Ethan didn’t just fall in love with food, he grew into it, surrounded by fields, farmers’ markets, and family meals that told a story.
After sharpening his skills at The Chef’s Academy, he took his passion straight into the farm-to-table movement, working side-by-side with local growers and seasonal flavors.
He believes every recipe should feel like a walk through a summer market: colorful, fresh, and full of possibility.
Outside the kitchen, Ethan’s idea of a perfect day is hiking mountain trails, digging into heirloom vegetables, and hosting casual dinners where seconds are always encouraged.