Heartwarming Red Velvet Cookie Cake Recipe for Sweet Lovers
Baking a love-filled red velvet cookie cake sparks joy in every home kitchen.
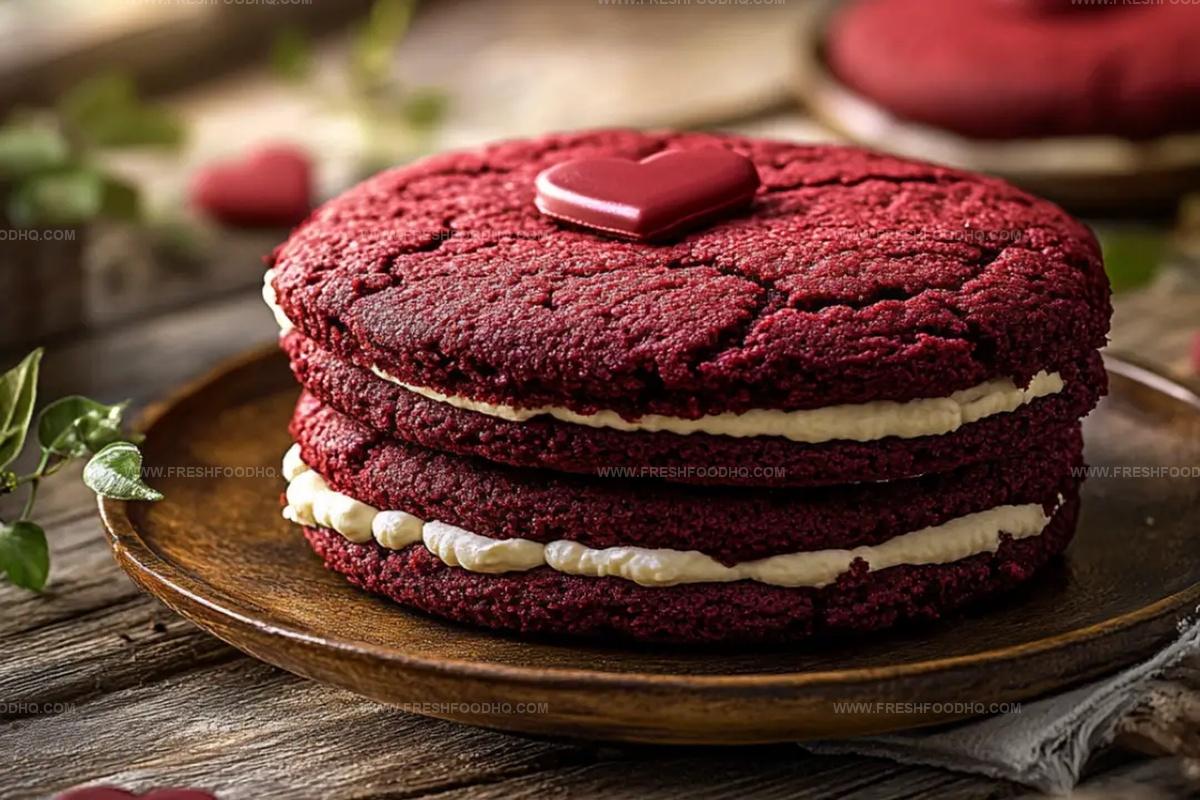
Soft, crimson layers melt together with creamy frosting that whispers sweet promises.
Deep crimson colors dance across tender crumbs, creating a dessert that feels like a warm embrace.
Chocolate undertones peek through velvety textures, making each bite an intimate celebration.
Rich cream cheese frosting adds luxurious smoothness to this decadent treat.
Memories of special moments seem to bloom with every slice you share.
Prepare to fall in love with this irresistible dessert that turns ordinary afternoons into magical experiences.
Reasons to Love Love-Filled Red Velvet Cookie Cake

What Goes Into Love-Filled Red Velvet Cookie Cake
Main Ingredients:
For the Base:Flavor Enhancers:Finishing Ingredients:Binding and Leavening Ingredients:Step-by-Step Guide to Red Velvet Cookie Cake

Step 1: Craft the Dry Mixture
Grab a mixing bowl and whisk together flour, baking soda, cocoa powder, and salt until they’re perfectly blended and free of lumps.
Step 2: Whip Up the Butter Base
In a separate large bowl, cream softened butter and sugar together, beating until the mixture becomes light, airy, and fluffy with a pale color.
Step 3: Create the Vibrant Wet Blend
Add these ingredients to the butter mixture:Mix thoroughly until everything is beautifully combined and creates a rich, vibrant red color.
Step 4: Combine and Fold
Gradually incorporate the dry ingredients into the wet mixture, stirring until just combined.
Gently fold in white chocolate chips, distributing them evenly throughout the dough.
Step 5: Prepare for Baking
Press the cookie dough evenly into a prepared baking pan, ensuring a smooth and consistent surface.
Step 6: Bake to Perfection
Slide the pan into a preheated oven and bake until the edges are set and a toothpick inserted in the center comes out clean, typically taking 18-22 minutes.
Step 7: Cool Down
Allow the cookie cake to cool completely in the pan, giving it time to set and develop its full flavor.
Step 8: Whip Up Dreamy Frosting
In a clean bowl, beat softened cream cheese and butter together until they become smooth and creamy.
Step 9: Create Fluffy Frosting
Gradually add powdered sugar and vanilla extract, beating until the mixture becomes wonderfully fluffy and spreadable.
Step 10: Decorate with Love
Spread the luscious frosting over the cooled cookie cake, covering it completely. Sprinkle decorative elements like colorful sprinkles to add a festive touch.
Helpful Tips for Making Red Velvet Cookie Cake

Unique Twists on Love-Filled Red Velvet Cookie Cake
Foods That Pair Well with Red Velvet Cookie Cake
Keeping Love-Filled Red Velvet Cookie Cake Fresh
Store the cookie cake in an airtight container in the refrigerator for up to 5 days. Cover tightly with plastic wrap or aluminum foil to prevent drying out.
Wrap the entire cookie cake or individual slices in plastic wrap, then place in a freezer-safe container. Freeze for up to 3 months for maximum freshness.
Remove from freezer and let sit in the refrigerator overnight. For quicker thawing, leave at room temperature for 1-2 hours before serving.
Warm individual slices in the microwave for 10-15 seconds on low power, or warm in a preheated oven at 300°F for 5-7 minutes to restore softness and maintain texture.
FAQs
Add 1-2 tablespoons of red food coloring to achieve the classic vibrant red velvet color, adjusting based on the intensity you prefer.
White chocolate chips work best for this recipe, but you can substitute with milk or dark chocolate chips if desired.
White vinegar helps activate the baking soda and creates a tender, soft texture in the cookie cake, enhancing its signature red velvet flavor.
Use a 9-inch round cake pan or springform pan to ensure even baking and easy removal of the cookie cake.
Print
Love-Filled Red Velvet Cookie Cake Recipe
- Total Time: 40 minutes
- Yield: 12 1x
Description
Red velvet cookie cake brings nostalgic comfort and Southern charm to dessert tables. Layers of rich crimson dough and cream cheese frosting create a delightful centerpiece you’ll crave again and again.
Ingredients
Main Ingredients:
- 2 cups all-purpose flour
- 1/4 cup cocoa powder
- 1/2 cup unsalted butter, softened
- 1 large egg
- 1/2 cup sugar
- 1/2 cup white chocolate chips
Supporting Ingredients:
- 1 teaspoon baking soda
- 1/4 teaspoon salt
- 1 teaspoon vanilla extract
- 1 teaspoon white vinegar
- 2 tablespoons red food coloring
Frosting Ingredients:
- 8 ounces (226 grams) cream cheese, softened
- 1/2 cup unsalted butter, softened
- 2 cups powdered sugar
- 1 teaspoon vanilla extract
- Sprinkles (for decoration)
Instructions
- Combine the dry ingredients by whisking flour, cocoa powder, baking soda, and salt in a mixing vessel until thoroughly blended.
- In a separate large bowl, utilize an electric mixer to cream butter and sugar until the mixture becomes airy and pale, approximately 3-4 minutes.
- Introduce egg, vanilla extract, white vinegar, and red food coloring to the butter mixture, blending until the color is uniformly distributed and ingredients are fully integrated.
- Carefully fold the dry ingredient mixture into the wet ingredients, stirring gently until just combined. Delicately incorporate white chocolate chips throughout the dough.
- Transfer the cookie cake batter into a prepared baking pan, carefully spreading the mixture evenly to create a smooth surface.
- Preheat the oven to 350°F and bake for 20 minutes, checking for doneness by inserting a toothpick into the center – it should emerge with minimal crumbs.
- Allow the cookie cake to cool completely within the pan, which helps maintain its structural integrity.
- Prepare the cream cheese frosting by whipping softened cream cheese and butter together until achieving a silky, uniform consistency.
- Gradually introduce powdered sugar and vanilla extract, continuing to beat until the frosting becomes light and spreadable.
- Once the cookie cake has cooled, generously apply the cream cheese frosting across the entire surface.
- Embellish with festive sprinkles or decorative elements to add a celebratory touch.
Notes
- Customize color intensity by adjusting red food coloring amount for deeper or lighter red hue.
- Ensure butter and cream cheese are room temperature for smoother mixing and better texture.
- Swap white chocolate chips with dark or milk chocolate for varied flavor profile.
- Consider using gluten-free flour blend to make recipe celiac-friendly without compromising taste.
- Prep Time: 20 minutes
- Cook Time: 20 minutes
- Category: Desserts
- Method: Baking
- Cuisine: American
Nutrition
- Serving Size: 12
- Calories: 310 kcal
- Sugar: 22 g
- Sodium: 180 mg
- Fat: 15 g
- Saturated Fat: 8 g
- Unsaturated Fat: 6 g
- Trans Fat: 0.5 g
- Carbohydrates: 38 g
- Fiber: 1.5 g
- Protein: 3 g
- Cholesterol: 40 mg
Ethan Caldwell
Founder & Culinary Innovator
Expertise
Farm-to-table cooking, Seasonal recipe creation, Culinary storytelling, Food photography and styling
Education
The Chef’s Academy (Indianapolis, IN)
Ethan didn’t just fall in love with food, he grew into it, surrounded by fields, farmers’ markets, and family meals that told a story.
After sharpening his skills at The Chef’s Academy, he took his passion straight into the farm-to-table movement, working side-by-side with local growers and seasonal flavors.
He believes every recipe should feel like a walk through a summer market: colorful, fresh, and full of possibility.
Outside the kitchen, Ethan’s idea of a perfect day is hiking mountain trails, digging into heirloom vegetables, and hosting casual dinners where seconds are always encouraged.