
The Dreamiest Thick Peanut Butter Bliss Cookies Recipe
Crafting these irresistibly thick peanut butter bliss cookies might just become your new weekend passion.
Sweet aromas will soon fill every kitchen corner with delectable promise.
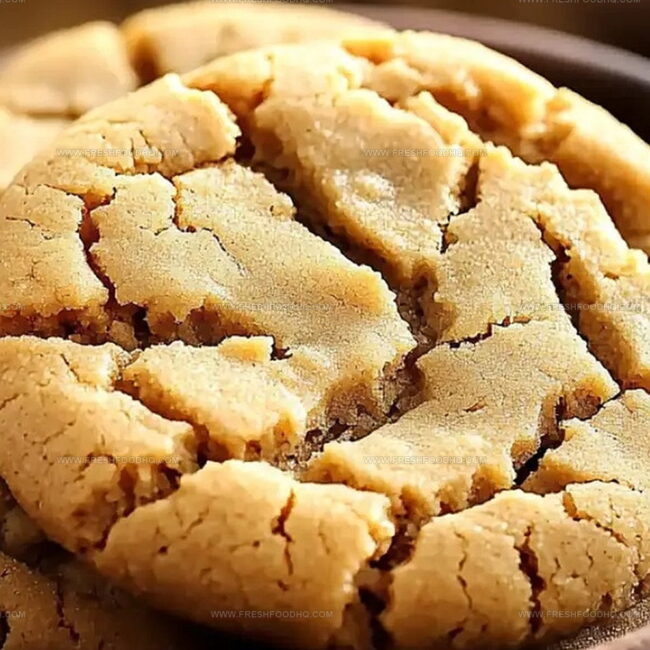
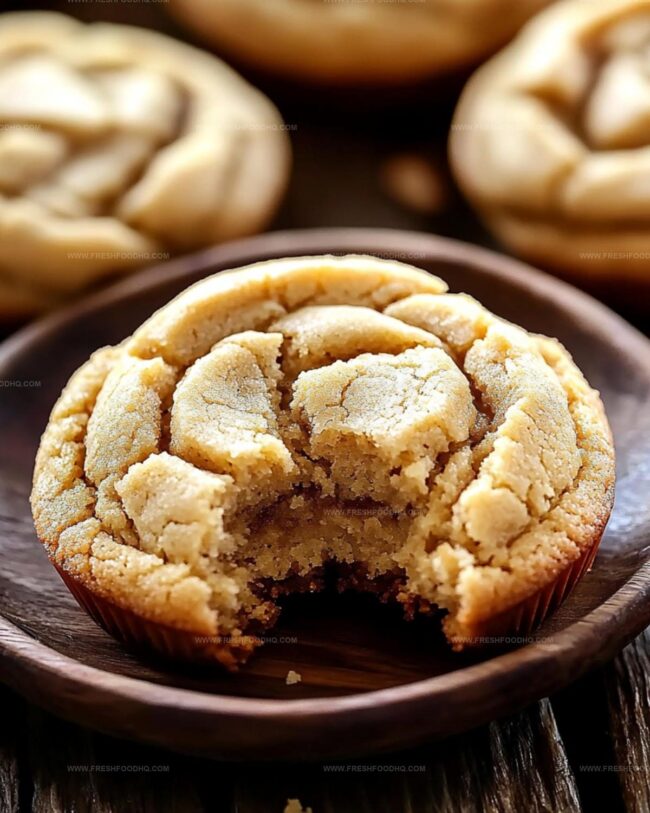
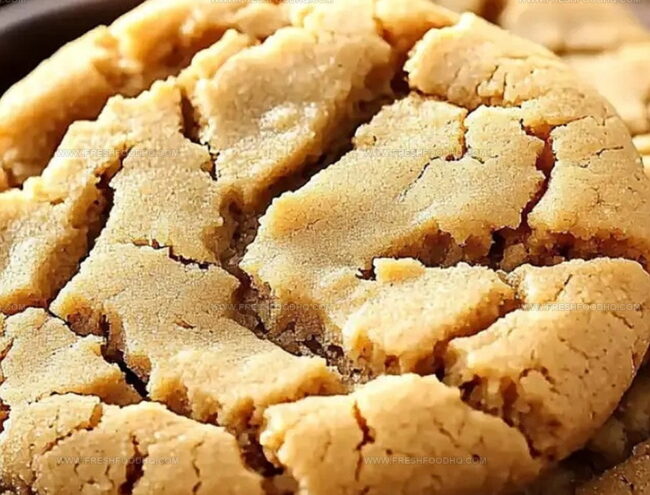
Soft centers and crispy edges create a magical texture that beckons chocolate lovers and cookie enthusiasts alike.
Our carefully balanced recipe ensures each bite delivers maximum comfort and satisfaction.
Nutty undertones complement rich, creamy notes in ways that surprise and delight.
Simple ingredients merge into something extraordinary, promising pure indulgence with minimal effort.
A single batch guarantees smiles and joyful munching across any gathering.
Why Thick Peanut Butter Bliss Cookies Rule
Ingredients for Thick Peanut Butter Bliss Cookies
For the Base Ingredients:For the Binding Ingredients:For the Dry Ingredients:How to Bake Thick Peanut Butter Bliss Cookies
Step 1: Warm Up the Oven
Crank your oven to 350F (175C) and grab a baking sheet. Line it with parchment paper for easy cleanup and perfect cookie release.
Step 2: Whip Creamy Foundations
In a spacious mixing bowl, grab your electric mixer and blend these ingredients until they transform into a fluffy cloud:Whip for about 2-3 minutes until the mixture looks light and dreamy.
Step 3: Introduce Liquid Magic
Crack eggs into the mixture one at a time, beating thoroughly after each addition.
Pour in vanilla extract and mix until everything looks silky smooth.
Step 4: Blend Dry Ingredients
In a separate bowl, whisk together:Make sure these dry ingredients are perfectly combined with no lumps.
Step 5: Create Cookie Dough
Slowly fold dry ingredients into wet mixture. Stir gently until a soft, pillowy dough forms.
Don’t overmix or your cookies might become tough.
Step 6: Shape Delightful Rounds
Scoop out dough and roll into beautiful balls.
Place them generously on the baking sheet, leaving space between each cookie. Use a fork to create those classic crisscross marks that make peanut butter cookies so iconic.
Step 7: Bake to Golden Perfection
Slide the tray into the oven and bake for 10-12 minutes. Watch for golden edges while keeping centers soft and tender.
Step 8: Cool and Savor
Let cookies rest on the baking sheet for 5 minutes. Transfer to a wire rack and allow them to cool completely.
Enjoy with a cold glass of milk or share with friends!
Tips for Perfect Thick Peanut Butter Bliss Cookies
Flavor Variations of Peanut Butter Bliss Cookies
What Goes Well with Peanut Butter Bliss Cookies
Keeping Peanut Butter Bliss Cookies Fresh
Store cookies in an airtight container for up to 5 days. Layer between parchment paper to prevent sticking and maintain texture.
Wrap cookie dough balls tightly in plastic wrap, then place in freezer bag. Freeze up to 3 months. Bake directly from frozen state, adding 2-3 extra minutes to baking time.
Place fully cooled cookies in single layer inside freezer-safe container. Separate layers with wax paper. Freeze up to 2 months. Thaw at room temperature for 30 minutes before serving.
Warm cookies in microwave for 10-15 seconds or in preheated oven at 300F for 3-5 minutes. Restore softness and bring back fresh-baked flavor instantly.
FAQs
These cookies are extra thick and rich, with a perfect balance of butter and peanut butter that creates an incredibly soft, melt-in-your-mouth texture.
Natural peanut butter can work, but it might change the cookie’s texture. Stick to creamy, stabilized peanut butter for the best results.
Use a fork and gently press down on each cookie ball before baking, creating the traditional fork marks that are both decorative and help flatten the cookies slightly.
Absolutely! These cookies are packed with peanut butter flavor and have a rich, dense texture that peanut butter lovers will definitely appreciate.
Print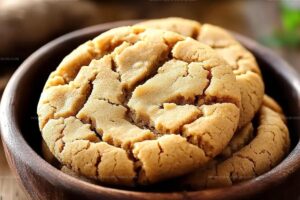
Irresistibly Thick Peanut Butter Bliss Cookies Recipe
- Total Time: 27 minutes
- Yield: 24 1x
Description
Indulgent peanut butter bliss cookies promise pure comfort with their rich, creamy texture and deep nutty flavor. Craving a sweet escape will melt away as cookies deliver pure happiness straight from your kitchen.
Ingredients
Primary Ingredients:
- 1 cup creamy peanut butter
- 1/2 cup unsalted butter, softened
- 2 large eggs
- 1 1/2 cups all-purpose flour
Sweeteners:
- 1 cup brown sugar, packed
- 1/2 cup granulated sugar
Leavening and Seasoning:
- 1 teaspoon baking soda
- 1/2 teaspoon baking powder
- 1/4 teaspoon salt
- 1 teaspoon vanilla extract
Instructions
- Prepare workspace by lining a baking sheet with parchment paper and heating oven to 350F (175C).
- In a spacious mixing bowl, combine softened butter, peanut butter, brown sugar, and granulated sugar. Whip vigorously until the mixture becomes airy and pale, approximately 2-3 minutes.
- Introduce eggs individually, thoroughly blending after each addition. Incorporate vanilla extract, stirring until the mixture achieves a uniform consistency.
- Separately, sift together flour, baking soda, baking powder, and salt in a clean bowl, ensuring even distribution of dry ingredients.
- Gradually fold dry ingredients into the wet mixture, gently mixing until a cohesive dough forms. Avoid overmixing to maintain cookie tenderness.
- Portion dough into golf ball-sized rounds, spacing them two inches apart on the prepared baking sheet. Gently press each ball with a fork, creating a distinctive crosshatch pattern.
- Place cookies in the preheated oven, baking for 10-12 minutes until edges turn golden while centers remain soft and slightly yielding.
- Allow cookies to rest on the baking sheet for 5 minutes, then transfer to a wire rack for complete cooling. Serve at room temperature or slightly warm for maximum enjoyment.
Notes
- Softened butter ensures smooth mixing and helps create a lighter, fluffier cookie texture.
- Avoid overmixing the dough to prevent tough, dense cookies that lack the signature soft and chewy consistency.
- Use room temperature eggs for better incorporation and more even baking throughout the cookies.
- For gluten-free options, substitute all-purpose flour with a 1:1 gluten-free baking blend to maintain the cookie’s delicate structure.
- Prep Time: 15 minutes
- Cook Time: 12 minutes
- Category: Snacks, Desserts
- Method: Baking
- Cuisine: American
Nutrition
- Serving Size: 24
- Calories: 195 kcal
- Sugar: 13 g
- Sodium: 107 mg
- Fat: 11 g
- Saturated Fat: 3.8 g
- Unsaturated Fat: 6.7 g
- Trans Fat: 0.1 g
- Carbohydrates: 19 g
- Fiber: 1.5 g
- Protein: 5 g
- Cholesterol: 30 mg
Ethan Caldwell
Founder & Culinary Innovator
Expertise
Farm-to-table cooking, Seasonal recipe creation, Culinary storytelling, Food photography and styling
Education
The Chef’s Academy (Indianapolis, IN)
Ethan didn’t just fall in love with food, he grew into it, surrounded by fields, farmers’ markets, and family meals that told a story.
After sharpening his skills at The Chef’s Academy, he took his passion straight into the farm-to-table movement, working side-by-side with local growers and seasonal flavors.
He believes every recipe should feel like a walk through a summer market: colorful, fresh, and full of possibility.
Outside the kitchen, Ethan’s idea of a perfect day is hiking mountain trails, digging into heirloom vegetables, and hosting casual dinners where seconds are always encouraged.