Tangy Dill Pickle Gummy Worms Recipe: A Fun Sour Twist
Crafting dill pickle gummy worms at home sparks unexpected culinary creativity that will surprise even adventurous snack enthusiasts.
Sour and zesty flavors dance together in this playful treat.
Pickles meet candy in a wild fusion that challenges traditional dessert boundaries.
Unique ingredients transform an ordinary recipe into something extraordinary.
Kitchen experimenters can easily master this quirky confection with simple steps.
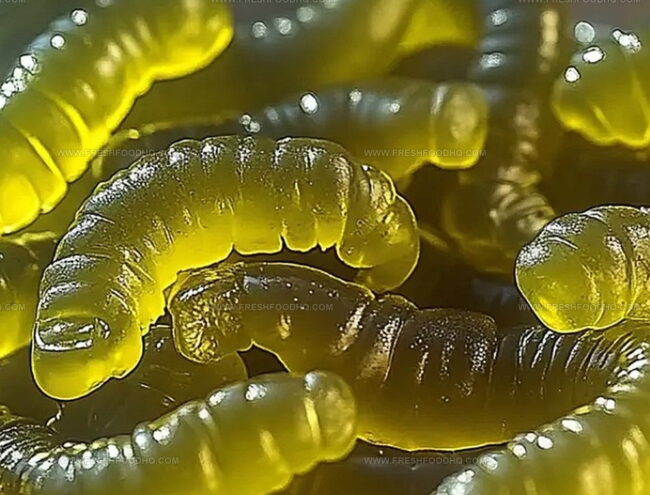
Tangy, chewy, and completely addictive – these gummy worms promise a flavor adventure you won’t forget.
Grab your apron and prepare to wow everyone with this conversation-starting snack.
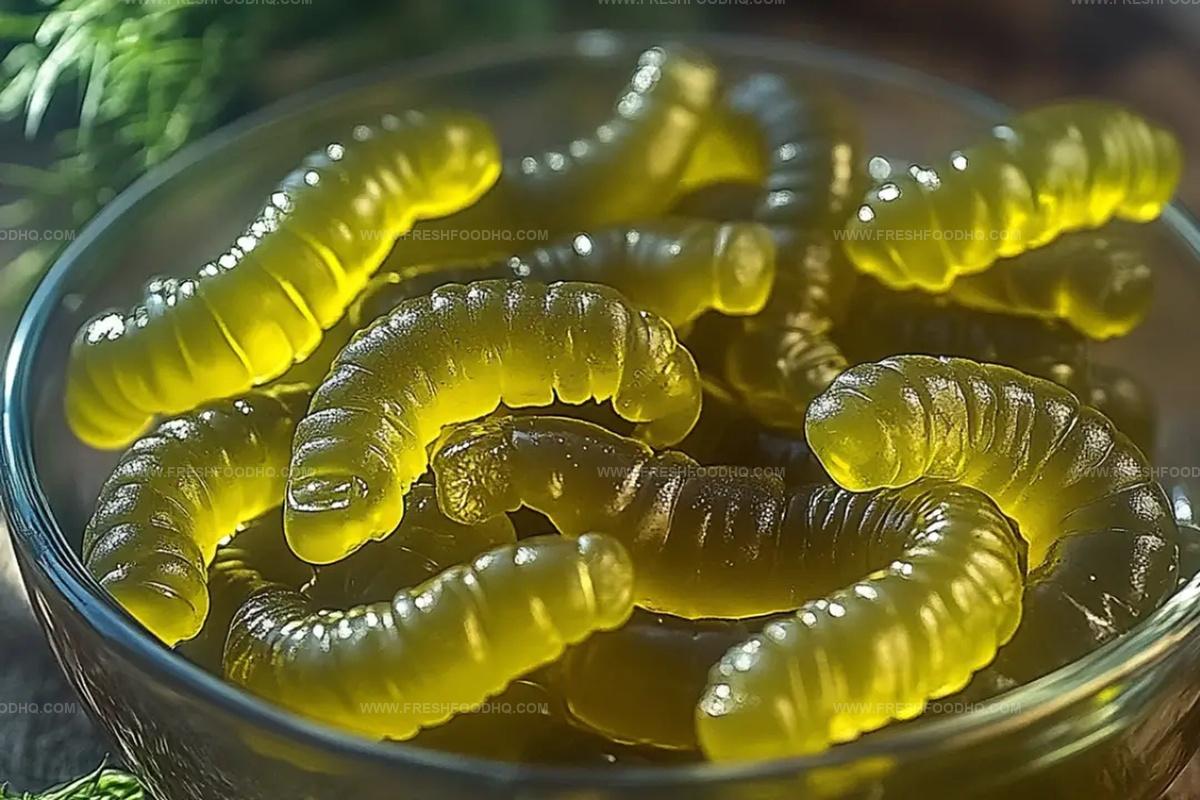
Fun and Tangy Homemade Dill Pickle Gummy Worms

Ingredients for Homemade Dill Pickle Gummy Worms
For the Base:For the Binding:For the Sweetness and Color:How to Make Dill Pickle Gummy Worms at Home
Step 1: Warm Pickle Liquid
Grab a small saucepan and combine dill pickle juice with water. Gently heat the liquid over low temperature, making sure it gets warm but never reaches a boil.
The goal is to create a smooth base for your unique gummy treat.
Step 2: Dissolve Gelatin
Slowly whisk unflavored gelatin into the warm liquid, adding one tablespoon at a time.
Stir consistently and patiently until every bit of gelatin completely dissolves. This step ensures a smooth, uniform texture for your gummy worms.
Step 3: Add Sweetness and Color
Mix in honey or sugar to balance the tangy pickle flavor. If you want a vibrant green look, add a few drops of green food coloring.
Stir until the sweetener is fully incorporated and the color is even.
Step 4: Cool the Mixture
Remove the saucepan from heat and let the liquid cool down slightly.
This prevents potential damage to the silicone mold and helps create the perfect gummy consistency.
Step 5: Fill Gummy Mold
Carefully pour or spoon the mixture into each cavity of a silicone gummy worm mold.
Ensure each section is completely filled for perfectly shaped worms.
Step 6: Set in Refrigerator
Place the mold in the refrigerator for 1-2 hours.
The gummy worms will gradually firm up and take their final wiggly shape during this chilling time.
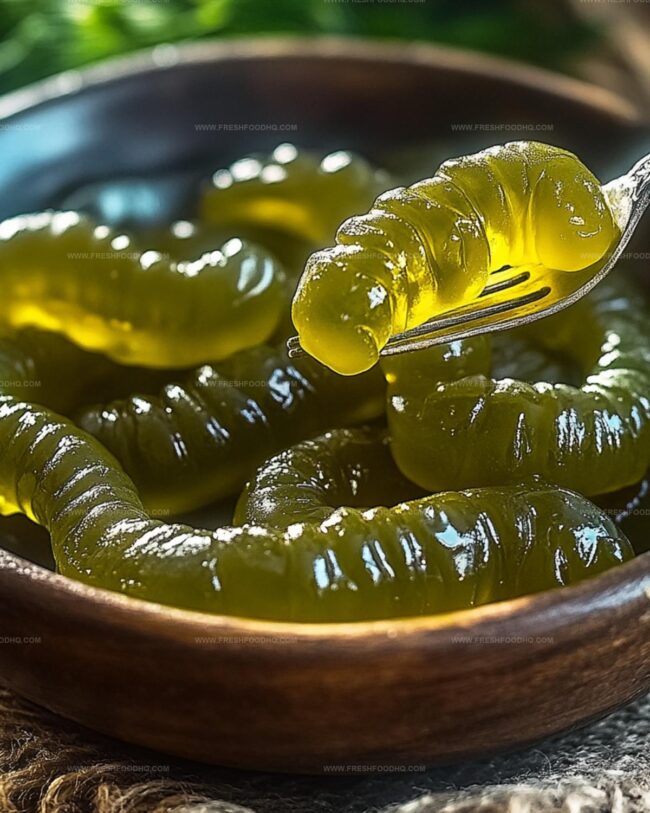
Step 7: Unmold and Store
Once the gummies are completely set, gently remove them from the mold.
Transfer the dill pickle gummy worms to an airtight container and keep refrigerated until ready to enjoy your unique snack.
Pro Tips for Perfectly Tangy Gummy Worms
Variations to Customize Dill Pickle Gummy Worms
Pairing Ideas for Dill Pickle Gummy Worms
Storage Advice for Homemade Dill Pickle Gummy Worms
Seal homemade dill pickle gummy worms in an airtight container, keeping them away from strong-smelling foods. They’ll stay fresh for 5-7 days when chilled.
Wrap individual gummy worms in parchment paper, place in a freezer-safe container, and store up to 2 months. Thaw in refrigerator before enjoying.
Keep gummy worms at room temperature for short periods (4-6 hours) during serving. Avoid direct sunlight or warm environments to prevent melting.
Do not microwave or heat gummy worms, as gelatin will break down. Gently bring to room temperature by removing from refrigerator 10-15 minutes before serving.
FAQs
These unique gummy worms offer a tangy and sweet flavor profile that surprisingly works well together, combining the zesty pickle juice with the sweetness of honey or sugar.
You’ll need a silicone gummy worm mold, which can be easily found online or in baking supply stores, and a small saucepan for preparing the mixture.
Yes, the green food coloring is optional and doesn’t affect the taste. Your gummy worms will still be delicious without it.
This recipe uses gelatin, which is typically derived from animal sources, so it’s not vegetarian-friendly. Vegetarians would need to use a plant-based gelatin alternative.
Print
Homemade Dill Pickle Gummy Worms Recipe
- Total Time: 2 hours 15 minutes
- Yield: 24 1x
Description
Spicy dill pickle gummy worms bring zesty homemade magic to classic candy lovers. Crisp vinegar notes and tangy pickle flavor dance across playful worm-shaped treats you’ll want to share with friends and family.
Ingredients
Gummy Base:
- 3 tablespoons (45 milliliters) unflavored gelatin
- 1 cup (240 milliliters) dill pickle juice
- 1/4 cup (60 milliliters) water
Sweetener:
- 1 tablespoon (15 milliliters) honey or sugar
Coloring and Molding:
- Green food coloring
- Silicone gummy worm mold
Instructions
- Gently warm pickle juice and water in a saucepan over low heat, avoiding boiling point.
- Whisk gelatin gradually into the liquid, ensuring complete dissolution without lumps.
- Incorporate honey or sugar to balance the tangy pickle flavor, adding green food coloring for visual interest.
- Allow the mixture to cool slightly, preventing potential gelatin breakdown.
- Transfer the liquid carefully into silicone gummy worm molds, filling each cavity precisely to the top.
- Refrigerate the molds for 1-2 hours, creating a firm, jiggly texture.
- Gently extract the pickle-flavored gummy worms from the molds.
- Store the completed gummy worms in a sealed container within the refrigerator to maintain their texture and prevent drying.
Notes
- Choose high-quality pickle juice for the most vibrant tangy flavor, avoiding overly processed brands.
- Dissolve gelatin slowly and steadily to prevent clumping, ensuring a smooth gummy texture.
- Consider using natural green food coloring like spirulina or matcha powder for a healthier alternative to artificial dyes.
- Experiment with different pickle juice varieties like garlic dill or bread-and-butter for unique flavor profiles that can surprise taste buds.
- Prep Time: 15 minutes
- Cook Time: 2 hours
- Category: Snacks, Desserts
- Method: Simmering
- Cuisine: American
Nutrition
- Serving Size: 24
- Calories: 5 kcal
- Sugar: 1 g
- Sodium: 190 mg
- Fat: 0 g
- Saturated Fat: 0 g
- Unsaturated Fat: 0 g
- Trans Fat: 0 g
- Carbohydrates: 1.3 g
- Fiber: 0 g
- Protein: 1.2 g
- Cholesterol: 10 mg
Ethan Caldwell
Founder & Culinary Innovator
Expertise
Farm-to-table cooking, Seasonal recipe creation, Culinary storytelling, Food photography and styling
Education
The Chef’s Academy (Indianapolis, IN)
Ethan didn’t just fall in love with food, he grew into it, surrounded by fields, farmers’ markets, and family meals that told a story.
After sharpening his skills at The Chef’s Academy, he took his passion straight into the farm-to-table movement, working side-by-side with local growers and seasonal flavors.
He believes every recipe should feel like a walk through a summer market: colorful, fresh, and full of possibility.
Outside the kitchen, Ethan’s idea of a perfect day is hiking mountain trails, digging into heirloom vegetables, and hosting casual dinners where seconds are always encouraged.