Sweet Homemade Chocolate Syrup Recipe: Easy Kitchen Magic
Crafting delectable homemade chocolate syrup transforms ordinary desserts into extraordinary culinary adventures.
Smooth, rich flavors dance across your palate with each silky drizzle.
Sweet chocolate magic happens when simple ingredients blend perfectly.
Kitchen creativity sparks excitement as you mix pure cocoa with natural sweeteners.
Modest kitchen skills unlock incredible taste sensations in minutes.
Chocolate lovers appreciate how simple ingredients create restaurant-quality results.
Let this recipe become your secret weapon for irresistible sweet moments.
Why Chocolate Syrup Is Better Homemade
What You Need for Chocolate Syrup
For the Base:For the Flavor Enhancers:For the Optional Thickener:How to Make Chocolate Syrup from Scratch
Step 1: Blend Chocolatey Base
In a medium saucepan, whisk together these rich ingredients:Mix thoroughly to create a smooth, dark foundation for your delectable syrup.
Step 2: Bring to Rolling Boil
Place the saucepan over medium-high heat and allow the mixture to bubble vigorously.
Stir occasionally to prevent scorching and ensure even heating.
Step 3: Simmer and Transform
Reduce heat to low and let the mixture gently simmer.
Watch as the liquid transforms into a glossy, deep chocolate mixture. Continue cooking for 3-4 minutes, stirring intermittently.
Step 4: Enrich with Flavor Boosters
Remove the saucepan from heat and introduce these magical ingredients:Stir until completely incorporated, creating a silky, luxurious texture.
Step 5: Optional Thickening Technique
If the syrup seems too thin, create a cornstarch slurry by mixing cornstarch with cold water.
Slowly drizzle into the warm syrup, stirring constantly until desired consistency is achieved.
Step 6: Cool and Store
Allow the syrup to cool completely at room temperature.
Transfer to a clean glass jar or airtight container. Refrigerate for up to two weeks, enjoying its rich chocolate goodness on desserts, drinks, and more.
Tips That Help with Syrup Consistency
Flavor Twists for Chocolate Syrup Fans
Tasty Uses for Chocolate Syrup Creations
Store This Syrup the Right Way
FAQs
Homemade syrup lets you control ingredients, avoiding preservatives and artificial additives, making it a healthier alternative with natural components.
Yes, you can substitute white sugar with honey, maple syrup, or coconut sugar for different flavor profiles and nutritional benefits.
When stored in an airtight container in the refrigerator, the syrup typically remains fresh for 2-3 weeks, maintaining its rich flavor and smooth consistency.
Chocolate syrup works great drizzled over ice cream, mixed into milk, added to coffee, used in baking, or as a topping for pancakes and desserts.
Print
Homemade Chocolate Syrup Recipe
- Total Time: 15 minutes
- Yield: 8 1x
Description
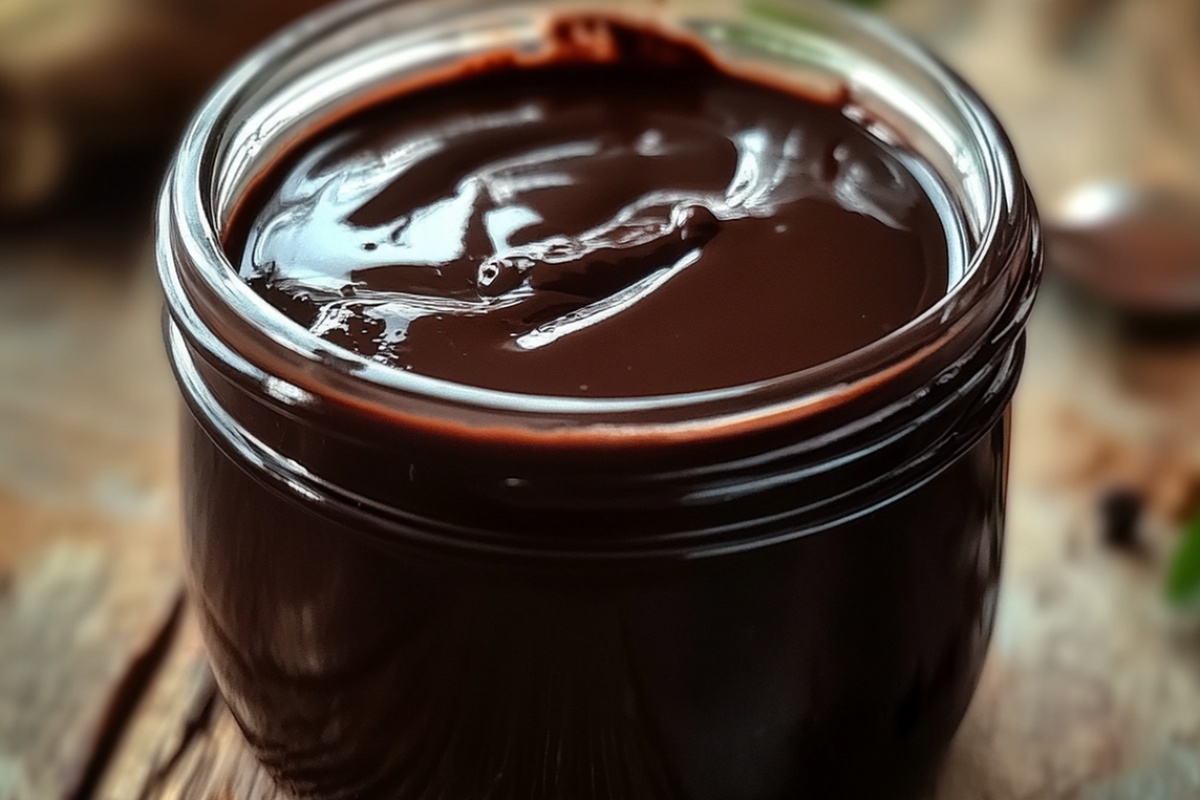
Indulgent homemade chocolate syrup elevates desserts with rich, velvety smoothness straight from your kitchen. Rich cocoa depths blend seamlessly, promising delightful drizzles over ice cream or morning pancakes you’ll savor with pure chocolate bliss.
Ingredients
Main Ingredients:
- 2 cups sugar
- 1 cup water
- 1/3 cup cocoa powder
Flavor Enhancers:
- 1 tablespoon vanilla extract
Binding/Richness Ingredients:
- 1 tablespoon butter or ghee
Instructions
- In a medium saucepan, whisk together sugar, water, and cocoa powder until smooth and free of lumps.
- Place the saucepan over medium-high heat, stirring constantly to prevent scorching, and bring the mixture to a rolling boil.
- Reduce heat to low and simmer for 2-3 minutes, allowing the mixture to slightly thicken and develop a rich, glossy texture.
- Remove from heat and gently incorporate vanilla extract and butter, stirring until completely blended and glossy.
- If the consistency appears too thin, create a quick cornstarch slurry by mixing cornstarch with a small amount of cold water, then slowly stir into the warm syrup until desired thickness is achieved.
- Allow the chocolate syrup to cool completely at room temperature, which will help it further thicken and develop a smooth, pourable consistency.
- Transfer to a clean, airtight glass container and refrigerate. The syrup will keep for approximately 2 weeks when stored properly in the refrigerator.
Notes
- Adjust sugar levels for a healthier version by using coconut sugar or monk fruit sweetener, which provide lower glycemic impact.
- Mix the cocoa powder thoroughly before heating to prevent lumps and ensure smooth, silky texture.
- Consider adding a pinch of salt to enhance the chocolate flavor and balance sweetness.
- Experiment with alternative flavor profiles by incorporating cinnamon, espresso powder, or orange zest for gourmet variations.
- Prep Time: 10 minutes
- Cook Time: 5 minutes
- Category: Desserts, Milkshake
- Method: Simmering
- Cuisine: American
Nutrition
- Serving Size: 8
- Calories: 154
- Sugar: 39 g
- Sodium: 2 mg
- Fat: 1 g
- Saturated Fat: 0.6 g
- Unsaturated Fat: 0.4 g
- Trans Fat: 0 g
- Carbohydrates: 40 g
- Fiber: 2 g
- Protein: 1 g
- Cholesterol: 3 mg
Ethan Caldwell
Founder & Culinary Innovator
Expertise
Farm-to-table cooking, Seasonal recipe creation, Culinary storytelling, Food photography and styling
Education
The Chef’s Academy (Indianapolis, IN)
Ethan didn’t just fall in love with food, he grew into it, surrounded by fields, farmers’ markets, and family meals that told a story.
After sharpening his skills at The Chef’s Academy, he took his passion straight into the farm-to-table movement, working side-by-side with local growers and seasonal flavors.
He believes every recipe should feel like a walk through a summer market: colorful, fresh, and full of possibility.
Outside the kitchen, Ethan’s idea of a perfect day is hiking mountain trails, digging into heirloom vegetables, and hosting casual dinners where seconds are always encouraged.