
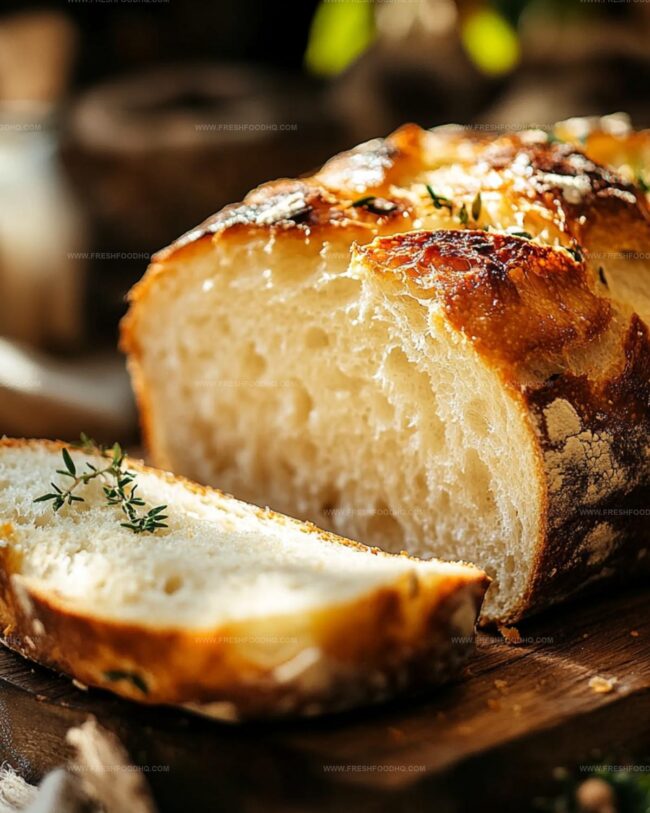
The Cozy Charm of Grandma’s Perfect Homemade Bread Recipe
My grandmother’s perfect homemade bread recipe carries memories of warm kitchens and love-filled moments.
Soft aromas would drift through her cozy farmhouse, promising comfort in every slice.
Kneading dough became an art form she mastered with gentle hands and patient techniques.
Generations of our family have cherished her simple yet magical approach to baking.
Salt, flour, and love combined in her special method that made each loaf extraordinary.
Bakers seeking soul-warming goodness will find pure joy in this treasured family tradition.
She taught me that great bread isn’t just about ingredients, it’s about connecting hearts through simple, delicious craft.
Grandma’s Perfect Homemade Bread
Ingredients for Grandma’s Homemade Bread
For the Proofing:For the Dough Base:For the Preparation and Finishing:How to Bake Grandma’s Perfect Bread
Step 1: Activate the Yeast
In a stand mixer bowl, blend warm water, sugar, salt, and yeast. Allow the mixture to sit quietly for 5 minutes until bubbly foam appears on the surface, signaling the yeast is ready to work its magic.
Step 2: Create the Dough
Attach the dough hook to your mixer. Gradually sprinkle in flour, one cup at a time.
Mix thoroughly until the dough transforms into a soft, cohesive mass that pulls away from the sides of the bowl.
Step 3: Knead with Love
Transfer the dough to a generously floured surface.
Knead the dough with your hands, pushing and folding repeatedly until it becomes smooth, elastic, and develops a silky texture. Shape into a perfect round ball.
Step 4: First Rising Adventure
Coat a large bowl with oil. Gently place the dough inside, turning to ensure it’s completely covered.
Drape a clean kitchen towel over the bowl. Let the dough rest in a warm, draft-free spot until it doubles in size, typically about 1-2 hours.
Step 5: Shape the Loaves
Punch down the risen dough to release trapped air. Divide the dough into two equal portions.
Carefully shape each portion into a smooth loaf. Place each loaf into greased and floured 9×5-inch bread pans.
Step 6: Second Rising
Cover the loaves with a clean kitchen towel. Allow them to rise again in a warm location until they double in size, which usually takes about 1 hour.
Step 7: Bake to Golden Perfection
Preheat the oven to 350°F (175°C). Slide the pans into the oven and bake for 30-35 minutes.
Look for a beautiful golden-brown crust that signals the bread is ready.
Step 8: Cool and Slice
Remove the bread from the oven.
Let the loaves cool in the pans for 10 minutes. Carefully turn out onto a wire rack.
Allow to cool completely before slicing into tender, heavenly pieces.
Pro Tips for Homemade Bread Success
Variations on Grandma’s Bread
Pairing Suggestions for Homemade Bread
Storage Advice for Homemade Bread
Store bread in an airtight container or sealed plastic bag for 5-7 days. Wrap tightly to prevent moisture loss and maintain freshness.
Wrap completely cooled bread in plastic wrap, then aluminum foil. Freeze for up to 3 months. Thaw at room temperature for 2-3 hours before serving.
Cut bread into individual slices, separate with parchment paper, place in freezer bag. Freeze up to 2 months. Toast directly from frozen state or thaw at room temperature.
Warm slices in toaster for crispy edges. Alternatively, wrap in foil and heat in 350F oven for 5-10 minutes to restore softness and warmth.
FAQs
Proofing helps activate the yeast and ensures it’s alive and working. This step creates the perfect environment for yeast to grow and helps your bread rise properly.
The dough should feel smooth and elastic. When you press it, it should spring back. Typically, kneading takes about 8-10 minutes by hand or 5-7 minutes in a stand mixer.
Absolutely! You can mix and knead the dough by hand using a wooden spoon and then kneading on a floured surface. It just requires a bit more arm strength and time.
Print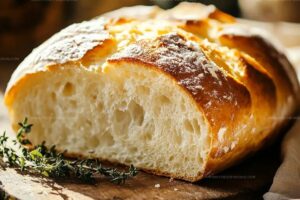
Grandmas Perfect Homemade Bread Recipe
- Total Time: 2 hours 50 minutes
- Yield: 12 1x
Description
Grandma’s perfect homemade bread brings warmth and nostalgia to kitchen counters with its rustic charm and irresistible aroma. Simple ingredients and love knead together memories of comfort and connection that will draw family and friends closer around the table.
Ingredients
Main Ingredients:
- 5 cups (1200 grams) all-purpose flour
- 2 1/2 cups (600 milliliters) warm water
- 1 tablespoon (15 grams) yeast
Sweeteners and Flavor Enhancers:
- 1/4 cup (50 grams) sugar
- 1 1/4 teaspoons (6 grams) salt
Liquid Ingredients:
- 2 tablespoons (30 milliliters) oil
Instructions
- Activate the yeast by whisking warm water, sugar, salt, and yeast in a stand mixer bowl. Allow the mixture to bloom for 5 minutes until foamy bubbles form.
- Attach the dough hook and gradually incorporate flour into the yeast mixture. Mix until a soft, cohesive dough develops.
- Transfer the dough to a lightly floured surface. Knead thoroughly, working the dough until smooth and elastic. Shape into a compact ball.
- Coat a large bowl with oil and place the dough inside. Cover with a clean kitchen towel and let rise in a warm area until volume doubles, approximately 1-1.5 hours.
- Deflate the dough by gently pressing down to release trapped air. Divide the dough into two equal portions. Carefully shape each section into a traditional loaf form.
- Place shaped loaves into greased and floured 9×5-inch bread pans. Cover and allow a second rise until loaves expand and nearly double in size, about 45-60 minutes.
- Preheat the oven to 350°F (175°C). Bake loaves for 30-35 minutes, rotating midway through cooking to ensure even golden-brown coloration.
- Remove bread from oven and let rest in pans for 5 minutes. Transfer to a wire rack and cool completely before slicing to maintain structural integrity.
Notes
- Activate yeast precisely by using water between 100-110°F to ensure perfect proofing without killing the microorganisms.
- Knead dough thoroughly for at least 8-10 minutes to develop strong gluten structure, creating a softer, more elastic bread texture.
- Maintain consistent warm environment during rising periods by placing dough in draft-free spot like inside turned-off oven with light on.
- Enhance bread flavor by brushing top with melted butter immediately after baking, creating golden crust and adding rich, subtle taste.
- Prep Time: 2 hours 15 minutes
- Cook Time: 35 minutes
- Category: Breakfast, Lunch, Dinner, Snacks
- Method: Baking
- Cuisine: American
Nutrition
- Serving Size: 12
- Calories: 137
- Sugar: 2.1 g
- Sodium: 208 mg
- Fat: 1.7 g
- Saturated Fat: 0.2 g
- Unsaturated Fat: 1.5 g
- Trans Fat: 0 g
- Carbohydrates: 27.4 g
- Fiber: 0.8 g
- Protein: 3.9 g
- Cholesterol: 0 mg
Ethan Caldwell
Founder & Culinary Innovator
Expertise
Farm-to-table cooking, Seasonal recipe creation, Culinary storytelling, Food photography and styling
Education
The Chef’s Academy (Indianapolis, IN)
Ethan didn’t just fall in love with food, he grew into it, surrounded by fields, farmers’ markets, and family meals that told a story.
After sharpening his skills at The Chef’s Academy, he took his passion straight into the farm-to-table movement, working side-by-side with local growers and seasonal flavors.
He believes every recipe should feel like a walk through a summer market: colorful, fresh, and full of possibility.
Outside the kitchen, Ethan’s idea of a perfect day is hiking mountain trails, digging into heirloom vegetables, and hosting casual dinners where seconds are always encouraged.