
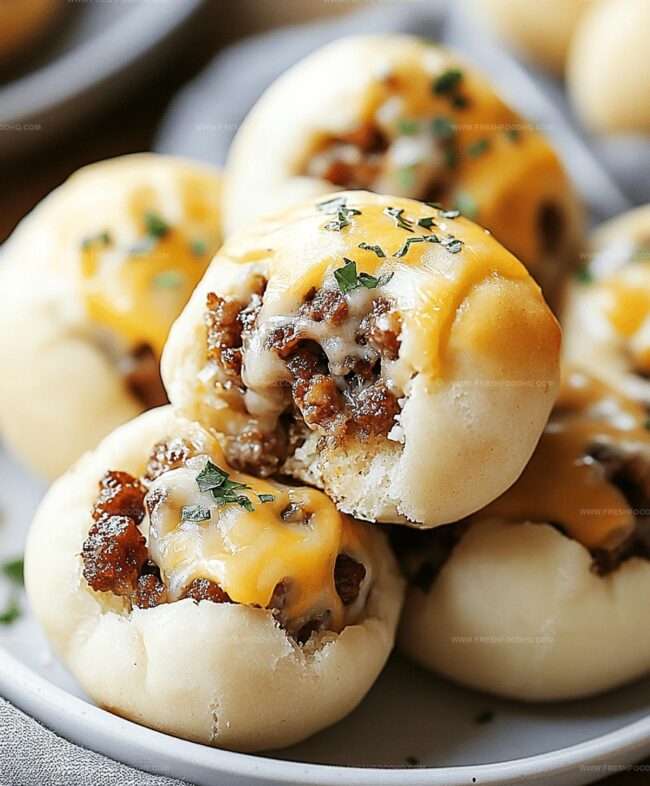
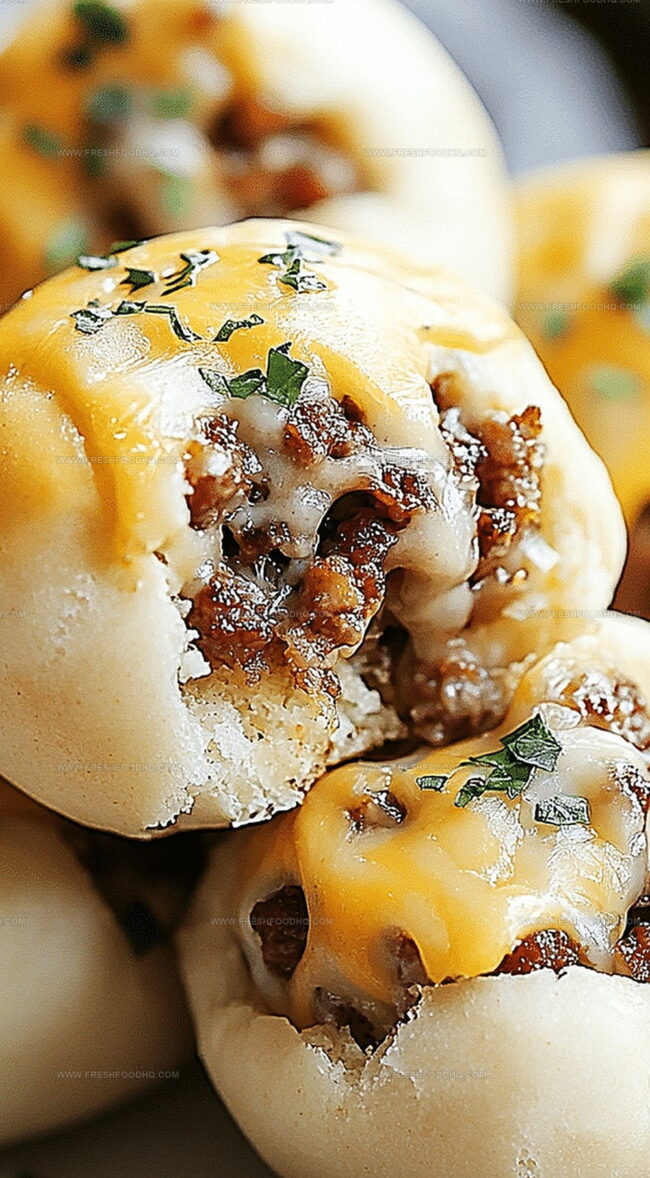
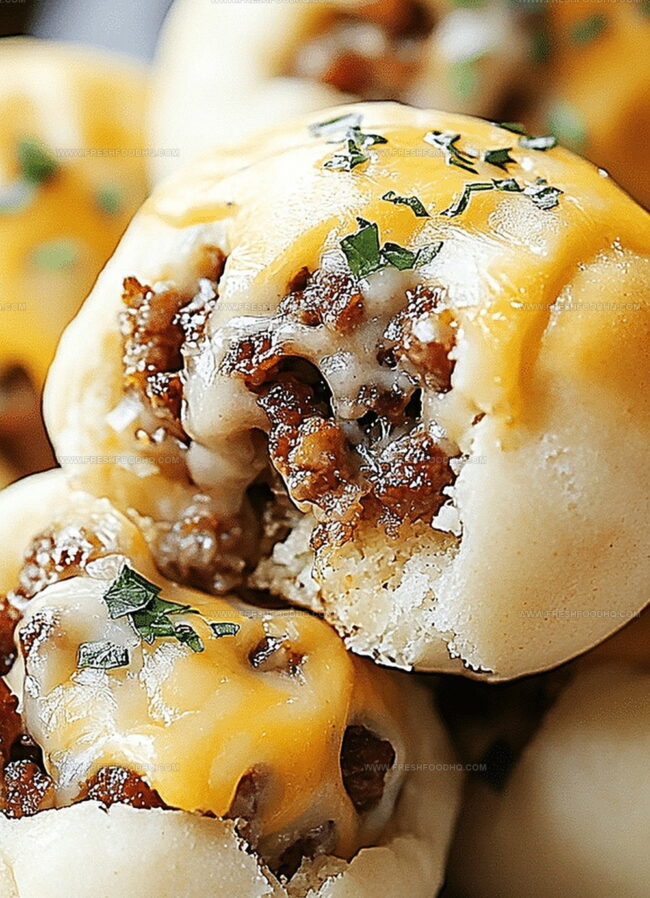
Sizzling Garlic Parmesan Cheeseburger Bombs Recipe for Foodies
Stuffed with melted garlic parmesan cheeseburger bombs promise an explosion of flavor that’ll make your taste buds dance.
Cheese lovers rejoice as these handheld delights pack serious punch.
Juicy ground beef meets creamy parmesan in a crispy package.
Comfort food gets a delicious upgrade with minimal effort.
Crisp edges and gooey centers create an irresistible combination.
Kitchen magic happens when simple ingredients come together perfectly.
Venture into this mouthwatering adventure and transform your next meal.
Garlic Parmesan Cheeseburger Bombs Flavor Overview
Ingredients Needed For Garlic Parmesan Cheeseburger Bombs
For the Main Ingredients:For the Seasoning and Flavor Enhancers:For the Finishing Touches:Preparation Instructions For Garlic Parmesan Cheeseburger Bombs

Step 1: Warm Up the Oven
Crank the oven to 375°F (190°C) and grab a baking sheet. Line it with parchment paper to prevent sticking.
Step 2: Brown the Beef
Toss ground beef into a skillet over medium heat. Cook until the meat turns a rich brown color.
Sprinkle with salt and pepper for extra flavor.
Step 3: Add Cheesy Goodness
Stir cheddar cheese into the cooked beef.
Remove the skillet from heat and let the mixture cool slightly.
Step 4: Create Delicious Pockets
Gently flatten each biscuit dough piece.
Place a generous scoop of the beef-cheese mixture right in the center. Carefully wrap and seal the dough around the filling, forming perfect little bombs.
Step 5: Arrange on Baking Sheet
Position the sealed bombs on the prepared baking sheet with the sealed side facing down.
Step 6: Prepare Garlic Butter Topping
Create a mouthwatering topping by mixing:Generously brush this mixture over the top of each bomb.
Step 7: Bake to Golden Perfection
Slide the baking sheet into the oven. Bake for 12-15 minutes until the bombs turn a gorgeous golden brown.
Step 8: Finish and Serve
Sprinkle some parsley flakes on top for a pop of color. Serve these heavenly bombs while they’re warm and watch everyone’s eyes light up!
Helpful Hints For Garlic Parmesan Cheeseburger Bombs
Creative Options For Garlic Parmesan Cheeseburger Bombs
Best Pairings With Garlic Parmesan Cheeseburger Bombs
Storage Tips For Garlic Parmesan Cheeseburger Bombs
FAQs
Yes, you can prepare these bombs ahead of time. Assemble them completely, then refrigerate for up to 24 hours before baking. They’re perfect for quick meals or snacks.
Absolutely! Ground turkey, chicken, or even plant-based meat alternatives work great in this recipe. Just ensure the meat is fully cooked before stuffing the biscuits.
No problem. You can use dried parsley flakes or skip the herb garnish entirely. The garlic parmesan topping will still provide plenty of flavor.
Definitely! Kids love these cheesy, handheld bombs. They’re easy to eat and packed with familiar flavors that children typically enjoy.
Print
Garlic Parmesan Cheeseburger Bombs Recipe
- Total Time: 30 minutes
- Yield: 6 1x
Description
Delectable garlic parmesan cheeseburger bombs blend savory ground beef with melted cheese inside a golden-brown pastry shell. Crispy exterior and gooey interior make these appetizers a crowd-pleasing sensation you cannot resist.
Ingredients
- 1 lb ground beef
- 1 cup shredded cheddar cheese
- 1/2 cup grated parmesan cheese
- 1 tablespoon minced garlic
- 1 can refrigerated biscuit dough
- 2 tablespoons melted butter
- 1 teaspoon parsley flakes (optional)
- Salt and pepper to taste
Instructions
- Prepare the oven to 375F (190C) and cover a baking sheet with parchment paper.
- Brown ground beef in a skillet over medium heat, seasoning with salt and pepper.
- Incorporate cheddar cheese into the meat mixture and remove from heat.
- Gently press each biscuit dough piece flat, creating a small circular base.
- Position a generous scoop of beef-cheese mixture in the center of each dough circle.
- Carefully fold and pinch edges to fully encase the filling, forming a compact spherical shape.
- Place bombs sealed-side down on the prepared baking sheet, ensuring even spacing.
- Create a savory topping by combining melted butter, finely chopped garlic, and grated parmesan cheese.
- Generously brush the butter mixture over the surface of each bomb.
- Bake for 12-15 minutes until the exterior turns a rich golden brown and appears crispy.
- Optional: Sprinkle fresh parsley flakes for added color and herbal notes.
- Serve immediately while warm for maximum flavor and texture enjoyment.
Notes
- Choose lean ground beef for a healthier version, reducing excess grease and creating a lighter texture.
- Experiment with different cheese types like mozzarella or Swiss for unique flavor variations and personalized taste.
- Work with cold biscuit dough to ensure easier sealing and prevent filling from leaking during baking.
- Replace regular biscuit dough with gluten-free biscuit mix or low-carb almond flour dough for dietary restrictions.
- Prep Time: 15 minutes
- Cook Time: 15 minutes
- Category: Lunch, Dinner, Snacks
- Method: Baking
- Cuisine: American
Nutrition
- Serving Size: 6
- Calories: 436
- Sugar: 1 g
- Sodium: 620 mg
- Fat: 33 g
- Saturated Fat: 14 g
- Unsaturated Fat: 16 g
- Trans Fat: 1 g
- Carbohydrates: 13 g
- Fiber: 1 g
- Protein: 23 g
- Cholesterol: 85 mg
Ethan Caldwell
Founder & Culinary Innovator
Expertise
Farm-to-table cooking, Seasonal recipe creation, Culinary storytelling, Food photography and styling
Education
The Chef’s Academy (Indianapolis, IN)
Ethan didn’t just fall in love with food, he grew into it, surrounded by fields, farmers’ markets, and family meals that told a story.
After sharpening his skills at The Chef’s Academy, he took his passion straight into the farm-to-table movement, working side-by-side with local growers and seasonal flavors.
He believes every recipe should feel like a walk through a summer market: colorful, fresh, and full of possibility.
Outside the kitchen, Ethan’s idea of a perfect day is hiking mountain trails, digging into heirloom vegetables, and hosting casual dinners where seconds are always encouraged.