Quick & Fluffy Homemade White Bread Recipe for Baking Joy
Crafting a delightful white bread recipe brings pure comfort to any kitchen.
Soft, pillowy slices emerge from simple ingredients that dance together magically.
Flour, yeast, and water create something extraordinary with minimal effort.
Home bakers discover incredible satisfaction in watching dough rise and transform.
Professional chefs and novice cooks alike can master this straightforward technique.
Salt and sugar play crucial roles in developing deep, rich flavors.
You’ll feel proud presenting warm, golden loaves straight from your oven.
Baking becomes an adventure waiting to unfold with each knead and rise.
Why Easy Homemade White Bread Is A Pantry Essential
What Goes Into Homemade White Bread
Core Ingredients:Seasoning and Enhancers:Preparation Aids:Simple Steps For Baking White Bread At Home
Step 1: Blend Dry Ingredients
Create a flavor foundation by combining flour, yeast, sugar, and salt in a spacious mixing bowl. Ensure all dry components are well-integrated for consistent texture and taste.
Step 2: Introduce Liquid Elements
Pour warm water and vegetable oil into the dry mixture. Stir thoroughly to transform the ingredients into a cohesive dough mixture.
Step 3: Knead With Passion
Transfer the dough onto a lightly floured surface. Work the dough with your hands, pushing and folding for approximately 10 minutes. The goal is achieving a smooth, elastic consistency that feels soft and pliable.
Step 4: First Rising Stage
Allow the dough to rest and expand in a warm location for about 60 minutes. The dough should roughly double in volume, indicating successful yeast activation.
Step 5: Shape Your Bread
Gently deflate the risen dough by pressing down with your fist. Carefully shape the dough into a smooth loaf form that will fit perfectly in your baking pan.
Step 6: Second Rising Period
Let the dough rise again for approximately 30 minutes, allowing it to become puffy and voluminous.
Step 7: Prepare Oven
Preheat your oven to 375°F (190°C). Ensure the rack is positioned in the center for even baking.
Step 8: Bake To Golden Perfection
Slide the prepared loaf into the preheated oven. Bake for 30-35 minutes until the top turns a beautiful golden-brown color and the bread sounds hollow when tapped.
Step 9: Cool and Slice
Remove the bread from the oven and let it cool completely on a wire rack. This resting period helps the interior set and makes slicing easier.
Helpful Tips For Fluffy Homemade White Bread
Variations To Try With Homemade White Bread
What Pairs Well With Homemade White Bread
How To Store Homemade White Bread And Keep It Soft
FAQ Guide For White Bread Baking
Kneading develops gluten, which gives bread its structure and helps create a soft, chewy texture. The more you knead, the better the bread’s texture will be.
If the yeast creates bubbles and foams when mixed with warm water, it’s active and ready to use. If no reaction occurs, the yeast might be old or dead.
You can substitute part of the white flour with whole wheat, but using 100% whole wheat will result in a denser, heavier bread. Start by replacing 25-30% of white flour with whole wheat.
Print
Easy Homemade White Bread Recipe
- Total Time: 2 hours 10-15 minutes
- Yield: 12 1x
Description
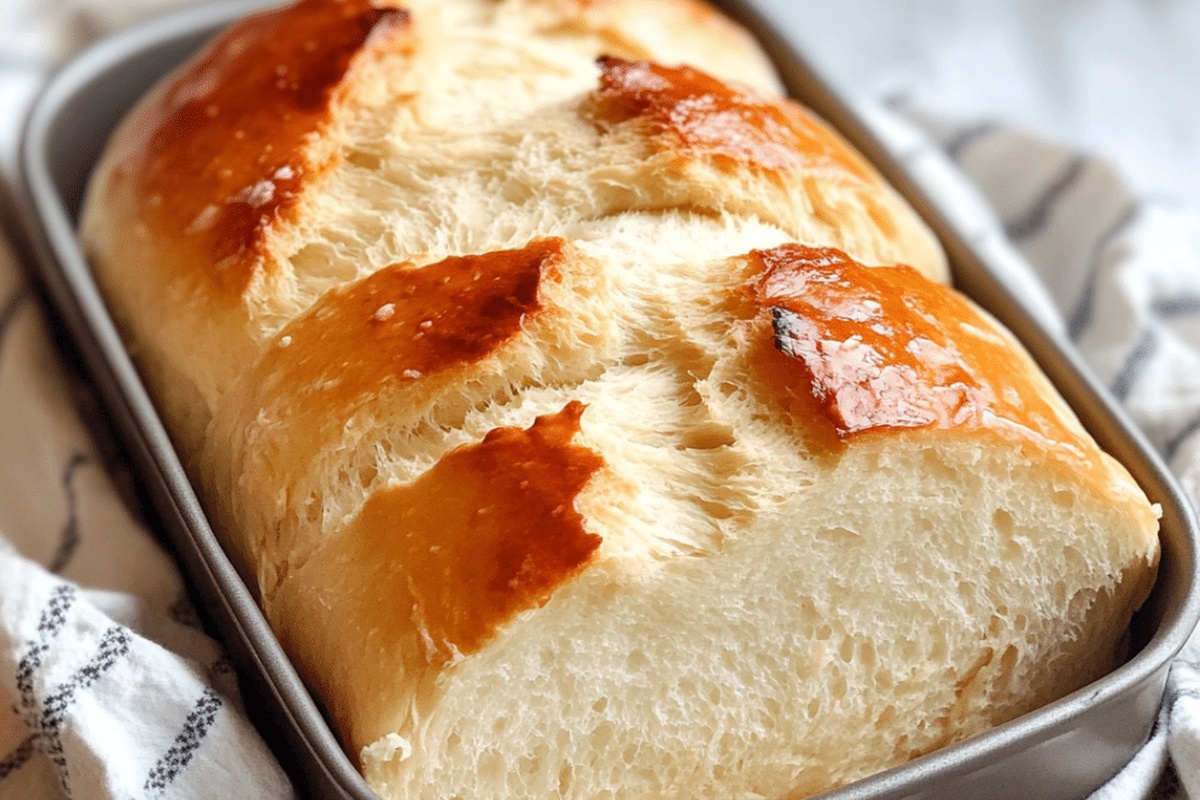
Delightful homemade white bread brings warmth and comfort straight from your kitchen. Crisp golden crust and pillowy interior invite you to savor each hearty slice with pure baking satisfaction.
Ingredients
Main Ingredients:
- 4 cups (960 ml) all-purpose flour
- 1 1/2 cups (360 ml) warm water
- 1 packet (7 grams) active dry yeast
Flavor Enhancers:
- 2 tablespoons (30 ml) sugar
- 1 teaspoon (5 ml) salt
Oil:
- 2 tablespoons (30 ml) vegetable oil
Instructions
- Blend flour, active dry yeast, sugar, and salt in a spacious mixing vessel.
- Pour lukewarm water and vegetable oil into the dry ingredient mixture.
- Stir ingredients until a cohesive dough develops, ensuring all components are thoroughly integrated.
- Transfer dough onto a lightly dusted work surface and massage vigorously for approximately 10 minutes, creating a silky, resilient texture.
- Transfer kneaded dough into a generously greased container, drape with a clean kitchen cloth, and allow to expand in a warm environment for 60 minutes until volume doubles.
- Deflate the risen dough with gentle pressure and mold into a smooth, uniform loaf shape.
- Carefully position the shaped dough into a buttered loaf pan, cover with a soft cloth, and permit second rising for 30 minutes.
- Heat oven to 375°F (190°C) while dough completes its final proofing.
- Slide the prepared loaf into the preheated oven and bake for 30-35 minutes until surface achieves a rich, golden-brown complexion.
- Remove bread from oven and allow complete cooling on a wire rack before slicing to maintain structural integrity.
Notes
- Warm water’s temperature matters critically; aim for 110-115°F to activate yeast without killing it.
- Use bread flour for higher protein content, resulting in better gluten development and a chewier texture.
- Brush the top with melted butter right after baking for a softer, shinier crust that adds rich flavor.
- For gluten-free version, substitute bread flour with a blend of gluten-free flour and add xanthan gum to improve texture.
- Prep Time: 1 hour 40 minutes
- Cook Time: 30-35 minutes
- Category: Breakfast, Lunch, Dinner, Snacks
- Method: Baking
- Cuisine: American
Nutrition
- Serving Size: 12
- Calories: 130 kcal
- Sugar: 3 g
- Sodium: 120 mg
- Fat: 2 g
- Saturated Fat: 0.3 g
- Unsaturated Fat: 1.5 g
- Trans Fat: 0 g
- Carbohydrates: 25 g
- Fiber: 1 g
- Protein: 4 g
- Cholesterol: 0 mg
Samantha Lee
Recipe Developer & Content Creator
Expertise
Plant-based and vegetarian recipes, Recipe testing and development, Food blogging and digital content creation, Culinary education and workshops
Education
Oregon Culinary Institute (Portland, OR)
Samantha sees cooking like painting, every fresh herb, every juicy tomato, a new splash of color on a canvas.
After graduating from Oregon Culinary Institute, she blended her love of global cuisines and plant-based cooking into recipes that feel fresh, fearless, and full of heart.
Samantha’s kitchen is a place where comfort food gets a modern remix and every meal feels like a little adventure. When she’s not cooking, she’s out exploring farmers’ markets, sketching new recipe ideas, or getting her hands dirty in a community garden.