Easy DIY Cream Cheese Magic Recipe for Your Kitchen Adventures
Whipping up a delightful cream cheese magic recipe can transform your ordinary kitchen moments into culinary adventures.
Smooth and creamy textures await you with this simple technique.
Homemade goodness beckons when you understand how easy it is to create something spectacular.
Professional chefs might guard their secrets, but we’re sharing everything you need to know.
Crafting this delectable spread requires minimal ingredients and maximum enthusiasm.
Mixing becomes an art form that connects you with classic cooking traditions.
You’ll be amazed at how quickly this recipe comes together, promising delicious results that will impress everyone at the table.
DIY Cream Cheese Magic That Everyone Will Love
Ingredients Needed to Make DIY Cream Cheese Magic
For the Dairy Base:For the Curdling Agent:For the Seasoning and Texture:For the Straining and Preparation:For the Storage:Step-by-Step Instructions for DIY Cream Cheese Magic

Step 1: Warm Up the Milk
Pour milk into a heavy-bottomed saucepan and heat it over medium flame. Stir occasionally to prevent the bottom from burning and ensure even heating.
Step 2: Separate Dairy Magic
When the milk reaches a gentle boil, gradually add lemon juice while softly stirring with a slotted spoon. Watch as the curds magically separate from the whey.
Remove the pan from the heat source.
Step 3: Drain the Creamy Goodness
Prepare a strainer by lining it with cheesecloth.
Pour the milk mixture into the lined strainer, allowing the whey to drain completely. Let the curds rest for 15-20 minutes to remove excess liquid.
Step 4: Whip Into Smooth Perfection
Gently squeeze out any remaining liquid from the curds. Transfer the curds to a food processor and add:Blend for 3 minutes until the mixture becomes silky smooth and incredibly creamy.
Step 5: Chill and Enjoy
Move the freshly made cream cheese into an airtight container. Refrigerate for at least 30 minutes to enhance the flavor and texture.
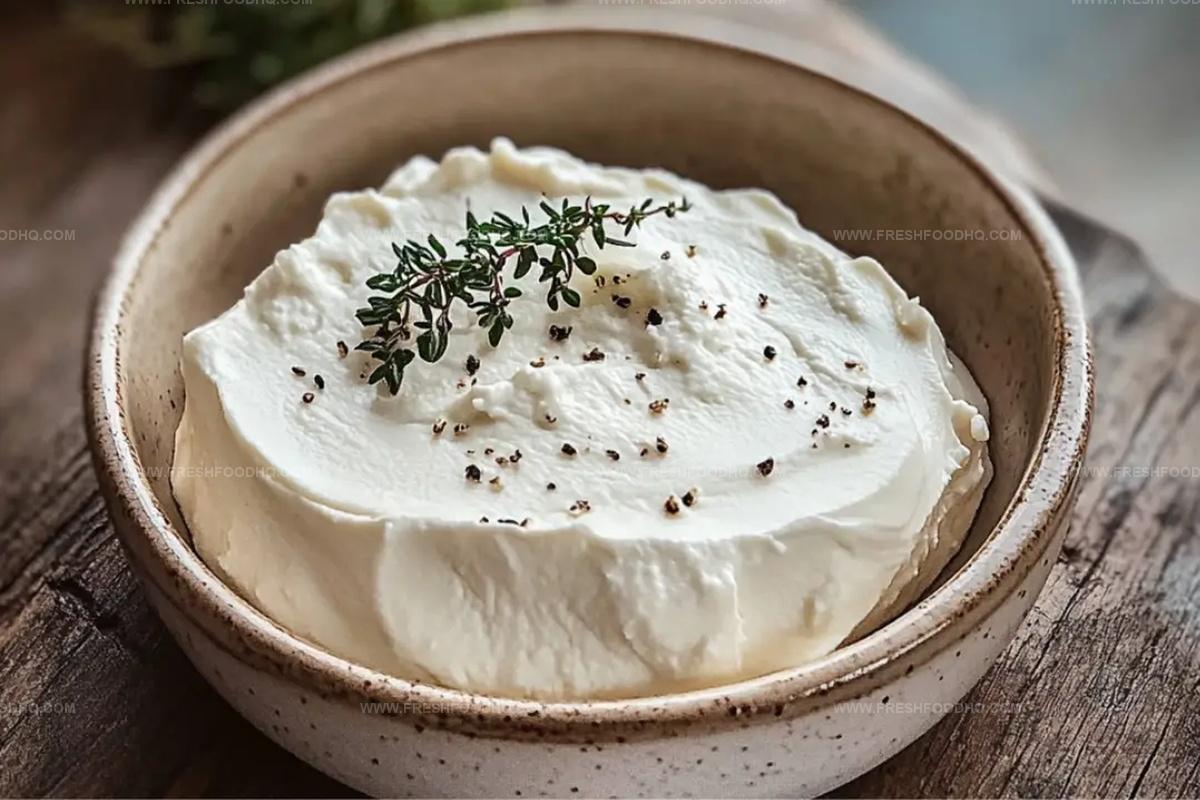
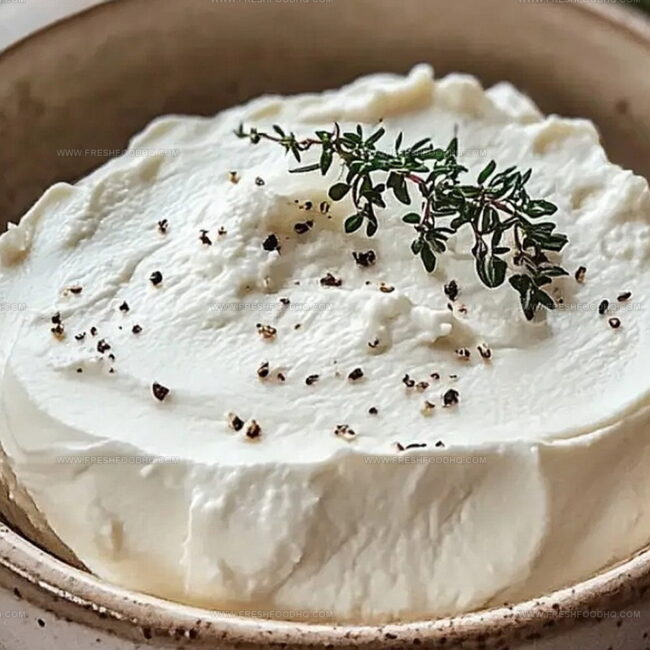
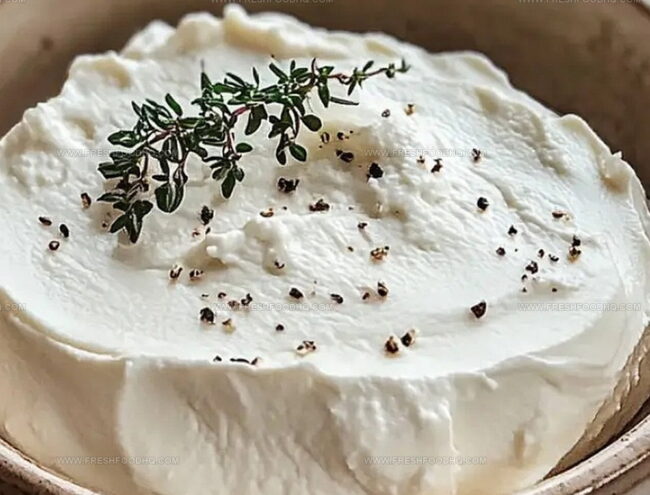
Your homemade cream cheese is now ready to spread, dip, or enjoy however you like!
Tips to Perfect DIY Cream Cheese Magic Consistency
Flavorful Twists on Classic DIY Cream Cheese Magic
Pairings That Enhance DIY Cream Cheese Magic Experience
Elevate Homemade Cream Cheese Delights:Proper Care to Store DIY Cream Cheese Magic Fresh
Store homemade cream cheese in an airtight container in the refrigerator for up to 5-7 days. Keep it tightly sealed to prevent absorption of other food odors.
Portion cream cheese into freezer-safe containers, leaving some space for expansion. Freeze for up to 2 months. Thaw overnight in the refrigerator before use.
Bring refrigerated cream cheese to room temperature for 15-20 minutes before serving. Stir thoroughly to restore creamy consistency. Avoid microwaving to prevent separation.
Always inspect for any signs of spoilage like unusual smell, mold, or texture changes before consuming stored cream cheese.
FAQs
No, it’s surprisingly simple! With just a few basic ingredients like milk and lemon juice, anyone can create delicious cream cheese at home in under an hour.
Whole milk is recommended because it provides the richest flavor and creamiest texture for your homemade cream cheese.
Yes, white vinegar works perfectly as an alternative acidic ingredient to help separate the curds and whey during the cheese-making process.
When stored properly in an airtight container, your homemade cream cheese will stay fresh for about 5-7 days.
Print
Diy Cream Cheese Magic Recipe
- Total Time: 30 minutes
- Yield: 4 1x
Description
DIY cream cheese magic brings creamy, dreamy delight straight from your kitchen to the table. Homemade spreadable goodness promises a delectable experience you’ll savor with each silky smooth bite.
Ingredients
Main Ingredients:
- 4 cups (960 milliliters) whole milk
- 34 tablespoons (510 milliliters) fresh lemon juice
Seasoning:
- 1/2 teaspoon (2.5 grams) salt
Instructions
- Prepare a heavy-bottomed saucepan and pour milk into it, heating over medium flame until a gentle simmer emerges, stirring periodically to prevent bottom scorching.
- Once milk reaches a soft boil, gradually introduce lemon juice while using a slotted spoon to gently agitate the liquid, which will trigger immediate curd separation from the whey.
- Position a cheesecloth-lined strainer over a large bowl, then carefully pour the milk mixture into the cloth, allowing whey to drain completely for approximately 15-20 minutes.
- Gently squeeze remaining liquid from the collected curds, transferring them into a food processor with salt, then blend for 3 minutes until achieving a velvety, uniform consistency.
- Scoop the freshly processed cream cheese into a sealed container, then refrigerate for minimum 30 minutes to enhance flavor and texture before serving.
Notes
- Use whole milk with higher fat content for a richer, creamier texture that elevates the final cream cheese.
- Experiment with adding herbs like chives, dill, or garlic powder during blending to create unique flavor variations.
- For a lighter version, drain the curds longer to reduce moisture and create a firmer, more spreadable consistency.
- Store homemade cream cheese in an airtight container in the refrigerator for up to 5-7 days, ensuring maximum freshness and flavor.
- Prep Time: 10 minutes
- Cook Time: 20 minutes
- Category: Desserts, Snacks
- Method: Boiling
- Cuisine: American
Nutrition
- Serving Size: 4
- Calories: 210
- Sugar: 20 g
- Sodium: 800 mg
- Fat: 12 g
- Saturated Fat: 7 g
- Unsaturated Fat: 3 g
- Trans Fat: 0.5 g
- Carbohydrates: 10 g
- Fiber: 0 g
- Protein: 8 g
- Cholesterol: 40 mg
Ethan Caldwell
Founder & Culinary Innovator
Expertise
Farm-to-table cooking, Seasonal recipe creation, Culinary storytelling, Food photography and styling
Education
The Chef’s Academy (Indianapolis, IN)
Ethan didn’t just fall in love with food, he grew into it, surrounded by fields, farmers’ markets, and family meals that told a story.
After sharpening his skills at The Chef’s Academy, he took his passion straight into the farm-to-table movement, working side-by-side with local growers and seasonal flavors.
He believes every recipe should feel like a walk through a summer market: colorful, fresh, and full of possibility.
Outside the kitchen, Ethan’s idea of a perfect day is hiking mountain trails, digging into heirloom vegetables, and hosting casual dinners where seconds are always encouraged.