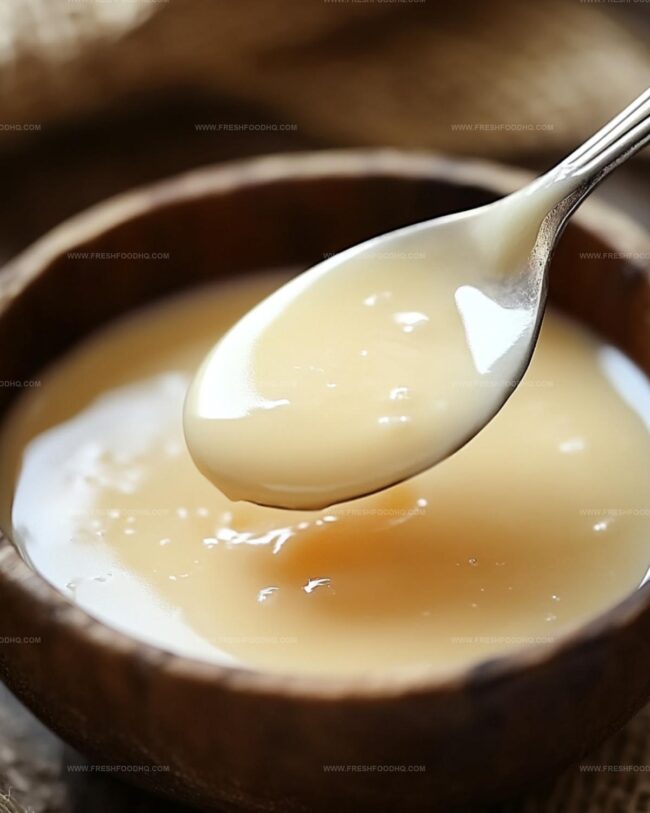
Silky Homemade Sweetened Condensed Milk (8Oz) Recipe
Whipping up a batch of homemade sweetened condensed milk can revolutionize your baking adventures.
Creamy dairy magic happens with just a few simple ingredients from your pantry.
Forget store-bought versions that sit on shelves for months.
Crafting this silky smooth mixture takes minimal effort and delivers maximum flavor satisfaction.
Simple kitchen equipment becomes your secret weapon in creating this versatile ingredient.
Pure ingredients blend together effortlessly, giving you control over every delicious detail.
You’ll be amazed how quickly this recipe becomes a staple in your cooking repertoire.
Creamy Homemade Sweetened Condensed Milk: Sweet Magic
Ingredients for Creamy Homemade Sweetened Condensed Milk
For the Base:For the Stabilizer:For Optional Flavor Enhancers:Making Creamy Homemade Sweetened Condensed Milk
Step 1: Combine Milk and Sugar
Grab a medium-sized pan and pour in whole milk. Add granulated sugar to the milk.
Select a pan with even heat distribution to help create a smooth mixture.
Step 2: Start Heating
Place the pan on the stove over medium-high heat.
Begin stirring the milk and sugar continuously with a wooden spoon or silicone spatula. Keep the mixture moving to prevent any burning or sticking at the bottom of the pan.
Step 3: Bring to Gentle Boil
Continue heating and stirring until the mixture starts to bubble gently around the edges. Maintain a consistent stirring motion to ensure even heat and prevent scorching.
Watch for the liquid to become slightly frothy and develop a soft rolling boil.
Step 4: Reduce and Thicken
Lower the heat to medium and keep stirring persistently.
The liquid will gradually transform from a thin watery consistency to a more dense, creamy texture. This process takes approximately 20-25 minutes.
Be patient and maintain constant movement with your stirring utensil.
Step 5: Add Baking Soda
Remove the pan from the heat source.
Sprinkle a tiny pinch of baking soda into the mixture. Stir thoroughly to incorporate.
The baking soda helps create a smoother, more stable condensed milk and prevents unwanted crystallization.
Step 6: Cool and Stir
Allow the condensed milk to cool at room temperature.
Stir occasionally to prevent a skin from forming on the surface. The mixture will continue to thicken as it cools down.
Step 7: Store and Chill
Transfer the cooled condensed milk into a clean, airtight glass jar or container. Seal the container and place it in the refrigerator.
The homemade condensed milk will keep well for about one week when stored properly.
Tips for Creamy Homemade Sweetened Condensed Milk
Variations of Homemade Sweetened Condensed Milk
Pairings for Homemade Sweetened Condensed Milk
How to Store Homemade Sweetened Condensed Milk
Store in an airtight glass jar or container for up to 2 weeks in the refrigerator. Ensure the lid is tightly sealed to prevent absorption of other food odors.
Transfer condensed milk to a freezer-safe container, leaving some space for expansion. Freeze for up to 3 months. Thaw overnight in the refrigerator before use.
Keep sealed at cool room temperature for 2-3 days if using within a short period. Avoid direct sunlight or warm areas.
Gently warm in the microwave using short 10-second intervals, stirring between each interval. Alternatively, place the container in a bowl of warm water and stir until smooth and spreadable.
FAQs
Baking soda helps prevent sugar crystallization and creates a smoother, more consistent texture in the condensed milk, ensuring a silky result.
No, white granulated sugar is recommended because it provides the right consistency and sweetness level for traditional condensed milk.
The mixture is ready when it thickens and reduces by about half, coating the back of a spoon and having a rich, creamy consistency.
Homemade allows you to control ingredients, reduce preservatives, and customize sugar levels, making it potentially healthier than commercial versions.
Print
Creamy Homemade Sweetened Condensed Milk (8Oz) Recipe
- Total Time: 30 minutes
- Yield: 8 1x
Description
Crafting delightful Homemade Sweetened Condensed Milk elevates desserts with rich, silky perfection. Minimal ingredients and simple techniques help create this versatile kitchen staple that brings luxurious sweetness to countless recipes.
Ingredients
Dairy:
- 2 cups (500 ml) full-fat milk
Sweeteners:
- 3/4 cup (150 g) granulated sugar
Optional Ingredients:
- 1 pinch baking soda
Instructions
- Combine whole milk and granulated sugar in a heavy-bottomed saucepan, ensuring even distribution of ingredients.
- Position pan over medium-high heat, whisking continuously to dissolve sugar completely and prevent scorching.
- Allow mixture to gradually increase in temperature, maintaining constant movement to promote uniform heating.
- When liquid reaches a gentle simmer, reduce heat to medium and continue stirring consistently, watching for viscosity changes.
- Monitor liquid’s consistency, stirring frequently as moisture evaporates and mixture transforms into a rich, thick syrup (approximately 20-25 minutes).
- Incorporate a tiny pinch of baking soda, gently folding to enhance smoothness and prevent potential sugar crystallization.
- Remove from heat source and let condensed milk cool naturally, stirring intermittently to maintain silky texture and prevent surface film formation.
- Transfer cooled mixture into a sterile glass container with secure lid, ensuring airtight seal for optimal preservation.
- Refrigerate immediately, where condensed milk will continue to thicken and can be stored for approximately one week.
Notes
- Prevent scorching by using a heavy-bottomed pan to distribute heat evenly and reduce the chance of burning the milk.
- Whisk continuously during cooking to ensure smooth consistency and prevent lumps from forming.
- For a lighter version, substitute whole milk with low-fat milk, though the texture might be slightly less creamy.
- Add a splash of vanilla extract at the end for enhanced flavor depth and aromatic sweetness.
- Prep Time: 5 minutes
- Cook Time: 25 minutes
- Category: Desserts
- Method: Simmering
- Cuisine: American
Nutrition
- Serving Size: 8
- Calories: 155
- Sugar: 25 g
- Sodium: 40 mg
- Fat: 3.6 g
- Saturated Fat: 2.3 g
- Unsaturated Fat: 1.3 g
- Trans Fat: 0.1 g
- Carbohydrates: 27 g
- Fiber: 0 g
- Protein: 5.5 g
- Cholesterol: 12 mg


Ethan Caldwell
Founder & Culinary Innovator
Expertise
Farm-to-table cooking, Seasonal recipe creation, Culinary storytelling, Food photography and styling
Education
The Chef’s Academy (Indianapolis, IN)
Ethan didn’t just fall in love with food, he grew into it, surrounded by fields, farmers’ markets, and family meals that told a story.
After sharpening his skills at The Chef’s Academy, he took his passion straight into the farm-to-table movement, working side-by-side with local growers and seasonal flavors.
He believes every recipe should feel like a walk through a summer market: colorful, fresh, and full of possibility.
Outside the kitchen, Ethan’s idea of a perfect day is hiking mountain trails, digging into heirloom vegetables, and hosting casual dinners where seconds are always encouraged.