Grandma’s Treasured Pizzelle Recipe: A Sweet Italian Tradition
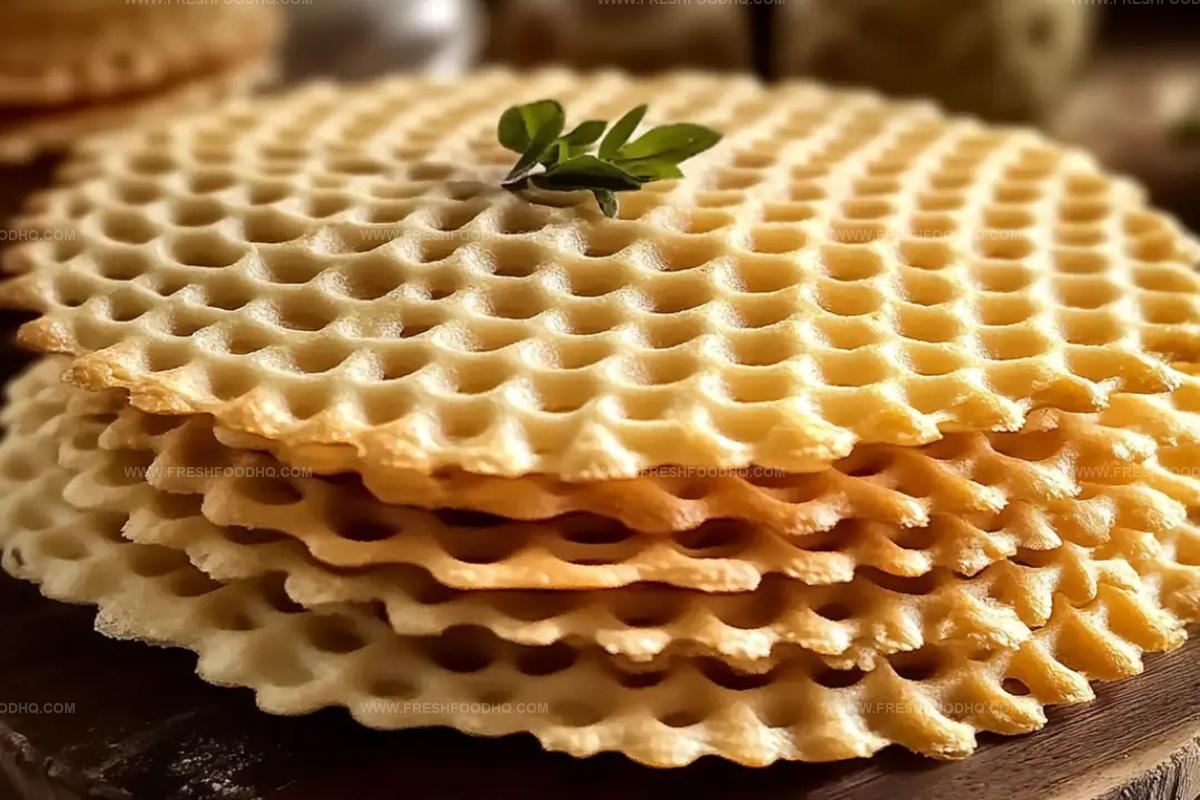
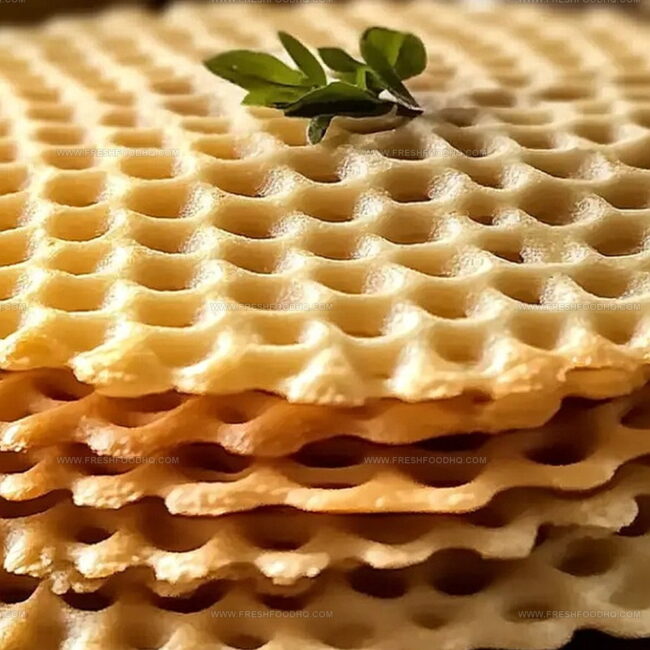
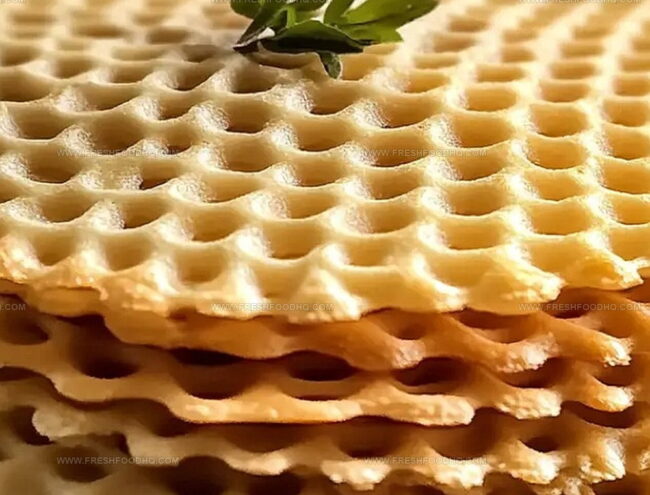
Crispy Italian classic pizzelle transport you straight to sunny coastal kitchens with their delicate, lace-like patterns.
Generations of bakers have perfected these wafer-thin delights using simple ingredients and cherished techniques.
Lightweight and elegant, these traditional treats marry crisp texture with subtle sweetness.
Nonna’s secret recipe relies on basic pantry staples that come together in minutes.
Intricate iron molds create beautiful designs that make each pizzelle a miniature work of art.
Warm memories of shared moments infuse every sweet, golden bite.
You’ll fall in love with this authentic recipe that celebrates Italian culinary heritage.
What Makes These Pizzelles a Favorite
Ingredients in Classic Italian Pizzelles
For the Base Ingredients:For the Flavor Enhancers:For the Optional Finishing Touches:How to Make These Pizzelles Easily
Step 1: Whip Eggs and Sugar
Crack eggs into a mixing bowl and gradually add sugar. Beat the mixture until it becomes smooth and slightly fluffy, creating a light and airy base for your pizzelle.
Step 2: Incorporate Butter and Flavor
Pour cooled melted butter into the egg mixture. Add vanilla or anise extract for a delightful aromatic touch.
Stir thoroughly to blend all ingredients evenly.
Step 3: Prepare Dry Ingredients
In a separate bowl, sift together:Ensure no lumps remain for a perfectly smooth batter.
Step 4: Combine Wet and Dry Mixtures
Gradually fold the dry ingredients into the wet mixture. Stir until the batter reaches a smooth, spoonable consistency that’s slightly sticky.
Step 5: Heat Pizzelle Iron
Plug in and preheat your pizzelle iron according to the manufacturer’s instructions. Allow it to warm up completely to ensure even cooking.
Step 6: Scoop and Place Batter
Drop a rounded teaspoon of batter directly into the center of the preheated pizzelle iron. Use a small spoon or finger to position it precisely.
Step 7: Cook to Golden Perfection
Close the iron and cook until the pizzelle turns a light golden color. Watch carefully to prevent burning, typically taking 30-60 seconds depending on your iron.
Step 8: Remove and Cool
Carefully lift the edge of the pizzelle using a fork. Gently remove with your fingers and place flat on a cooling rack.
Allow to cool completely to maintain crisp texture.
Step 9: Store and Serve
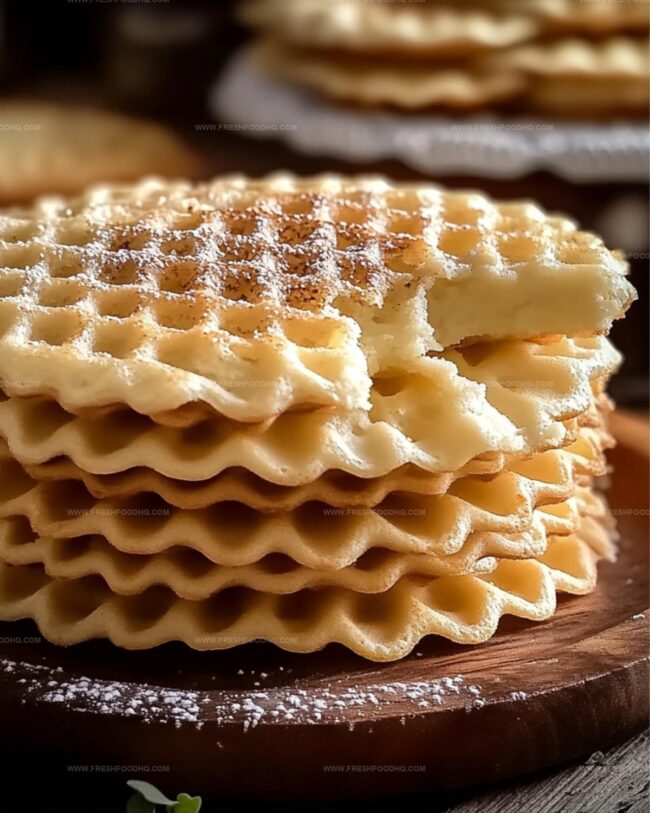
Once cooled, transfer pizzelle to a serving plate or store in an airtight container to maintain crispness.
Step 10: Optional Finishing Touches
Enhance your pizzelle with delightful additions:Tips That Help With Pizzelle Texture
Tasty Flavors to Try in Pizzelles
What Goes Nicely with Pizzelles
Proper Way to Store Pizzelles
Store pizzelle in an airtight container lined with parchment paper for up to 5 days. Keep them flat to prevent breakage and maintain their crisp texture.
Carefully stack pizzelle between wax paper layers inside a freezer-safe container. Seal tightly and freeze for up to 2 months. Thaw at room temperature for best results.
Place in a sealed container with a tight lid, keeping them away from humidity. Layer with parchment paper to prevent sticking. Consume within 3-4 days for optimal taste and crunch.
Warm briefly in a toaster oven at low temperature for 1-2 minutes to restore crispness. Avoid microwaving, which will make them soft and lose their signature crackly texture.
FAQs
Pizzelles are traditionally made with simple ingredients like eggs, sugar, flour, butter, and flavoring such as vanilla or anise extract. These basic components create a light, crisp waffle-like cookie.
Yes, a pizzelle iron is essential for creating the classic thin, patterned cookie. Regular waffle irons won’t produce the same delicate texture and intricate design that defines a traditional pizzelle.
Pizzelles are relatively easy to make if you follow the recipe carefully. The key is to master the technique of placing the right amount of batter and cooking it to a perfect golden color without burning.
Print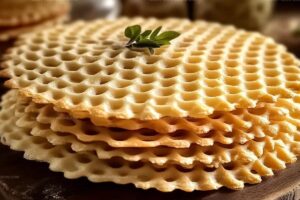
Classic Pizzelle (Modified) Recipe
- Total Time: 30 minutes
- Yield: 24 1x
Description
Crisp Italian waffle cookies, Pizzelle bring sweet memories of grandma’s kitchen, blending delicate vanilla and anise flavors. Delightful with coffee or enjoyed solo, these traditional treats connect family and heritage in one delectable bite.
Ingredients
Main Ingredients:
- 6 eggs
- 3 1/2 cups (440 grams) flour
- 1 1/2 cups (300 grams) sugar
- 1 cup (227 grams) unsalted butter, melted and cooled
Leavening Agent:
- 4 teaspoons baking powder
Flavoring:
- 2 tablespoons vanilla or anise extract
Instructions
- Whisk eggs vigorously, incorporating sugar gradually until the mixture transforms into a silky, pale consistency.
- Incorporate cooled melted butter and aromatic extract into the egg blend, stirring until fully integrated.
- Sift flour and baking powder together in a separate vessel to eliminate potential lumps.
- Fold dry ingredients into the wet mixture, creating a smooth, spoonable batter with a glossy sheen.
- Heat pizzelle iron to manufacturer’s recommended temperature, typically around 375°F.
- Deposit a precise dollop of batter directly into the center of the preheated iron’s surface.
- Close iron gently, allowing the delicate wafer to cook for approximately 30-45 seconds until achieving a golden-tan complexion.
- Carefully extract the pizzelle using a fork, transferring it with nimble fingers onto a wire cooling rack.
- Allow pizzelle to cool completely, ensuring a crisp texture and preventing potential sogginess.
- Enhance the wafers by dusting with powdered sugar or embellishing with decadent fillings like Nutella, fruit preserves, or whipped cream.
Notes
- Cool melted butter completely before adding to prevent scrambling eggs and ensure smooth batter consistency.
- Sifting flour eliminates lumps, creating a lighter, more delicate pizzelle texture.
- Use a teaspoon or small cookie scoop for consistent size and even cooking on the pizzelle iron.
- Experiment with different extracts like almond or lemon for unique flavor variations that match personal preferences.
- Prep Time: 15 minutes
- Cook Time: 15 minutes
- Category: Desserts, Snacks
- Method: Grilling
- Cuisine: Italian
Nutrition
- Serving Size: 24
- Calories: 190 kcal
- Sugar: 11 g
- Sodium: 115 mg
- Fat: 9 g
- Saturated Fat: 5 g
- Unsaturated Fat: 4 g
- Trans Fat: 0 g
- Carbohydrates: 24 g
- Fiber: 1 g
- Protein: 4 g
- Cholesterol: 55 mg
Ethan Caldwell
Founder & Culinary Innovator
Expertise
Farm-to-table cooking, Seasonal recipe creation, Culinary storytelling, Food photography and styling
Education
The Chef’s Academy (Indianapolis, IN)
Ethan didn’t just fall in love with food, he grew into it, surrounded by fields, farmers’ markets, and family meals that told a story.
After sharpening his skills at The Chef’s Academy, he took his passion straight into the farm-to-table movement, working side-by-side with local growers and seasonal flavors.
He believes every recipe should feel like a walk through a summer market: colorful, fresh, and full of possibility.
Outside the kitchen, Ethan’s idea of a perfect day is hiking mountain trails, digging into heirloom vegetables, and hosting casual dinners where seconds are always encouraged.