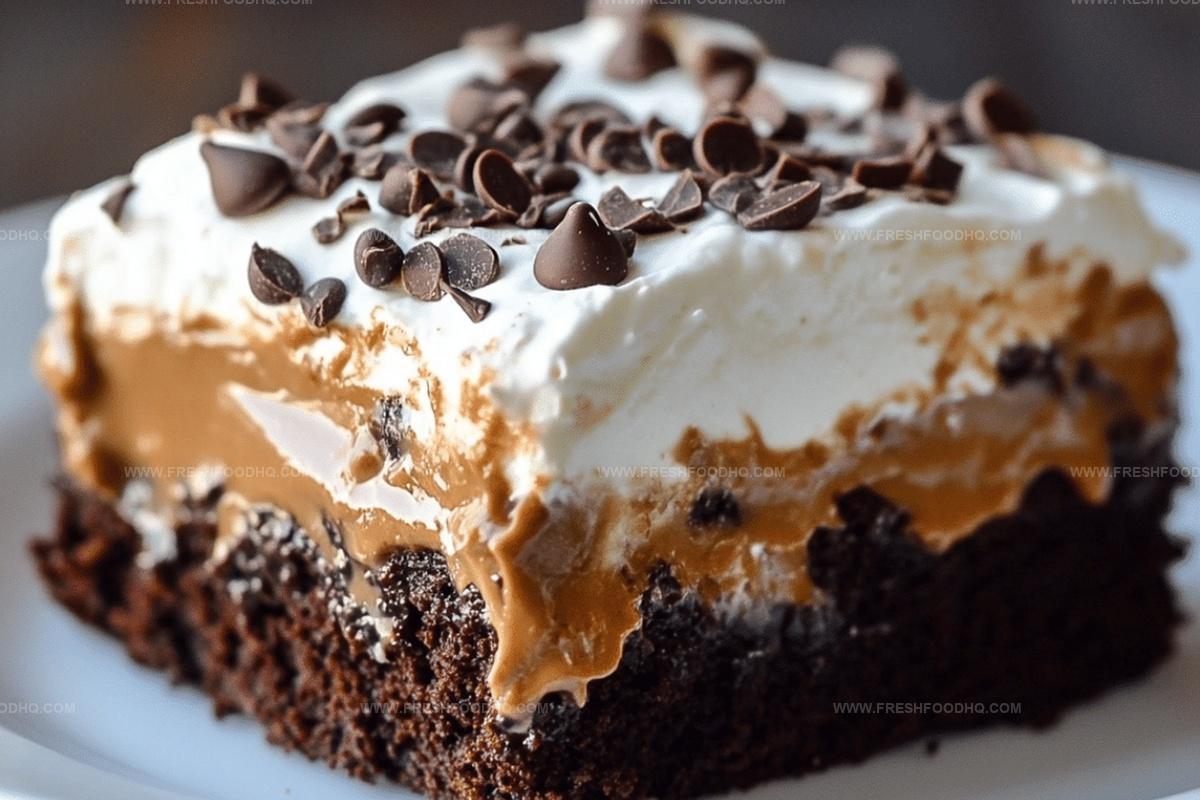
Dreamy Chocolate Peanut Butter Poke Cake Recipe for Sweet Cravings
Indulging in a chocolate peanut butter poke cake means diving into a dessert that promises pure bliss.
Layers of rich chocolate cake beckon with irresistible charm.
Creamy peanut butter swirls promise decadent moments of pure satisfaction.
Sweet pockets filled with smooth, luscious goodness await each eager spoon.
Moist crumbs soak up delightful flavor combinations that dance across your palate.
Soft textures and intense chocolate notes create a symphony of deliciousness.
You won’t be able to resist this ultimate comfort dessert that brings joy in every single bite.
Why Chocolate Peanut Butter Poke Cake Is A Rich Treat
Ingredients For Chocolate Peanut Butter Poke Cake
Cake Base:Filling and Topping Ingredients:Garnish:Instructions For Chocolate Peanut Butter Poke Cake
Step 1: Whip Up Chocolate Cake Base
Grab your chocolate cake mix and follow the package directions to create a delicious chocolate cake in a baking pan. Bake until perfectly done and golden brown.
Step 2: Create Delightful Holes
Take the handle end of a wooden spoon and gently poke holes all across the warm cake surface. Make sure the holes are evenly distributed to allow maximum flavor absorption.
Step 3: Drizzle Creamy Peanut Butter
Warm the peanut butter in the microwave until smooth and runny. Carefully pour the melted peanut butter over the cake, ensuring it seeps into every hole for maximum flavor.
Step 4: Add Sweet Milk Magic
Slowly pour sweetened condensed milk over the cake, allowing the liquid to flow into the holes and create a moist, decadent texture.
Step 5: Splash Chocolate Fudge
Heat the hot fudge sauce until warm and pourable. Generously drizzle the chocolate fudge across the cake, covering the surface and filling the remaining holes.
Step 6: Chill and Set
Place the cake in the refrigerator and let it cool and set for at least one hour. This helps the flavors meld and the cake become wonderfully dense.
Step 7: Finish with Fluffy Topping
Spread a generous layer of whipped topping across the entire cake surface. Sprinkle chopped peanuts over the top for a delightful crunch and extra flavor.
Tips For Chocolate Peanut Butter Poke Cake
Flavor Variations For Chocolate Peanut Butter Poke Cake
Best Pairings For Chocolate Peanut Butter Poke Cake
Storage Instructions For Chocolate Peanut Butter Poke Cake
Common Questions About Chocolate Peanut Butter Poke Cake
Yes, you can definitely use a homemade chocolate cake recipe. Just ensure the cake is baked and cooled before adding the peanut butter and other toppings.
Warming the peanut butter for about 30 seconds helps it become more liquid and easier to pour into the cake holes, ensuring better absorption.
Use the end of a wooden spoon to create holes about halfway through the cake’s depth. Don’t make them too large or too small – aim for consistent, evenly spaced holes.
Print
Chocolate Peanut Butter Poke Cake Recipe
- Total Time: 1 hour 45 minutes
- Yield: 12 1x
Description
Sweet chocolate layers meld with creamy peanut butter in this irresistible Chocolate Peanut Butter Poke Cake. Indulgent dessert pockets promise rich flavor and delightful texture that will satisfy intense cravings with each delectable slice.
Ingredients
Cake Base:
- 1 box chocolate cake mix
Creamy Fillings:
- 1 cup creamy peanut butter
- 1 can sweetened condensed milk
- 1 jar hot fudge sauce
Toppings:
- 1 container whipped topping
- 1/2 cup chopped peanuts
Instructions
- Preheat oven and craft the chocolate cake following package guidelines at recommended temperature.
- After baking, extract a wooden spoon handle to systematically puncture uniform holes across the entire cake surface.
- Gently warm peanut butter in microwave until fluid, then meticulously cascade over cake, ensuring complete penetration into created cavities.
- Methodically drizzle sweetened condensed milk across cake, allowing liquid to infiltrate deep into punctured zones.
- Slightly heat hot fudge sauce until pourable, then generously distribute over cake’s surface.
- Chill cake in refrigerator for approximately 60 minutes to allow layers to thoroughly merge and set.
- Crown cake with delicate layer of whipped topping, then garnish with finely chopped peanuts for textural contrast and visual appeal before serving.
Notes
- Ensure cake is completely cooled before adding peanut butter to prevent crumbling and maintain structural integrity.
- Warm peanut butter helps it flow smoothly into cake holes, creating delicious pockets of nutty flavor throughout the dessert.
- For gluten-free adaptation, use a gluten-free chocolate cake mix or substitute with almond flour-based cake recipe.
- Consider reducing sweetened condensed milk for less sugary version or using sugar-free alternatives for diabetic-friendly option.
- Prep Time: 15 minutes
- Cook Time: 30 minutes (baking)
- Category: Desserts
- Method: Baking
- Cuisine: American
Nutrition
- Serving Size: 12
- Calories: 456 kcal
- Sugar: 37 g
- Sodium: 270 mg
- Fat: 26 g
- Saturated Fat: 8 g
- Unsaturated Fat: 15 g
- Trans Fat: 0.5 g
- Carbohydrates: 49 g
- Fiber: 2 g
- Protein: 9 g
- Cholesterol: 30 mg


Samantha Lee
Recipe Developer & Content Creator
Expertise
Plant-based and vegetarian recipes, Recipe testing and development, Food blogging and digital content creation, Culinary education and workshops
Education
Oregon Culinary Institute (Portland, OR)
Samantha sees cooking like painting, every fresh herb, every juicy tomato, a new splash of color on a canvas.
After graduating from Oregon Culinary Institute, she blended her love of global cuisines and plant-based cooking into recipes that feel fresh, fearless, and full of heart.
Samantha’s kitchen is a place where comfort food gets a modern remix and every meal feels like a little adventure. When she’s not cooking, she’s out exploring farmers’ markets, sketching new recipe ideas, or getting her hands dirty in a community garden.