Sweet & Silky Caramel Frosting Recipe for Cake Magic
Sweet caramel magic weaves delightful moments into every creamy frosting bite.
Bakers appreciate these smooth, rich layers that complement countless desserts.
Creamy textures mingle with deep amber notes, creating something spectacular.
Nostalgic memories surface when buttery hints dance across taste buds.
Kitchens come alive with simple ingredients transforming into decadent spread.
Whisks and spatulas become magic wands, turning basic components into luxurious topping.
Each spoonful promises pure indulgence that makes desserts truly unforgettable.
Let you discover this irresistible recipe that elevates any cake or cupcake.
Why Caramel Frosting Is the Perfect Sweet Finish
Ingredients for Homemade Caramel Frosting
For the Caramel Base:For the Sweeteners and Thickeners:For the Flavor Enhancer:How to Make Smooth and Creamy Caramel Frosting
Step 1: Prepare Caramel Base
Start by grabbing a medium saucepan and placing it on your stovetop. Melt the butter over a gentle low heat, watching it transform into a silky liquid.
Sprinkle in the brown sugar and begin stirring with a wooden spoon. Keep your movements steady and consistent, ensuring the sugar dissolves completely.
This magical process takes a few minutes, so be patient and maintain a low temperature to prevent any burning.
Step 2: Introduce Milk
Once the sugar has disappeared into the butter, slowly pour in the milk.
Your mixture will look slightly separated at first, but keep stirring. Gradually increase the heat to medium and continue stirring.
Watch as the liquid begins to bubble and come together into a smooth caramel mixture.
Step 3: Boil and Thicken
Allow the caramel to bubble gently for 2-3 minutes.
Keep stirring constantly to prevent any scorching. This boiling stage helps develop the rich flavor and creates the perfect texture for your frosting.
Step 4: Cool Down
Remove the saucepan from the heat and let the caramel mixture rest for a few minutes. You want it warm but not scorching hot when adding the powdered sugar.
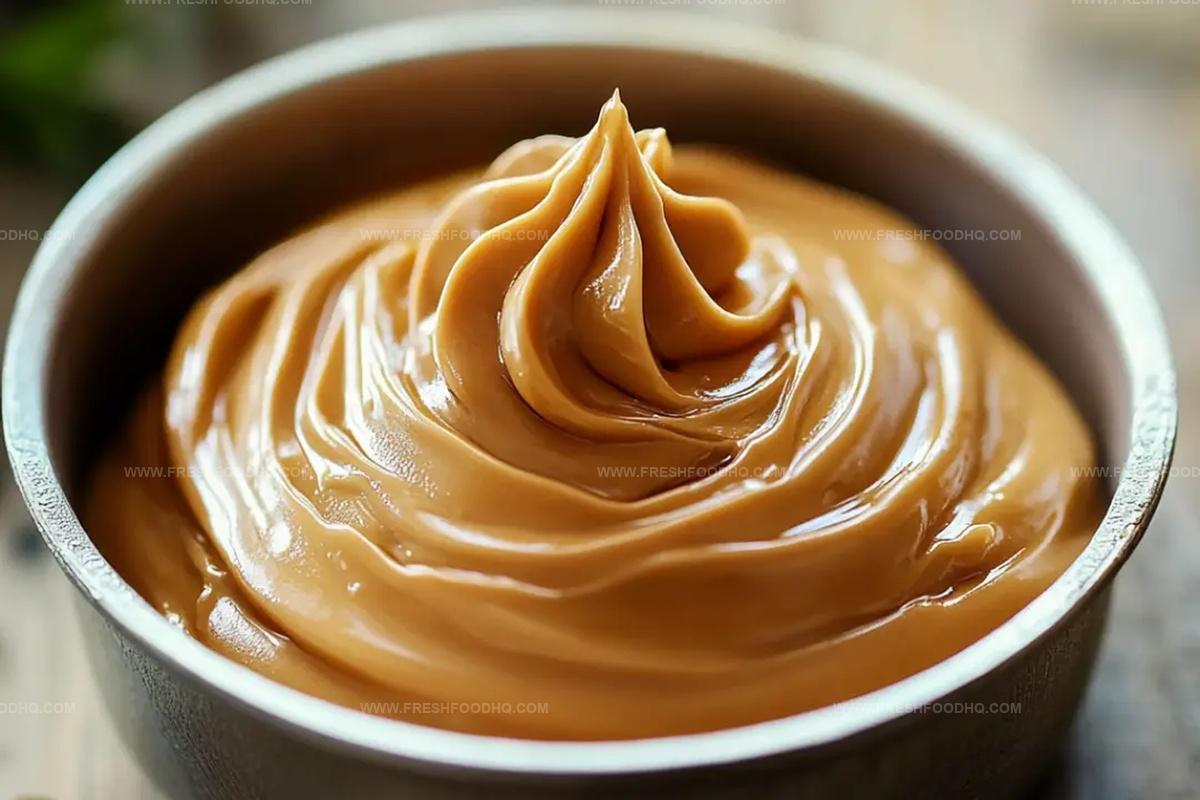
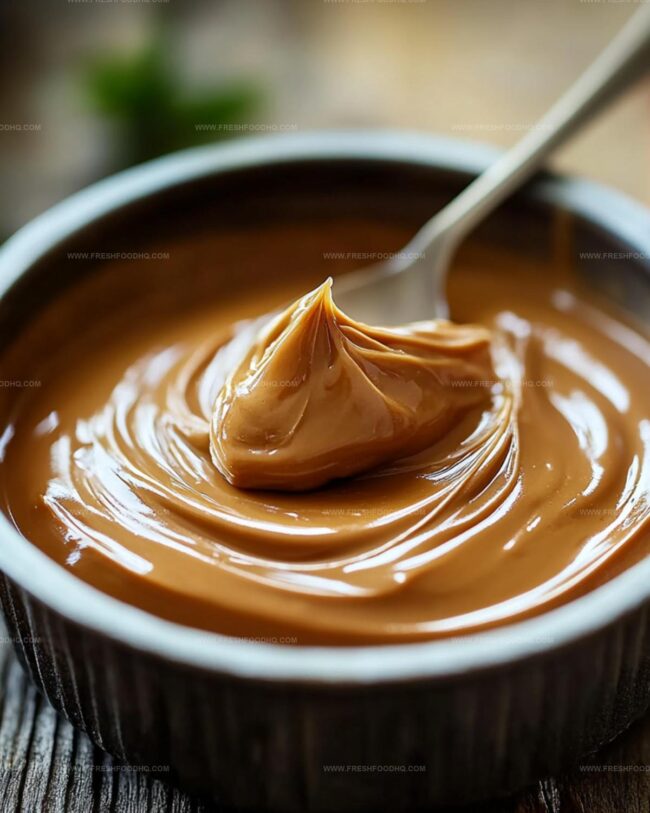
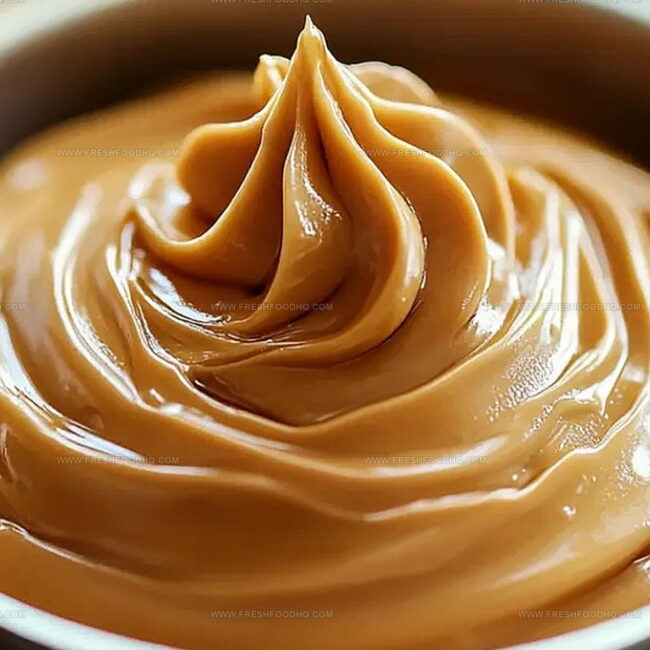
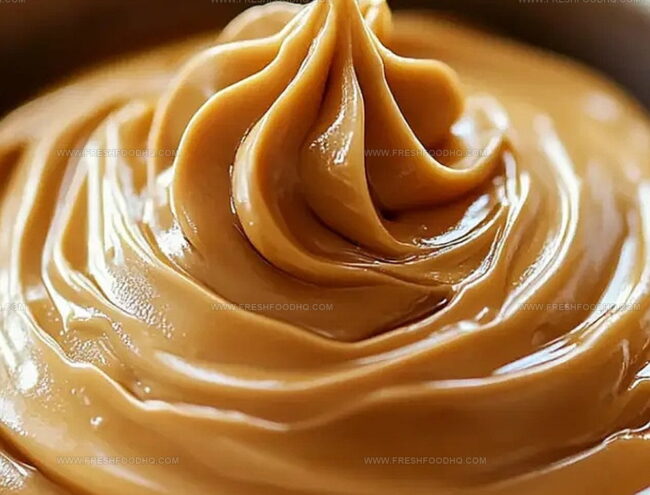
Step 5: Create Creamy Frosting
Time to transform your caramel into frosting! Begin adding powdered sugar in stages:Use a whisk or electric mixer to blend everything smoothly.
Add sugar gradually until you reach a spreadable, creamy consistency that makes your heart sing.
Step 6: Frost With Love
Work quickly to frost your cake or cupcakes while the mixture is still warm and perfectly spreadable.
The frosting will begin to set and thicken as it cools, so don’t delay your decorating adventure!
Tips That Perfect Your Caramel Frosting Texture
Variations on Classic Caramel Frosting Recipe
What Pairs Well with Caramel Frosting
Proper Storage for Caramel Frosting
Store caramel frosting in an airtight container for up to 5 days. Cover surface with plastic wrap to prevent skin formation and keep it fresh in the refrigerator.
Transfer frosting to a freezer-safe container, seal tightly, and freeze for up to 3 months. Thaw overnight in the refrigerator before use.
Keep frosted desserts at room temperature for 1-2 days if your kitchen is cool. Avoid direct sunlight or warm areas.
Gently warm refrigerated frosting in the microwave using 10-second intervals, stirring between each interval. Add a teaspoon of milk if the consistency becomes too thick, whisking until smooth.
FAQs
Grainy frosting happens when sugar crystalizes. Always stir constantly and use low heat to prevent this. Make sure sugar completely dissolves before adding milk.
Add more powdered sugar gradually until you reach the desired thickness. If it’s too thick, add small amounts of milk to thin it out.
Yes, but refrigerate in an airtight container. Reheat gently and whisk before using to restore smooth consistency. Best used within 3-4 days.
Dark brown sugar provides deeper caramel flavor, while light brown sugar gives a milder taste. Both work well, so choose based on your preference.
Print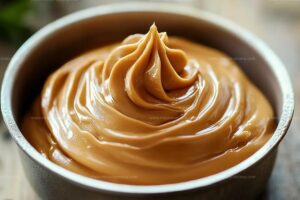
Caramel Frosting Recipe
- Total Time: 25 minutes
- Yield: 24 1x
Description
Sweet caramel frosting elevates classic desserts with rich, golden indulgence. Silky smooth layers promise delectable moments that melt perfectly on warm pastries, inviting you to savor each delightful bite.
Ingredients
Main Ingredients:
- 1 cup (240 ml) brown sugar
- 1/2 cup (113 grams) butter
- 1/4 cup (60 ml) milk
Sweetening and Flavoring Ingredients:
- 2 to 3 cups (240 to 360 grams) powdered sugar
- 1 teaspoon vanilla extract (optional)
Instructions
- In a medium saucepan, gently melt butter over low heat, then incorporate brown sugar. Stir continuously until sugar dissolves completely, maintaining low temperature to prevent scorching.
- Gradually introduce milk to the melted sugar mixture, stirring consistently. Elevate heat to medium and allow the mixture to reach a gentle boil.
- Maintain boiling for 2-3 minutes, continuously stirring to ensure even heat distribution and proper thickening of the caramel base.
- Remove saucepan from heat source and allow the caramel mixture to cool slightly, creating a warm but not scalding temperature for sugar incorporation.
- Progressively integrate powdered sugar into the warm caramel, using a whisk or electric mixer. Blend thoroughly after each addition, adjusting sugar quantity to achieve optimal frosting consistency and spreadability.
- Enhance flavor profile by incorporating vanilla extract, stirring to distribute evenly throughout the mixture.
- Apply frosting immediately to desired baked goods, recognizing that the mixture will continue to thicken as it cools, potentially impacting spreadability.
Notes
- Use low, steady heat when melting butter and brown sugar to prevent burning and ensure smooth caramel base.
- Stir continuously during boiling process to maintain even texture and prevent sugar crystallization.
- Test frosting consistency by adding powdered sugar gradually, allowing mixture to thicken naturally without becoming too stiff.
- Let frosting cool slightly before spreading to achieve optimal spreadability and prevent running off cake surface.
- Prep Time: 15 minutes
- Cook Time: 10 minutes
- Category: Desserts
- Method: Boiling
- Cuisine: American
Nutrition
- Serving Size: 24
- Calories: 147
- Sugar: 21 g
- Sodium: 27 mg
- Fat: 7 g
- Saturated Fat: 4 g
- Unsaturated Fat: 3 g
- Trans Fat: 0 g
- Carbohydrates: 25 g
- Fiber: 0 g
- Protein: 0.3 g
- Cholesterol: 19 mg
Ethan Caldwell
Founder & Culinary Innovator
Expertise
Farm-to-table cooking, Seasonal recipe creation, Culinary storytelling, Food photography and styling
Education
The Chef’s Academy (Indianapolis, IN)
Ethan didn’t just fall in love with food, he grew into it, surrounded by fields, farmers’ markets, and family meals that told a story.
After sharpening his skills at The Chef’s Academy, he took his passion straight into the farm-to-table movement, working side-by-side with local growers and seasonal flavors.
He believes every recipe should feel like a walk through a summer market: colorful, fresh, and full of possibility.
Outside the kitchen, Ethan’s idea of a perfect day is hiking mountain trails, digging into heirloom vegetables, and hosting casual dinners where seconds are always encouraged.