Sizzling 3-Ingredient Garlic Chili Oil Recipe for Flavor Fans
Crafting a mind-blowing garlic chili oil takes just three simple ingredients that will revolutionize your kitchen adventures.
Culinary magic happens when minimal components combine with maximum flavor potential.
Sharp, pungent garlic meets fiery chili peppers in a dance of intense sensations.
Home cooks adore transforming basic pantry staples into something extraordinary.
Each drizzle promises to awaken your taste buds with complex, vibrant notes.
Subtle heat and rich depth await you in this incredibly straightforward recipe.
One taste, and you’ll understand why this condiment becomes an instant kitchen superstar.
Why This Chili Oil Packs Flavor
Ingredients for Garlic Chili Oil
For the Base Ingredients:For the Cooking Ingredient:For the Preparation Ingredients:How to Prepare Garlic Chili Oil
Step 1: Gather Chili and Garlic
In a heatproof ceramic bowl, sprinkle in dried red chili flakes and mince fresh garlic cloves into tiny pieces. The finer the garlic, the more evenly it will distribute flavor throughout the oil.
Step 2: Heat Oil to Perfection
Select a lightweight stainless steel pot and pour in neutral cooking oil like vegetable or grapeseed. Place the pot over medium-high flame and watch carefully as the oil begins to shimmer and warm.
Professional chefs recommend heating until small ripples appear and the oil looks slightly wavy.
Step 3: Create Flavor Explosion
When the oil reaches its peak temperature with tiny bubbles dancing around the surface, slowly and carefully pour the scorching liquid over the waiting chili and garlic mixture.
Use a long-handled metal spoon to gently stir and combine all ingredients, allowing the hot oil to release maximum aromatics from the chili and garlic.
Step 4: Cool and Preserve
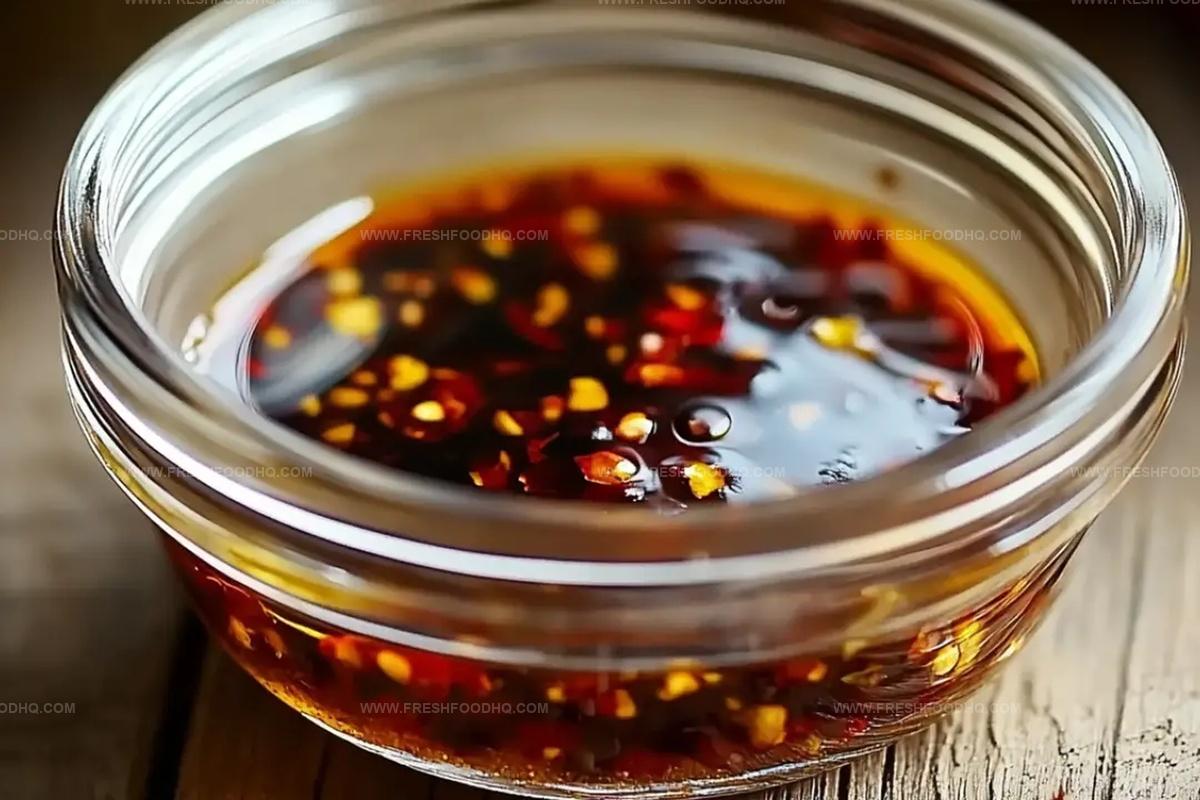
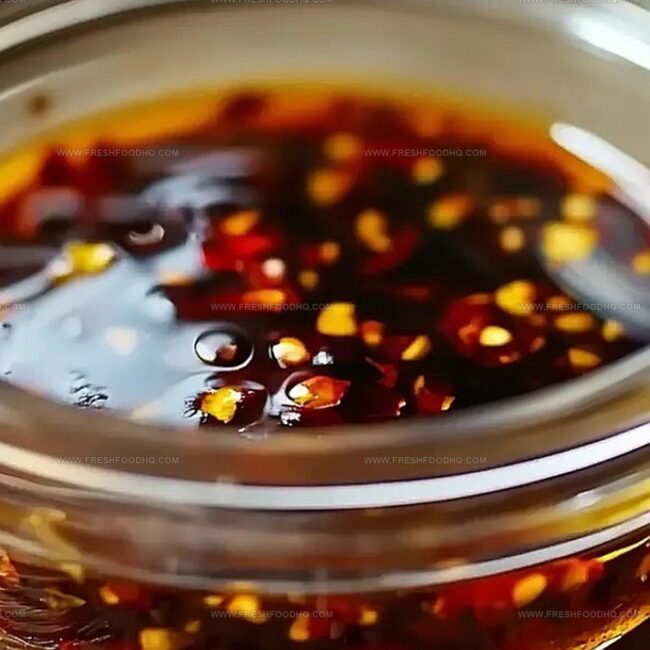
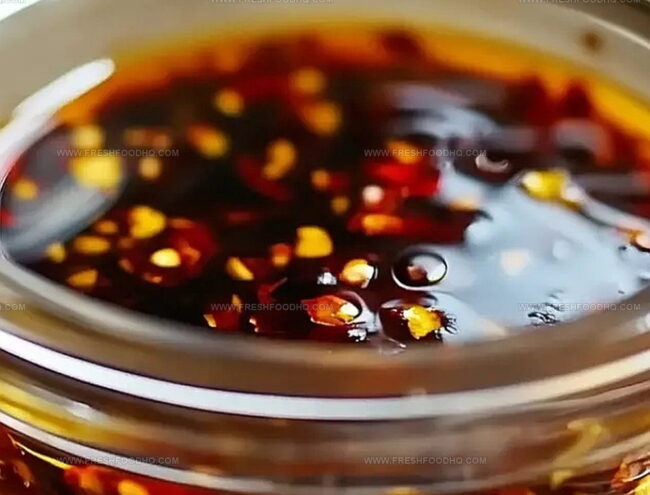
Let the vibrant red-orange oil rest and cool completely at room temperature.
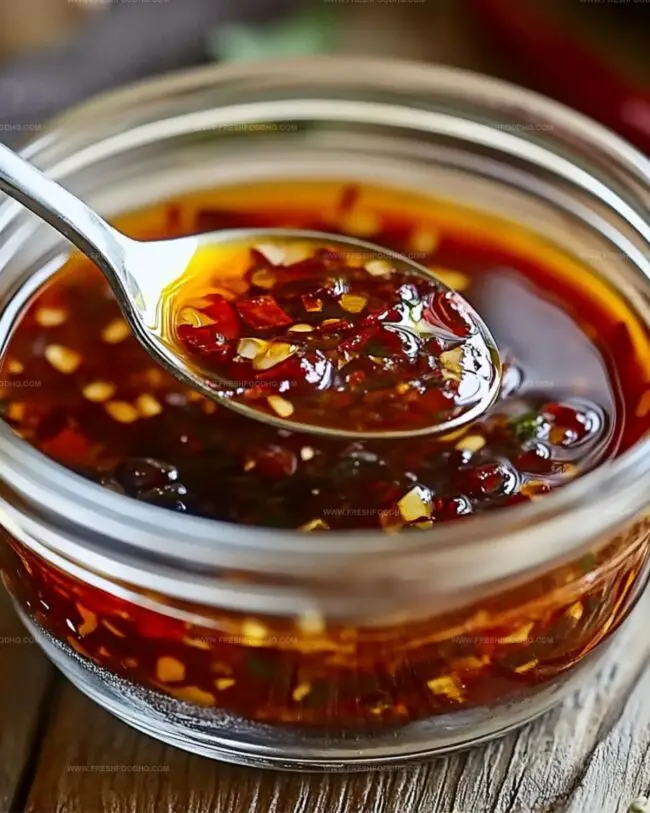
Once cooled, transfer the spicy condiment into a clean glass jar with a tight-sealing lid. Refrigerate to maintain freshness and develop deeper flavors over time.
This homemade chili oil will enhance countless dishes with its bold, zesty character.
Tips That Help with Chili Oil
Variations of Garlic Chili Oil Recipe
Tasty Uses and Pairings for Chili Oil
How to Store Garlic Chili Oil Right
Seal the garlic chili oil in an airtight glass jar, keeping it fresh for 2-3 weeks in the refrigerator. Always use a clean, dry spoon when scooping to prevent bacterial growth.
Transfer the oil to a freezer-safe container, where it can maintain quality for up to 3 months. Divide into small portions for easier thawing and use.
Store in a cool, dark pantry for up to 1 week if the kitchen temperature remains consistent. Ensure the jar is tightly sealed and away from direct sunlight.
Gently warm the desired amount in a small saucepan over low heat for 30-60 seconds. Stir occasionally to distribute heat evenly and restore the oil’s original consistency.
FAQs
The spice level depends on the type of chili flakes you use. Red pepper flakes provide moderate heat, while cayenne or Thai chili flakes will make it significantly hotter.
Yes, use neutral oils like vegetable, canola, or grapeseed oil. Avoid olive oil as it doesn’t handle high heat well and can become bitter.
When stored properly in a sealed jar in the refrigerator, the oil will stay fresh for about 2-3 weeks. Always check for any unusual smell or color changes before using.
Print
3-Ingredient Garlic Chili Oil Recipe
- Total Time: 40 minutes
- Yield: 8 1x
Description
Fiery homemade garlic chili oil elevates simple dishes with its intense, bold flavor profile. Crisp garlic and red pepper flakes meld seamlessly, creating a versatile condiment you’ll drizzle on everything from dumplings to noodles.
Ingredients
Main Ingredients:
- 10 cloves garlic
- 1/4 cup (59 milliliters) chili flakes
- 1 cup (237 milliliters) neutral oil
Preparation Equipment:
- 1 cutting board
- 1 sharp knife
- 1 glass jar or container for storage
Serving Accessories:
- 1 spoon for serving
- 1 funnel (optional)
Instructions
- Gather chili flakes and fresh garlic, placing them in a sturdy, heat-resistant glass container.
- Select a neutral cooking oil and heat in a small saucepan until it reaches approximately 350°F, watching carefully for slight smoking and rippling texture.
- Test oil temperature by dropping a small garlic piece; it should sizzle immediately but not burn.
- Slowly and carefully drizzle the blazing hot oil over the garlic and chili flakes, ensuring even distribution and preventing splatter.
- Gently stir the mixture with a long metal spoon, allowing the aromatics to infuse and release their intense flavors.
- Let the chili oil cool completely at room temperature for about 30 minutes, enabling the ingredients to meld and develop a rich, complex taste.
- Transfer the finished chili oil to a clean, sterilized glass jar with a tight-fitting lid, ensuring no moisture remains inside.
- Refrigerate the oil, which will keep for approximately 2-3 weeks, and allow flavors to continue developing.
Notes
- Customize heat levels by adjusting the amount of chili flakes to suit personal spice tolerance.
- Select high-quality neutral oils like vegetable or grapeseed for a clean, pure flavor profile.
- Sterilize glass jars thoroughly to prevent bacterial growth and extend the condiment’s shelf life.
- Experiment with additional aromatic ingredients like sesame seeds or green onions for extra depth and complexity.
- Prep Time: 10 minutes
- Cook Time: 30 minutes
- Category: Appetizer, Snacks
- Method: Heating
- Cuisine: Chinese
Nutrition
- Serving Size: 8
- Calories: 239
- Sugar: 0 g
- Sodium: 0 mg
- Fat: 27 g
- Saturated Fat: 3 g
- Unsaturated Fat: 24 g
- Trans Fat: 0 g
- Carbohydrates: 1 g
- Fiber: 1 g
- Protein: 1 g
- Cholesterol: 0 mg
Ethan Caldwell
Founder & Culinary Innovator
Expertise
Farm-to-table cooking, Seasonal recipe creation, Culinary storytelling, Food photography and styling
Education
The Chef’s Academy (Indianapolis, IN)
Ethan didn’t just fall in love with food, he grew into it, surrounded by fields, farmers’ markets, and family meals that told a story.
After sharpening his skills at The Chef’s Academy, he took his passion straight into the farm-to-table movement, working side-by-side with local growers and seasonal flavors.
He believes every recipe should feel like a walk through a summer market: colorful, fresh, and full of possibility.
Outside the kitchen, Ethan’s idea of a perfect day is hiking mountain trails, digging into heirloom vegetables, and hosting casual dinners where seconds are always encouraged.