
Irresistibly Sweet Strawberry Crunch Cheesecake Bars Recipe
Sweet summer memories bloom right in these strawberry crunch cheesecake bars that promise pure indulgence.
Layers of creamy goodness marry crisp textures in an irresistible dessert.
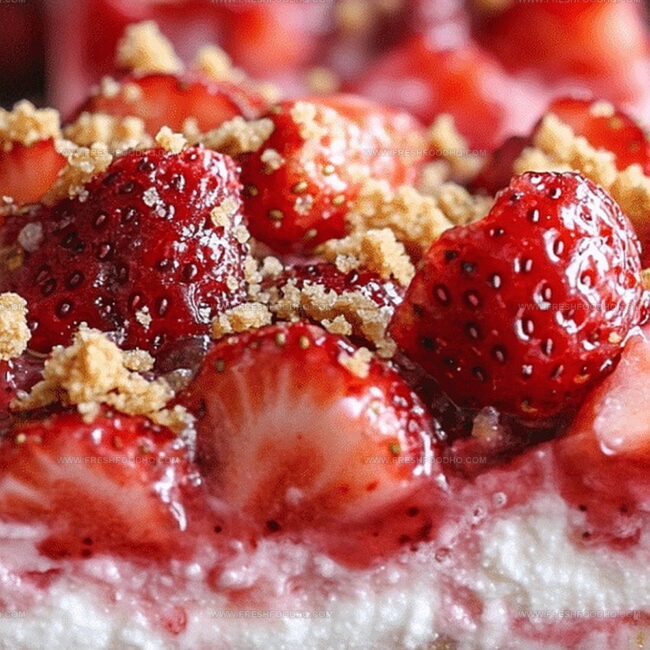
Imagine biting through a buttery graham cracker base topped with silky cream cheese.
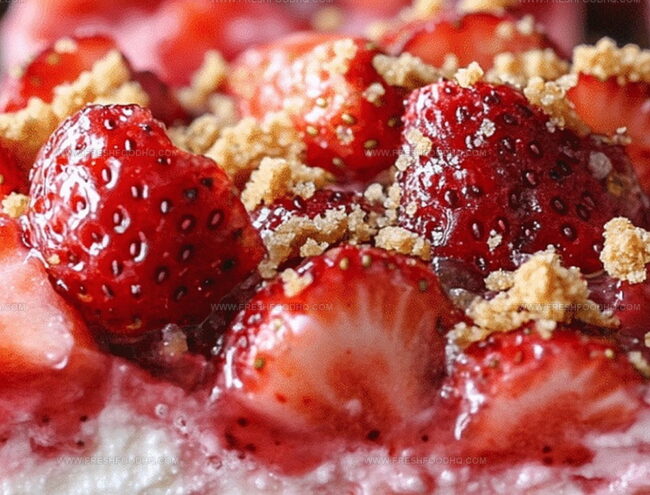
Fragrant strawberries dance between rich, smooth filling and crunchy golden topping.
Perfectly balanced flavors whisper tales of backyard picnics and lazy afternoon treats.
Each square delivers a symphony of contrasts that will make hearts skip a beat.
You won’t be able to resist cutting just one more slice of this delectable creation.
Why These Strawberry Cheesecake Bars Hit the Sweet Spot
What You’ll Need for Strawberry Cheesecake Bars
Crust Ingredients:Cheesecake Filling Ingredients:Topping Ingredients:Bake Strawberry Crunch Cheesecake Bars Like a Pro
Step 1: Craft the Buttery Crust
Grab your mixing bowl and combine graham cracker crumbs with sugar and melted butter. Use your fingers or the back of a spoon to firmly press the mixture into the bottom of a 9×13 inch baking pan. Make sure the crust is compact and even for a perfect base.
Step 2: Whip Up the Creamy Filling
Take your electric mixer and beat the cream cheese until it becomes light and fluffy. Slowly incorporate condensed milk, fresh lemon juice, and vanilla extract. Continue mixing until the filling transforms into a silky smooth texture with no lumps.
Step 3: Create the Cheesecake Layer
Gently pour the cream cheese mixture over the prepared crust. Spread it evenly using a spatula. Place the pan in the refrigerator and let it chill for 2 hours to set completely.
Step 4: Prepare the Fruity Topping
In a separate bowl, combine:Mix the ingredients until they form a vibrant and luscious topping. Carefully spread this fruity layer over the chilled cheesecake base.
Step 5: Add the Crunchy Finale
Sprinkle a generous layer of granola across the top of the strawberry layer. Return the pan to the refrigerator and let it chill for another hour to allow all the flavors to meld together.
Step 6: Slice and Serve
Remove the cheesecake bars from the refrigerator. Cut into squares and serve chilled. Enjoy this delightful dessert that combines creamy, fruity, and crunchy textures.
Tips for Getting That Cheesecake Crunch Just Right
Cool Flavor Combos for Cheesecake Bar Fans
Serve These Bars With Sips, Sweets, or Fruit
Best Ways to Store Strawberry Cheesecake Bars
Quick FAQ for Strawberry Crunch Cheesecake Bars
Yes, you can use frozen strawberries. Thaw them completely and drain excess liquid before mixing with whipped cream and jam to prevent a watery topping.
Press the graham cracker mixture firmly into the pan and ensure it’s evenly distributed. Baking the crust for 5-7 minutes before adding the cream cheese layer can help create a crispier base.
Substitute the graham cracker crumbs with gluten-free graham crackers or use crushed gluten-free cookies like almond or coconut flour-based options.
Print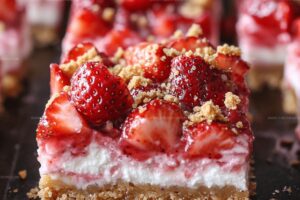
Strawberry Crunch Cheesecake Bars Recipe
- Total Time: 3 hours 20 minutes
- Yield: 12 1x
Description
Delightful strawberry crunch cheesecake bars bring summer’s sweetest memories to life with creamy layers and crisp graham cracker textures. Summer dessert enthusiasts will savor each blissful bite of this irresistible treat that balances rich cheesecake and fresh strawberry essence.
Ingredients
Crust Base:
- 1 1/2 cups graham cracker crumbs
- 1/2 cup sugar
- 1/2 cup (113 grams) butter, melted
Cheesecake Filling:
- 1 package (8 ounces / 226 grams) cream cheese, softened
- 1 can (14 ounces / 397 grams) sweetened condensed milk
- 1/4 cup (60 milliliters) lemon juice
- 1 teaspoon vanilla extract
- 1/2 cup (120 milliliters) whipped cream
- 1/4 cup (60 milliliters) strawberry jam
Topping:
- 1 cup fresh strawberries, diced
- 1 cup granola
Instructions
- Crush graham crackers into fine particles and blend with sugar and melted butter, creating a uniform base mixture.
- Press the cracker mixture firmly and evenly into the bottom of a rectangular baking dish, creating a compact foundational layer.
- Whip cream cheese until achieving a light, airy consistency with no visible lumps.
- Gradually incorporate condensed milk, blending smoothly while continuously mixing to prevent separation.
- Add fresh lemon juice and pure vanilla extract to the cream cheese mixture, stirring until achieving a silky, homogeneous texture.
- Gently pour the cream cheese blend over the prepared graham cracker crust, ensuring complete and even coverage.
- Refrigerate the initial layer for approximately 2 hours, allowing the mixture to set and firm completely.
- Dice fresh strawberries into small, uniform pieces for consistent texture.
- Fold whipped cream and strawberry jam into the chopped strawberries, creating a vibrant, glossy topping.
- Spread the strawberry mixture carefully across the chilled cream cheese layer, maintaining an even distribution.
- Generously sprinkle granola over the strawberry layer, providing a delightful crunchy contrast.
- Return the dessert to the refrigerator and chill for an additional hour to allow flavors to meld and topping to set.
Notes
- Crumb Crust Tip: Press the graham cracker mixture firmly and evenly to create a solid, compact base that won’t crumble when cutting the bars.
- Cream Cheese Smoothness: Ensure cream cheese is at room temperature to achieve a silky, lump-free filling that blends perfectly.
- Make-Ahead Magic: These bars can be prepared a day in advance, allowing flavors to meld and making party prep a breeze.
- Dietary Adaptations: Swap graham crackers with gluten-free alternatives and use dairy-free cream cheese for a gluten-free and vegan-friendly version.
- Prep Time: 20 minutes
- Cook Time: 0 minutes
- Category: Desserts, Snacks
- Method: Chilling
- Cuisine: American
Nutrition
- Serving Size: 12
- Calories: 314 kcal
- Sugar: 31 g
- Sodium: 150 mg
- Fat: 18 g
- Saturated Fat: 10 g
- Unsaturated Fat: 7 g
- Trans Fat: 0.2 g
- Carbohydrates: 36 g
- Fiber: 2 g
- Protein: 4 g
- Cholesterol: 45 mg
Samantha Lee
Recipe Developer & Content Creator
Expertise
Plant-based and vegetarian recipes, Recipe testing and development, Food blogging and digital content creation, Culinary education and workshops
Education
Oregon Culinary Institute (Portland, OR)
Samantha sees cooking like painting, every fresh herb, every juicy tomato, a new splash of color on a canvas.
After graduating from Oregon Culinary Institute, she blended her love of global cuisines and plant-based cooking into recipes that feel fresh, fearless, and full of heart.
Samantha’s kitchen is a place where comfort food gets a modern remix and every meal feels like a little adventure. When she’s not cooking, she’s out exploring farmers’ markets, sketching new recipe ideas, or getting her hands dirty in a community garden.