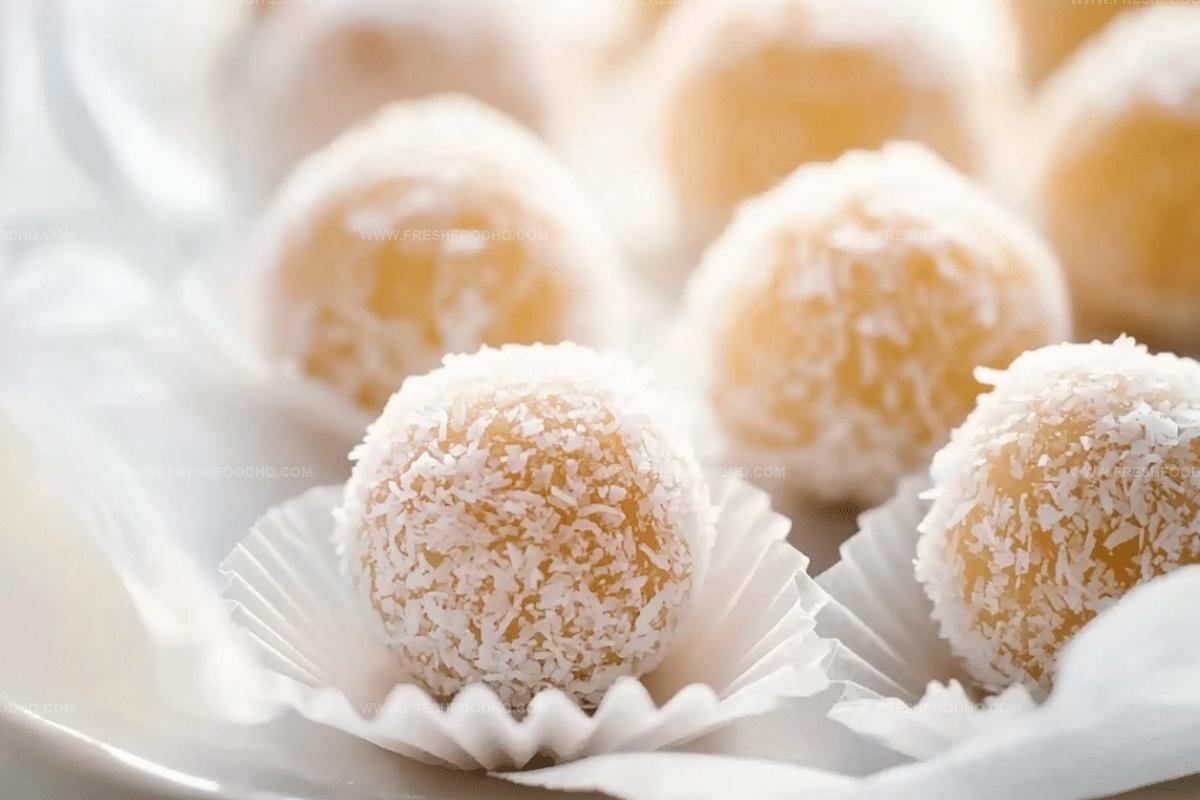
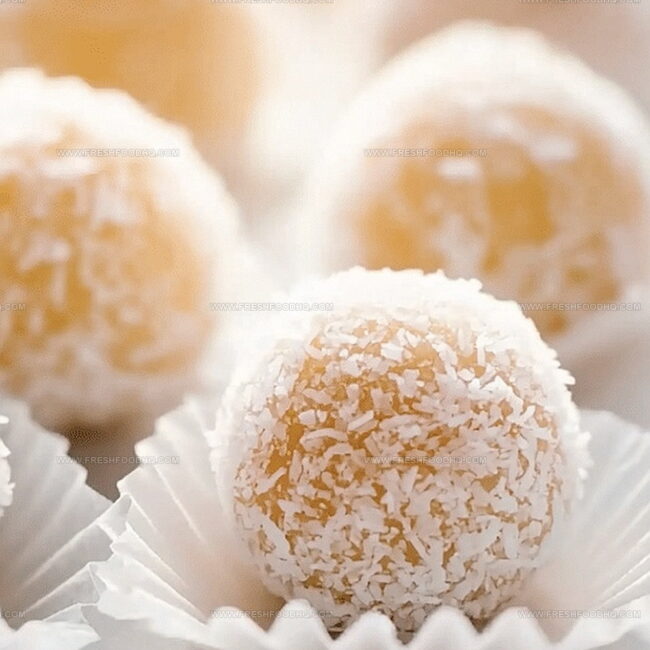
The Dreamiest Snowballs Coconut Fudge Truffles Recipe Ever
Sweet snowballs coconut fudge truffles dance between decadence and playful nostalgia.
Creamy chocolate melts into smooth coconut essence, creating irresistible bite-sized delights.
Soft centers promise rich indulgence with each delicate morsel.
Tropical ingredients blend seamlessly in this simple confection.
Compact and elegant, these treats work perfectly for intimate gatherings or personal pampering moments.
Delicate powdered sugar coating adds a magical winter-like sparkle.
You’ll want to craft these delectable morsels right away!
Why Snowballs Coconut Fudge Truffles Are So Dreamy And Sweet
What You’ll Need For Snowballs Coconut Fudge Truffles
Core Ingredients:Wet Ingredients:Coating Ingredients:Steps To Make Snowballs Coconut Fudge Truffles Easily

Step 1: Melt Creamy Goodness
Heat heavy whipping cream and butter in a small saucepan over low flame. Stir constantly until everything melts smoothly and combines perfectly. Remove from heat and let it cool down slightly.
Step 2: Mix Dry Powdery Delights
Grab a medium mixing bowl and toss in:Stir these ingredients until they’re wonderfully blended together.
Step 3: Create Magic Dough
Pour the melted cream and butter mixture slowly into the dry ingredients. Stir continuously to form a smooth, thick dough. Add vanilla extract and mix until everything becomes one delightful mixture.
Step 4: Shape Delectable Treats
Scoop small amounts of the mixture and roll them into adorable bite-sized balls. Each ball should be about one inch round. If the dough feels sticky, pop it in the refrigerator for 15-20 minutes to firm up.
Step 5: Dress in Coconut Coat
Pour extra unsweetened grated coconut into a shallow bowl. Gently roll each truffle in the coconut until completely covered in a fluffy white layer.
Step 6: Chill and Set
Place coconut-covered truffles on a parchment-lined baking sheet. Refrigerate for at least one hour to help them set perfectly.
Step 7: Enjoy Your Tasty Creation
Your Coconut Fudge Snowballs are ready to devour! Keep any leftovers in an airtight container in the refrigerator for up to one week.
Tips For Perfect Snowballs Coconut Fudge Truffles
Tasty Twists On Coconut Fudge Truffles
What To Serve With Coconut Fudge Truffles
How To Keep Snowballs Coconut Fudge Truffles Fresh
Common Questions About Coconut Fudge Truffles
Yes, these Snowballs Coconut Fudge Truffles are keto-friendly. They use low-carb ingredients like whey protein, powdered sweetener, and coconut flour, making them suitable for a ketogenic diet.
While the recipe is designed for whey protein, you can experiment with other protein powders like casein or plant-based options. Just note that the texture and taste might slightly change.
Refrigerate the mixture for 15-20 minutes before rolling. This helps firm up the dough and makes it easier to shape into balls without sticking to your hands.
Print
Snowballs Coconut Fudge Truffles Recipe
- Total Time: 1 hour 25 minutes
- Yield: 12 1x
Description
Heavenly snowballs coconut fudge truffles dance with rich chocolate and sweet coconut, creating an irresistible dessert. Smooth, creamy centers rolled in delicate coconut flakes promise pure indulgence that melts perfectly on palates.
Ingredients
Main Ingredients:
- 1 cup unsweetened grated coconut
- 1/2 cup unflavored whey protein
- 1/4 cup heavy whipping cream or coconut cream
- 2 tablespoons unsalted butter or coconut oil (melted)
Sweetener and Binding:
- 1/4 cup powdered sweetener (erythritol, monk fruit, or stevia)
- 2 tablespoons coconut flour
Flavoring:
- 1 teaspoon vanilla extract (optional)
Instructions
- Gently heat heavy cream and butter in a small saucepan over low temperature, stirring continuously until completely melted and seamlessly integrated. Allow mixture to cool slightly after removing from heat.
- In a medium mixing bowl, thoroughly blend whey protein, powdered sweetener, coconut flour, and unsweetened grated coconut until evenly distributed.
- Gradually incorporate the warm cream-butter mixture into dry ingredients, stirring consistently to create a smooth, dense dough. Mix in vanilla extract until fully combined.
- Using clean hands, carefully shape the mixture into compact, uniform spheres approximately 1 inch in diameter. If mixture feels overly sticky, refrigerate for 15-20 minutes to enhance firmness.
- Prepare a shallow dish with additional unsweetened grated coconut. Methodically roll each formed truffle in coconut, ensuring complete and even coverage.
- Arrange coconut-encrusted truffles on a parchment-lined baking sheet. Refrigerate for minimum 1 hour to allow complete solidification and enhance flavor melding.
- Retrieve truffles from refrigerator and serve chilled. For optimal freshness, store remaining truffles in sealed container within refrigerator for up to one week.
Notes
- Chill the dough if it feels too sticky, making it easier to roll into perfect spheres without messy hands.
- Use a small cookie scoop for uniform truffle sizes, ensuring consistent shape and even coating.
- Experiment with alternative coatings like crushed nuts, dark chocolate shavings, or a dusting of cocoa powder for varied textures and flavors.
- For a dairy-free version, swap heavy cream with full-fat coconut milk and use coconut oil instead of butter, maintaining the recipe’s creamy consistency.
- Prep Time: 20 minutes
- Cook Time: 5 minutes
- Category: Desserts, Snacks
- Method: Melting
- Cuisine: American
Nutrition
- Serving Size: 12
- Calories: 98 kcal
- Sugar: 0 g
- Sodium: 14 mg
- Fat: 7 g
- Saturated Fat: 6 g
- Unsaturated Fat: 1 g
- Trans Fat: 0 g
- Carbohydrates: 3 g
- Fiber: 2 g
- Protein: 5 g
- Cholesterol: 21 mg
Samantha Lee
Recipe Developer & Content Creator
Expertise
Plant-based and vegetarian recipes, Recipe testing and development, Food blogging and digital content creation, Culinary education and workshops
Education
Oregon Culinary Institute (Portland, OR)
Samantha sees cooking like painting, every fresh herb, every juicy tomato, a new splash of color on a canvas.
After graduating from Oregon Culinary Institute, she blended her love of global cuisines and plant-based cooking into recipes that feel fresh, fearless, and full of heart.
Samantha’s kitchen is a place where comfort food gets a modern remix and every meal feels like a little adventure. When she’s not cooking, she’s out exploring farmers’ markets, sketching new recipe ideas, or getting her hands dirty in a community garden.