Magical Peppermint Sugar Cookie Bars Recipe for Sweet Smiles
Sweet and festive peppermint sugar cookie bars promise a delightful twist on classic holiday treats.
Soft, chewy textures meld perfectly with cool mint notes dancing through each bite.
Crumbly edges hint at the magical combination waiting inside your kitchen.
Seasonal baking brings warmth and joy to cold winter afternoons.
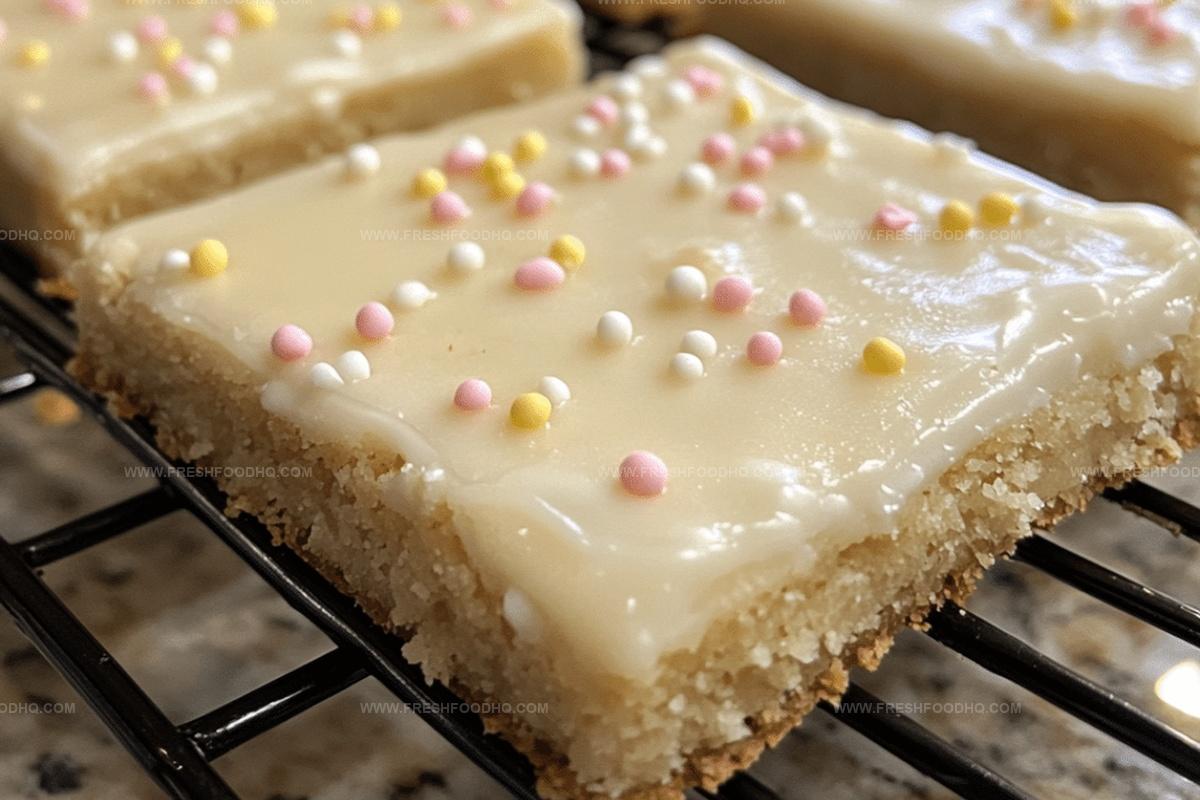
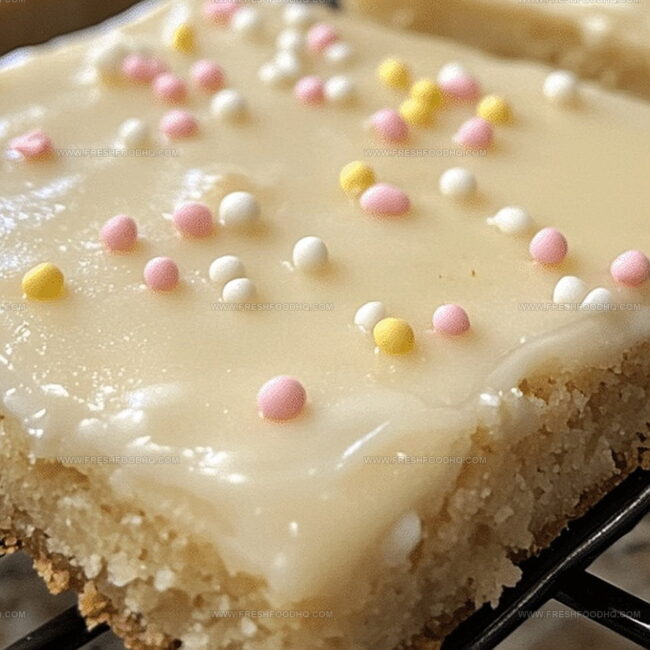
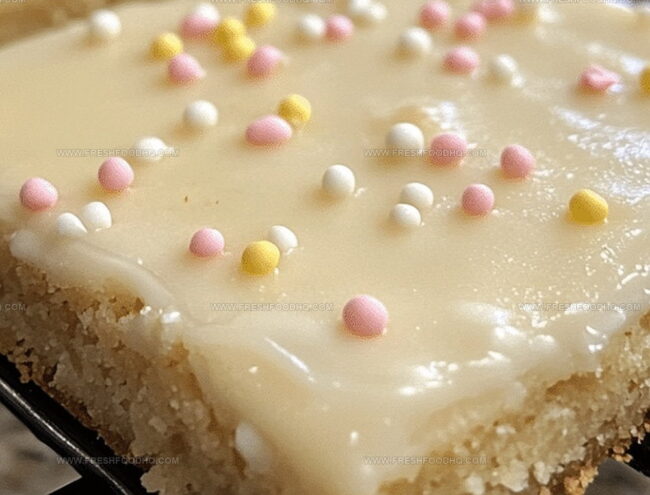
Crisp peppermint pieces scattered across golden-brown surfaces create visual excitement for anyone walking near the cooling rack.
Colorful crushed candy canes sprinkled on top add a playful crunch that makes these bars irresistible.
You can’t help but smile when these delectable squares emerge from the oven, filling the space with nostalgic aromas.
Bake these and watch faces light up with pure winter happiness.
Why Peppermint Sugar Cookie Bars Are Festive Favorites
Ingredients Needed for Peppermint Sugar Cookie Bars
Cookie Base:Flavor Enhancers:Festive Mix-Ins:Binding and Leavening:How to Make Peppermint Sugar Cookie Bars
Step 1: Warm Up the Oven
Set your oven to 350F (175C) and prepare a 9×13-inch baking pan by lightly greasing its surface to prevent sticking.
Step 2: Create a Creamy Base
In a spacious mixing bowl, whip butter and sugar together until the mixture becomes soft, airy, and turns a pale color.
Step 3: Blend Liquid Ingredients
Add these ingredients to your creamy base:Stir until everything is smoothly combined.
Step 4: Mix Dry Components
In a separate bowl, blend together:Slowly incorporate these dry ingredients into your wet mixture, stirring until a consistent dough forms.
Step 5: Enhance with Festive Touches
Gently fold into the dough:Distribute these delightful additions evenly throughout the mixture.
Step 6: Prepare for Baking
Transfer the dough into the greased baking pan, pressing it down to create an even layer across the entire surface.
Step 7: Bake to Perfection
Place the pan in the preheated oven and bake for 20-25 minutes. Look for lightly golden edges as a sign of readiness.
Step 8: Cool and Slice
Remove from the oven and let the baked treat cool completely before cutting into delectable bars.
Pro Tips for Holiday Sugar Cookie Bars
Variations to Try with Peppermint Sugar Cookie Bars
Perfect Pairings for Peppermint Bars
Storage Guidelines for Peppermint Sugar Cookie Bars
FAQs on Peppermint Sugar Cookie Bars
Yes, but reduce the added salt in the recipe to prevent the bars from becoming too salty.
Place candy canes in a sealed plastic bag and gently crush them with a rolling pin or the back of a heavy spoon.
Substitute the all-purpose flour with a gluten-free flour blend that contains xanthan gum for best results.
Look for lightly golden edges and a slightly firm center. A toothpick inserted should come out with a few moist crumbs.
Print
Peppermint Sugar Cookie Bars Recipe
- Total Time: 30-35 minutes
- Yield: 16 1x
Description
Festive peppermint sugar cookie bars bring holiday cheer with their delightful blend of sweet vanilla and cool mint. Crumbly, buttery layers melt in your mouth, promising a perfect seasonal treat that connects family and friends around the kitchen counter.
Ingredients
Main Ingredients:
- 2 1/2 cups all-purpose flour
- 1 cup unsalted butter, softened
- 1 cup granulated sugar
- 1 large egg
Flavoring Ingredients:
- 1 teaspoon vanilla extract
- 1/2 teaspoon peppermint extract
Topping and Texture Ingredients:
- 1/2 teaspoon baking powder
- 1/2 teaspoon salt
- 1/2 cup crushed candy canes
- 1/2 cup white chocolate chips
Instructions
- Warm the oven to 350F (175C) and prepare a 9×13-inch baking dish with a light coating of grease.
- Whip butter and sugar together until the mixture becomes airy and pale, creating a smooth base for the cookie bars.
- Incorporate the egg, vanilla, and peppermint extracts into the creamed mixture, blending until thoroughly combined.
- Sift together flour, baking powder, and salt in a separate container, then gently integrate the dry ingredients into the wet mixture.
- Carefully fold crushed candy canes and white chocolate chips into the dough, distributing them evenly throughout.
- Spread the dough uniformly across the prepared baking pan, ensuring an even surface for consistent baking.
- Slide the pan into the preheated oven and bake for 20-25 minutes, watching for a delicate golden edge as a sign of doneness.
- Remove from the oven and allow the bars to cool completely at room temperature before slicing into individual servings.
Notes
- Elevate the classic sugar cookie by adding a festive peppermint twist that transforms this simple dessert into a holiday showstopper.
- Crush candy canes just before mixing to ensure maximum flavor and prevent moisture from making them sticky.
- For a gluten-free version, swap all-purpose flour with a 1:1 gluten-free baking blend to keep the texture soft and tender.
- Experiment with mint chocolate chips instead of white chocolate for an extra intense peppermint flavor profile that will delight chocolate lovers.
- Prep Time: 10 minutes
- Cook Time: 20-25 minutes
- Category: Desserts, Snacks
- Method: Baking
- Cuisine: American
Nutrition
- Serving Size: 16
- Calories: 219 kcal
- Sugar: 13 g
- Sodium: 102 mg
- Fat: 11 g
- Saturated Fat: 7 g
- Unsaturated Fat: 4 g
- Trans Fat: 0.2 g
- Carbohydrates: 28 g
- Fiber: 0.5 g
- Protein: 2 g
- Cholesterol: 22 mg
Samantha Lee
Recipe Developer & Content Creator
Expertise
Plant-based and vegetarian recipes, Recipe testing and development, Food blogging and digital content creation, Culinary education and workshops
Education
Oregon Culinary Institute (Portland, OR)
Samantha sees cooking like painting, every fresh herb, every juicy tomato, a new splash of color on a canvas.
After graduating from Oregon Culinary Institute, she blended her love of global cuisines and plant-based cooking into recipes that feel fresh, fearless, and full of heart.
Samantha’s kitchen is a place where comfort food gets a modern remix and every meal feels like a little adventure. When she’s not cooking, she’s out exploring farmers’ markets, sketching new recipe ideas, or getting her hands dirty in a community garden.