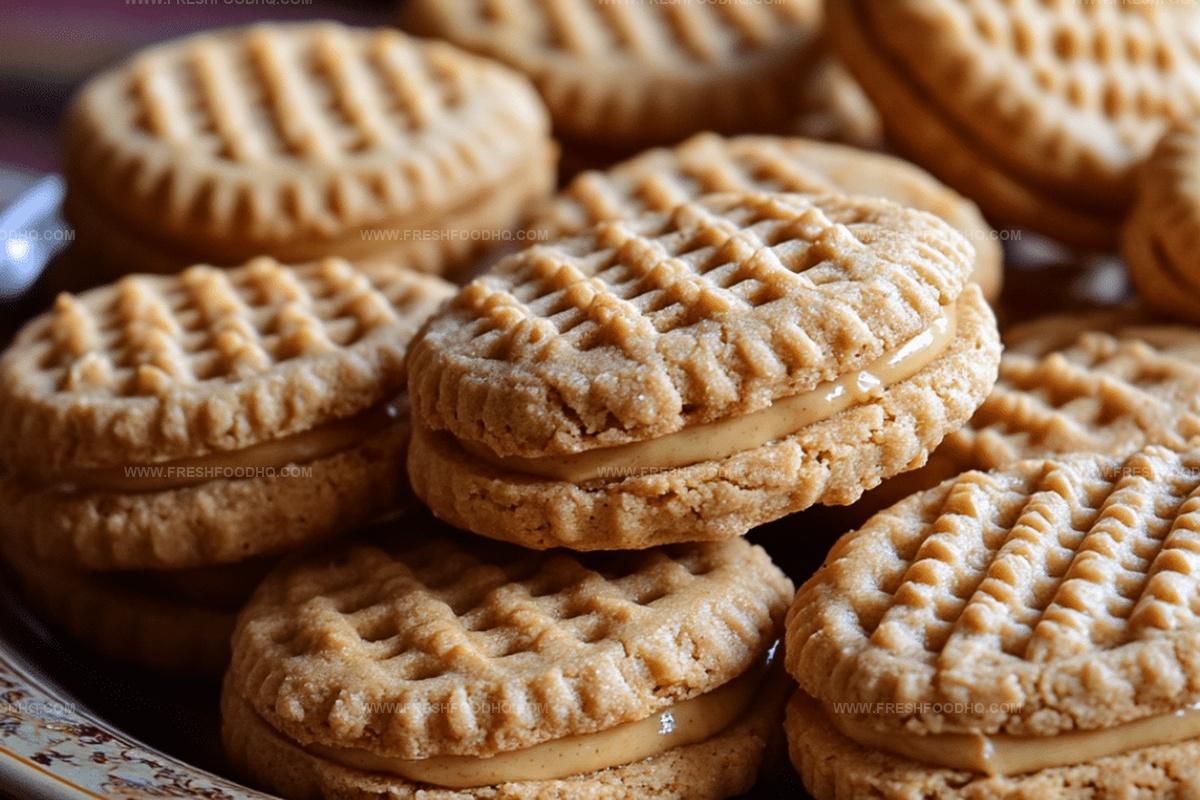
Homemade Peanut Butter Cookies Recipe: Soft & Irresistible Joy
Sweet memories flood back when I whip up these classic peanut butter cookies that remind me of childhood afternoons.
Nostalgic aromas dance through my kitchen, promising comfort in every bite.
Soft, crumbly textures melt on your tongue with rich nutty warmth.
Carefully selected ingredients create magic in just minutes of mixing.
Simple pantry staples come together effortlessly for a treat that sparks joy.
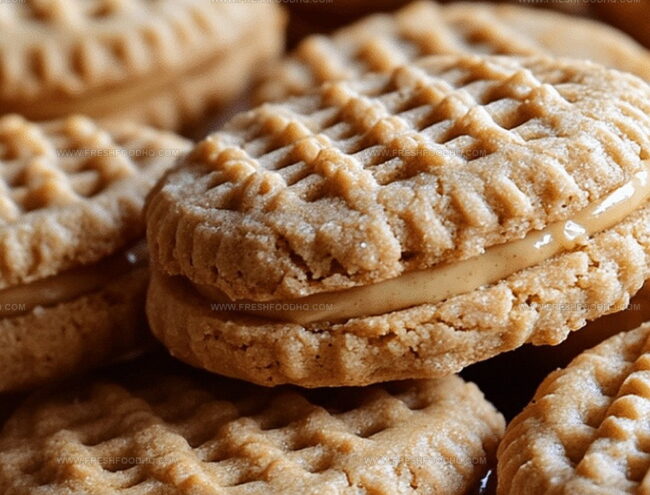
Crisp edges and chewy centers make these cookies irresistible to everyone who tries them.
You’ll find yourself reaching for another before the first one disappears completely.
Bake these and watch smiles light up around the table.
What Makes Peanut Butter Cookies Irresistible
Ingredients for Peanut Butter Cookies
Main Ingredients:Binding and Flavor Enhancers:Optional Finishing Touch:How to Bake Peanut Butter Cookies
Step 1: Warm Up the Oven
Fire up your oven to a toasty 350°F (175°C), creating the perfect cozy environment for your soon-to-be-amazing cookies.
Step 2: Create Cookie Magic
Grab a mixing bowl and combine your ingredients with enthusiasm:Whisk and blend everything together until the mixture looks smooth and completely integrated.
Step 3: Shape Tasty Cookie Balls
Using your hands, roll the dough into adorable small balls. Place each ball gently onto a prepared baking sheet, giving them enough space to spread out.
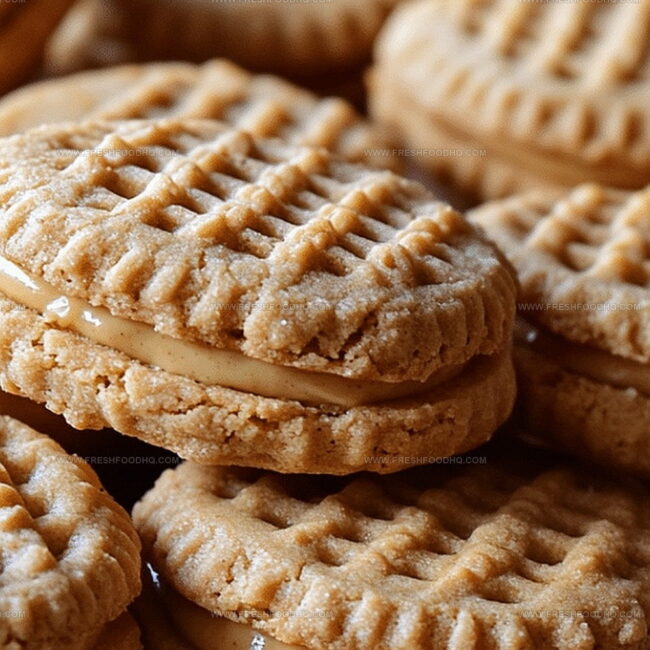
Step 4: Make Classic Criss-Cross Marks
Take a standard fork and press down on each cookie ball, creating the traditional peanut butter cookie pattern. Gently press in horizontal and vertical directions to make beautiful crisscross designs.
Step 5: Bake to Golden Perfection
Slide the baking sheet into the preheated oven. Let the cookies bake for 10-12 minutes until the edges turn a beautiful golden brown color.
Step 6: Cool and Enjoy
Remove the cookies from the oven and let them cool completely on the baking sheet. Once cooled, transfer to a serving plate and get ready to enjoy your homemade treats.
Pro Tips for Peanut Butter Cookies
Variations to Personalize Peanut Butter Cookies
Pairing Recommendations for Peanut Butter Cookies
Storage Guidelines for Peanut Butter Cookies
FAQs on Peanut Butter Cookies
Yes, both natural and crunchy peanut butter work great in this recipe. Just ensure it’s at room temperature for easier mixing.
Look for golden brown edges and slightly set centers. The cookies will be soft when first removed from the oven but will firm up as they cool.
The fork creates the classic crisscross pattern and helps the cookies spread evenly, ensuring consistent baking and a traditional peanut butter cookie appearance.
While the basic ingredients are gluten-free, always check your specific peanut butter brand to confirm no gluten-containing additives are present.
Print
Peanut Butter Cookies Recipe
- Total Time: 20-22 minutes
- Yield: 12 1x
Description
Irresistible peanut butter cookies deliver classic comfort with golden-brown edges and creamy centers. Crisp yet chewy morsels promise sweet nostalgia and pure homemade happiness you will savor bite after delightful bite.
Ingredients
Main Ingredients:
- 1 cup peanut butter
- 1 cup sugar
- 1 egg
Binding Ingredients:
Sweetening Ingredients:
Additional Optional Ingredients:
Instructions
- Warm the oven to 350F (175C) and prepare a clean baking sheet with parchment paper.
- Combine peanut butter, sugar, and egg in a mixing bowl, stirring until the ingredients form a smooth, uniform mixture.
- Shape the dough into compact, bite-sized spheres using gentle rolling motions between your palms.
- Arrange the cookie dough balls on the prepared baking sheet, spacing them evenly to allow room for spreading.
- Using the tines of a fork, gently press down on each dough ball, creating a distinctive crosshatch pattern that enhances both visual appeal and texture.
- Transfer the baking sheet to the preheated oven and bake for 10-12 minutes, watching for the edges to develop a golden-brown hue.
- Remove the cookies from the oven and let them rest on the baking sheet for 2-3 minutes to firm up slightly.
- Carefully transfer the cookies to a wire cooling rack, allowing them to cool completely before serving or storing.
Notes
- Swap traditional sugar with coconut sugar or monk fruit sweetener for a lower glycemic index option.
- Use natural, unsweetened peanut butter to reduce added sugars and control sodium levels.
- For gluten-free version, ensure all ingredients are certified gluten-free and avoid cross-contamination during preparation.
- Chill dough for 30 minutes before baking to prevent spreading and create more compact, structured cookies.
- Prep Time: 10 minutes
- Cook Time: 10-12 minutes
- Category: Snacks, Desserts
- Method: Baking
- Cuisine: American
Nutrition
- Serving Size: 12
- Calories: 212
- Sugar: 11 g
- Sodium: 131 mg
- Fat: 16 g
- Saturated Fat: 3 g
- Unsaturated Fat: 12 g
- Trans Fat: 0 g
- Carbohydrates: 13 g
- Fiber: 2 g
- Protein: 7 g
- Cholesterol: 15 mg
Samantha Lee
Recipe Developer & Content Creator
Expertise
Plant-based and vegetarian recipes, Recipe testing and development, Food blogging and digital content creation, Culinary education and workshops
Education
Oregon Culinary Institute (Portland, OR)
Samantha sees cooking like painting, every fresh herb, every juicy tomato, a new splash of color on a canvas.
After graduating from Oregon Culinary Institute, she blended her love of global cuisines and plant-based cooking into recipes that feel fresh, fearless, and full of heart.
Samantha’s kitchen is a place where comfort food gets a modern remix and every meal feels like a little adventure. When she’s not cooking, she’s out exploring farmers’ markets, sketching new recipe ideas, or getting her hands dirty in a community garden.