
Nostalgic Butter Mint Treats: A Sweet Homemade Recipe
Sweet memories dance through every bite of these nostalgic butter mint treats that remind me of grandmother’s kitchen.
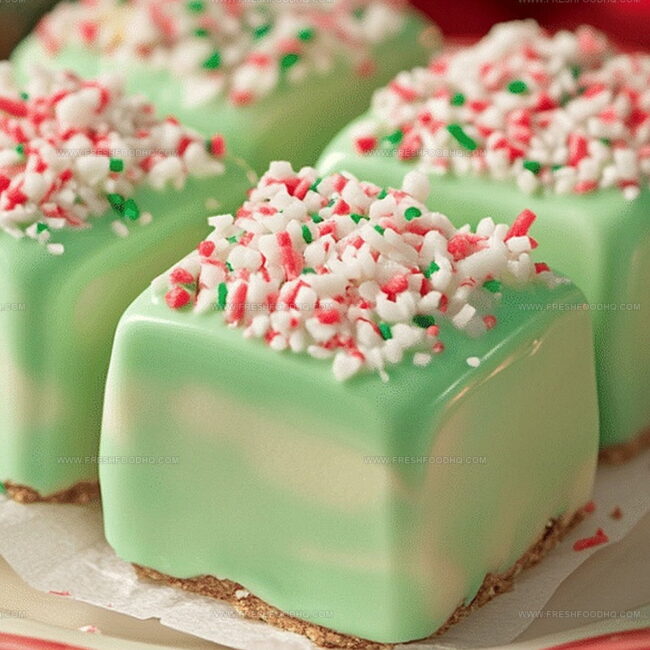
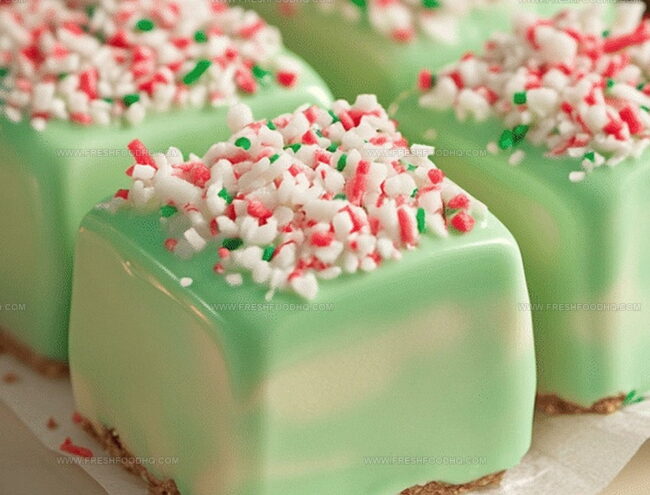
Delicate pastel confections spark childhood moments of soft, melt-in-your-mouth magic.
Crafting these classic candies connects generations through simple ingredients and loving preparation.
Soft, creamy textures whisper stories of holiday gatherings and gentle conversations.
Pastel colors hint at the gentle sweetness waiting to unfold on your palate.
Anyone can create these charming morsels with minimal effort and maximum delight.
Why Nostalgic Butter Mint Treats Bring Sweet Memories
Ingredients For Nostalgic Butter Mint Treats
Base Ingredients:Finishing Ingredients:Optional Ingredient:How To Make Nostalgic Butter Mint Treats
Step 1: Blend Creamy Base
In a spacious mixing bowl, combine softened butter and peppermint extract. Use an electric mixer or whisk to create a smooth, fragrant mixture that feels light and airy. The butter should become fluffy and incorporate the refreshing mint essence completely.
Step 2: Sweeten the Mixture
Slowly introduce powdered sugar into the butter mixture. Add the sugar in small batches, mixing thoroughly after each addition. This gradual approach helps create a consistent texture and prevents lumps from forming. Continue mixing until the blend becomes a soft, pliable dough that holds its shape.
Step 3: Add Vibrant Color
If you want to create a classic pastel look, incorporate food coloring into the mixture. Gently fold in your chosen color, stirring until the dough becomes uniformly tinted. Popular choices include soft pink, pale green, or delicate blue that reminds you of vintage candy.
Step 4: Shape Delicate Treats
Using clean hands, roll the mint mixture into small, bite-sized balls. Each treat should be uniform and about the size of a marble. Carefully roll each ball in additional powdered sugar, creating a light, powdery coating that gives these mints their signature look.
Step 5: Let Treats Set
Arrange the sugar-coated mint balls on wax paper or a clean baking sheet. Allow them to rest at room temperature, which helps them firm up and develop their characteristic melt-in-your-mouth texture. Let the treats sit for about 30 minutes before serving or storing in an airtight container.
Pro Tips For Nostalgic Butter Mint Treats
Variation Ideas For Nostalgic Butter Mint Treats
Pairing Suggestions For Nostalgic Butter Mint Treats
Proper Storage For Nostalgic Butter Mint Treats
Frequently Asked Questions About Nostalgic Butter Mint Treats
No, they’re super simple and require just a few basic ingredients you likely already have in your kitchen.
Yes, you can use a wooden spoon or spatula, but an electric mixer will give you a smoother, creamier texture.
They’ll keep well in an airtight container at room temperature for about a week, maintaining their soft, melt-in-your-mouth texture.
Choose a high-quality pure peppermint extract for the best flavor – avoid artificial mint flavors for the most authentic taste.
Print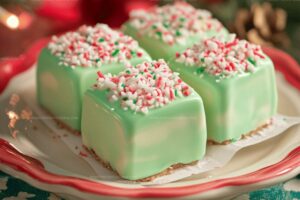
Nostalgic Butter Mint Treats Recipe
- Total Time: 15 minutes
- Yield: 24 1x
Description
Childhood memories melt into creamy Nostalgic Butter Mint Treats, whisking you back to grandma’s kitchen with sweet, pastel-colored confections. Delicate mint squares promise a smooth journey through cherished family moments and classic confectionery charm.
Ingredients
Nostalgic Butter Mint Treats
Main Ingredients:
- 1 cup (226 grams) butter, softened
- 6 cups (720 grams) powdered sugar
- 1 teaspoon (5 milliliters) peppermint extract
Additional Ingredients:
- Food coloring (optional)
- Extra powdered sugar for rolling
Instructions
- Whip softened butter and peppermint extract in a spacious mixing vessel until smooth and fluffy.
- Incorporate powdered sugar gradually, blending thoroughly after each infusion to create a consistent, pliable texture.
- Select desired food coloring and gently fold into the mixture, ensuring uniform pigmentation throughout the confection.
- Delicately shape the mint blend into petite, uniform spheres using gentle, consistent pressure.
- Generously dust each mint sphere with an additional layer of powdered sugar, creating a delicate, crystalline exterior.
- Arrange the minted treats on wax paper, allowing them to stabilize and develop their signature melt-in-your-mouth consistency at room temperature for approximately 30 minutes before serving.
Notes
- Chill the butter briefly before mixing to achieve a firmer texture that makes rolling easier.
- For a lighter mint flavor, start with half the recommended peppermint extract and adjust to taste.
- Use gel food coloring for more vibrant colors without changing the mixture’s consistency.
- Transform these treats into a gluten-free option by ensuring all ingredients are certified gluten-free.
- Prep Time: 15 minutes
- Cook Time: 0 minutes
- Category: Snacks, Desserts
- Method: Rolling
- Cuisine: American
Nutrition
- Serving Size: 24
- Calories: 228
- Sugar: 27 g
- Sodium: 82 mg
- Fat: 12 g
- Saturated Fat: 7 g
- Unsaturated Fat: 5 g
- Trans Fat: 0.5 g
- Carbohydrates: 29 g
- Fiber: 0 g
- Protein: 0.1 g
- Cholesterol: 31 mg
Samantha Lee
Recipe Developer & Content Creator
Expertise
Plant-based and vegetarian recipes, Recipe testing and development, Food blogging and digital content creation, Culinary education and workshops
Education
Oregon Culinary Institute (Portland, OR)
Samantha sees cooking like painting, every fresh herb, every juicy tomato, a new splash of color on a canvas.
After graduating from Oregon Culinary Institute, she blended her love of global cuisines and plant-based cooking into recipes that feel fresh, fearless, and full of heart.
Samantha’s kitchen is a place where comfort food gets a modern remix and every meal feels like a little adventure. When she’s not cooking, she’s out exploring farmers’ markets, sketching new recipe ideas, or getting her hands dirty in a community garden.