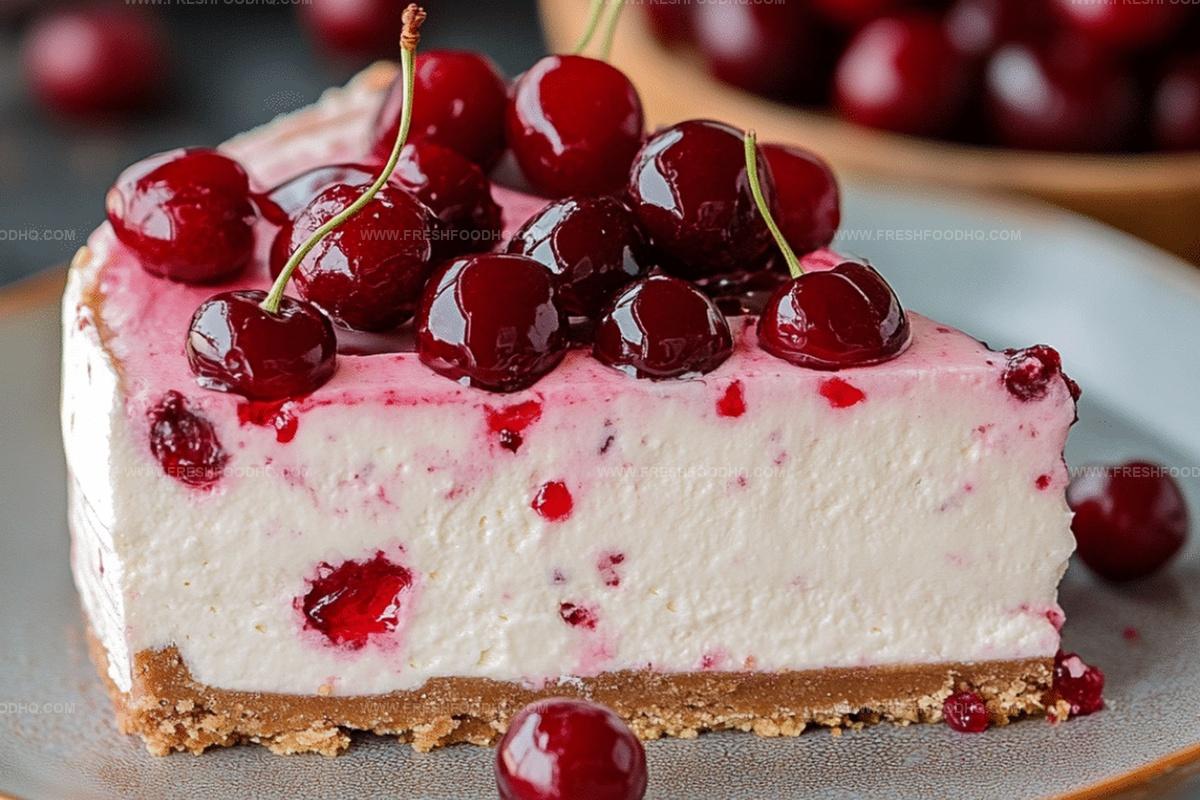
The Perfect No Bake Cherry Cheesecake Recipe for Sweet Cravings
My creamy no bake cherry cheesecake recipe promises a delightful dessert without turning on the oven.
Smooth cream cheese blends perfectly with sweet graham cracker crust for an irresistible treat.
Chilled ingredients create a luxurious texture that melts in your mouth.
Each spoonful brings a burst of fruity cherry goodness that feels like pure indulgence.
Summer gatherings or quiet evening desserts become special with this simple yet elegant dish.
Rich layers of flavor combine effortlessly, making you look like a professional pastry chef.
You’ll definitely want to bookmark this foolproof recipe for your next sweet adventure.
Why No Bake Cherry Cheesecake Is So Simple And Delicious
Everything You Need For Cherry Cheesecake
Crust Base:Cheesecake Filling:Topping:Steps To Make No Bake Cherry Cheesecake
Step 1: Create Crumbly Crust
Grab a mixing bowl and combine graham cracker crumbs, sugar, and melted butter. Use your hands or a spatula to press the mixture firmly into the bottom of a 9×13 inch baking dish. Make sure the crust is packed tightly and evenly to create a solid foundation for your cheesecake.
Step 2: Whip Up Creamy Filling
In another bowl, grab your electric mixer and blend cream cheese, sugar, and vanilla extract until the mixture becomes silky smooth. Gently fold in whipped cream, creating a light and airy texture that will make your cheesecake irresistibly creamy.
Step 3: Layer the Cheesecake
Carefully spread the cream cheese mixture over the prepared graham cracker crust. Use a spatula to ensure an even distribution, creating a beautiful, smooth surface that will make your dessert look professionally made.
Step 4: Chill and Set
Place the cheesecake in the refrigerator and let it rest for at least 4 hours. This cooling time allows the flavors to meld together and helps the cheesecake firm up to the perfect consistency.
Step 5: Add Cherry Topping
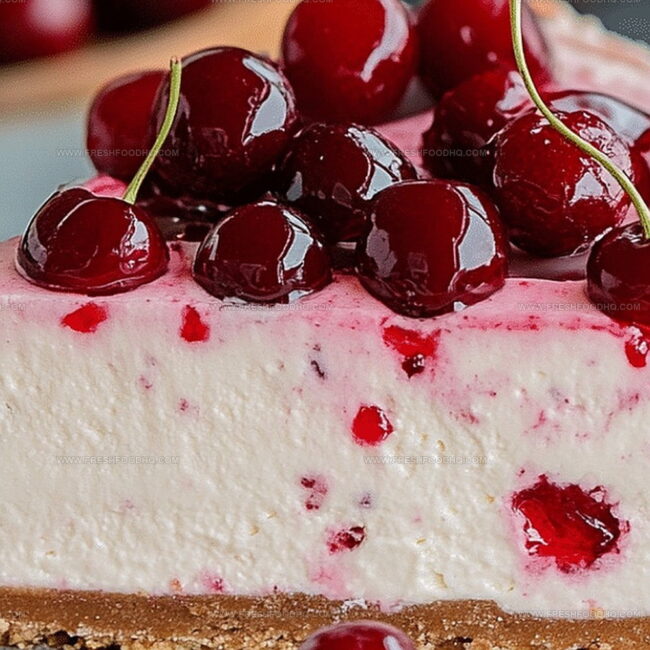
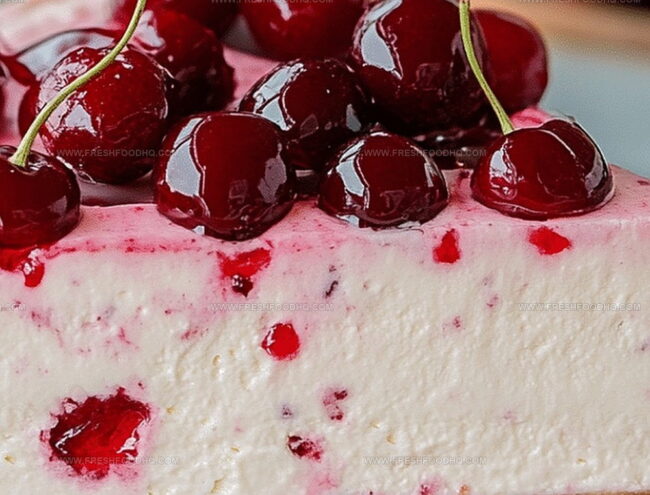
Just before serving, generously top the chilled cheesecake with vibrant cherry pie filling. The bright red cherries will create a stunning contrast against the creamy white cheesecake, making it a showstopping dessert that will impress everyone at the table.
Tips For A Creamy And Stable No Bake Cheesecake
Tasty Twists On Cherry Cheesecake Flavors
What To Pair With No Bake Cherry Cheesecake
How To Store Cherry Cheesecake Correctly
FAQs About No Bake Cherry Cheesecake
Yes, you can substitute graham crackers with digestive biscuits or crushed vanilla wafers for a similar texture and flavor.
No, whipped cream is essential for creating the light and creamy texture of the no-bake cheesecake.
The cheesecake can be stored in the refrigerator for up to 3-4 days while maintaining its fresh taste and creamy consistency.
Fresh cherries can be used, but you’ll need to cook them with sugar and cornstarch to create a similar syrupy consistency as pie filling.
Print
No Bake Cherry Cheesecake Recipe
- Total Time: 4 hours 15 minutes
- Yield: 8 1x
Description
Creamy no bake cherry cheesecake brings summer’s sweetest memories to your dessert table with minimal effort. Smooth cream cheese, tangy cherries, and a buttery graham cracker crust combine for a delightful treat you cannot resist.
Ingredients
Main Ingredients:
- 16 ounces (454 grams) cream cheese, softened
- 1 cup (240 milliliters) whipped cream
- 1 can cherry pie filling
Crust Ingredients:
- 1 1/2 cups (180 grams) graham cracker crumbs
- 1/2 cup (113 grams) butter, melted
- 1/4 cup (50 grams) sugar
Flavoring Ingredient:
- 1 teaspoon vanilla extract
Instructions
- Crush graham crackers and combine with sugar and melted butter, creating a uniform crumbly mixture that firmly packs into the bottom of a rectangular dish, forming a solid foundational crust.
- Whip cream cheese with sugar and vanilla until achieving a silky, lump-free consistency, then gently incorporate whipped cream to create a light, airy filling.
- Carefully spread the creamy mixture over the prepared graham cracker base, ensuring an even, smooth surface that covers the entire crust.
- Refrigerate the dessert for a minimum of 4 hours, allowing the filling to set and develop a firm, sliceable texture.
- Just before serving, generously top the chilled cheesecake with vibrant cherry pie filling, creating a glossy, colorful finish that adds a burst of fruity sweetness to the creamy dessert.
Notes
- Swap graham crackers with gluten-free alternatives like almond flour or crushed oat cookies for a celiac-friendly version.
- Reduce sugar content by using monk fruit sweetener or stevia to create a lower-calorie dessert option.
- For a fresh twist, replace canned cherry pie filling with homemade cherry compote using fresh seasonal cherries.
- Enhance texture by adding a light sprinkle of chopped toasted almonds or pistachios on top for extra crunch and nutty flavor.
- Prep Time: 15 minutes
- Cook Time: 0 minutes
- Category: Desserts
- Method: Chilling
- Cuisine: American
Nutrition
- Serving Size: 8
- Calories: 379 kcal
- Sugar: 27 g
- Sodium: 210 mg
- Fat: 29 g
- Saturated Fat: 18 g
- Unsaturated Fat: 10 g
- Trans Fat: 0.5 g
- Carbohydrates: 26 g
- Fiber: 1 g
- Protein: 5 g
- Cholesterol: 65 mg


Samantha Lee
Recipe Developer & Content Creator
Expertise
Plant-based and vegetarian recipes, Recipe testing and development, Food blogging and digital content creation, Culinary education and workshops
Education
Oregon Culinary Institute (Portland, OR)
Samantha sees cooking like painting, every fresh herb, every juicy tomato, a new splash of color on a canvas.
After graduating from Oregon Culinary Institute, she blended her love of global cuisines and plant-based cooking into recipes that feel fresh, fearless, and full of heart.
Samantha’s kitchen is a place where comfort food gets a modern remix and every meal feels like a little adventure. When she’s not cooking, she’s out exploring farmers’ markets, sketching new recipe ideas, or getting her hands dirty in a community garden.