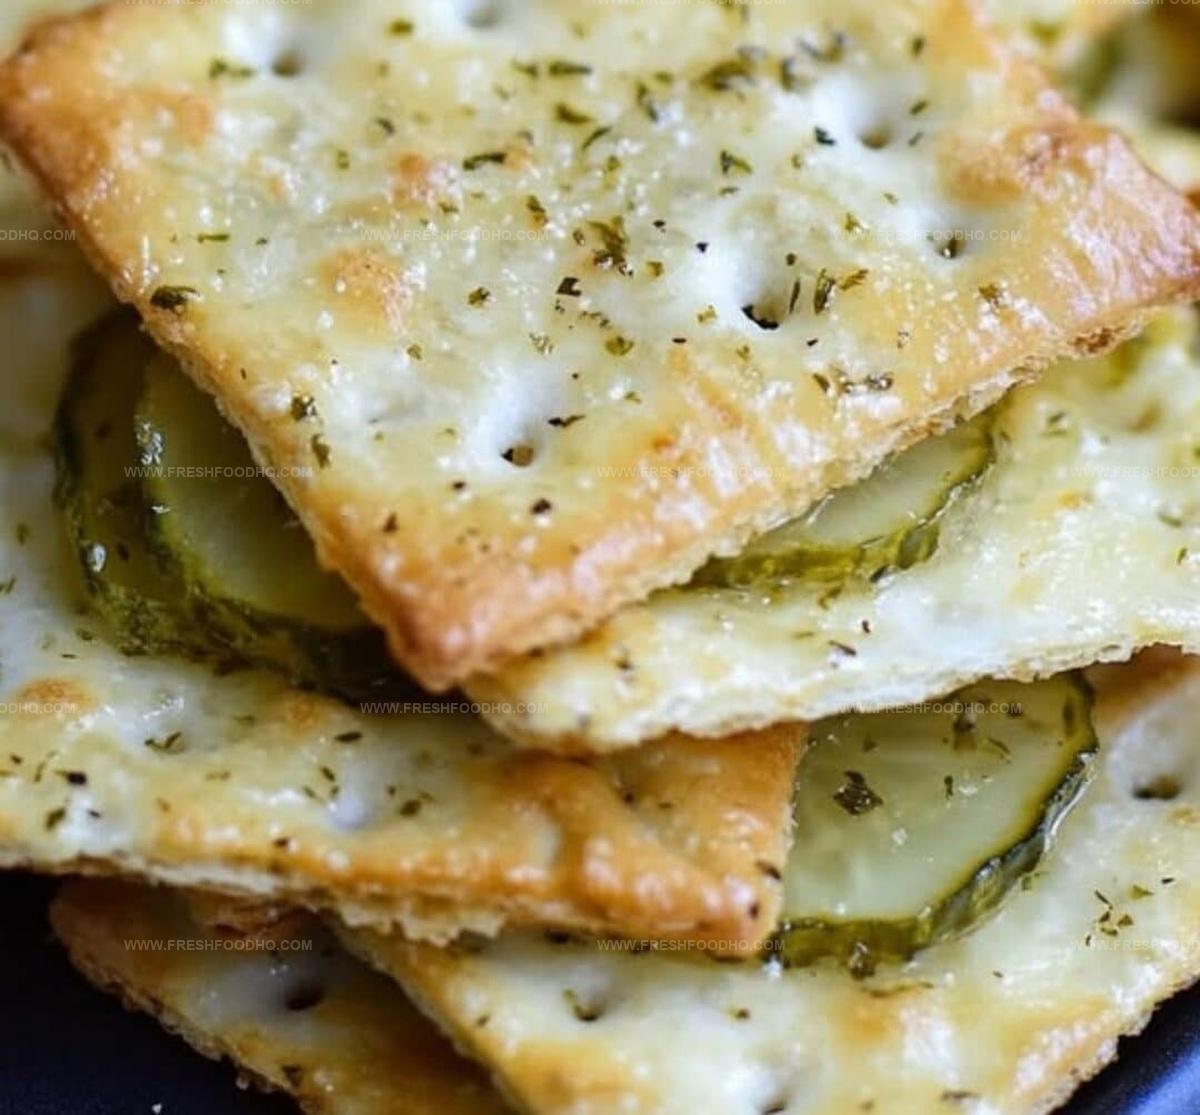
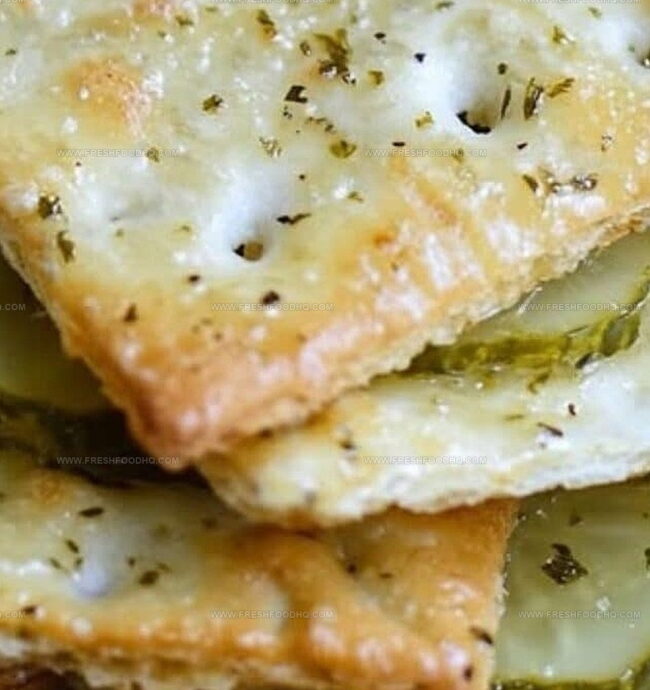
Zesty Dill Pickle Saltines Recipe: Snack Magic in Every Bite
Crispy, tangy dill pickle saltines dance between classic snack territory and gourmet indulgence.
Crackers never tasted so exciting before this simple yet brilliant combination.
Salt and zest mingle perfectly across these addictive bites.
Home cooks love how quickly these treats come together with minimal ingredients.
Pickle lovers will appreciate the unexpected flavor punch packed into each cracker.
Snack time just got a delicious upgrade that everyone will crave.
Ready to transform your ordinary saltines into something extraordinary?
Reasons to Enjoy Dill Pickle Saltines

What You Need for Dill Pickle Saltines
Cracker Base:Oil and Seasoning Blend:Storage and Mixing Ingredient:Stepwise Guide to Making Dill Pickle Saltines
Step 1: Whip Up Flavor Blend
In a cozy mixing bowl, combine all the zesty seasonings to create a mouthwatering coating. Gather your ingredients:Stir everything together until the spices are perfectly mixed and create a vibrant, aromatic blend.
Step 2: Prepare Cracker Container
Grab a large ziplock bag and carefully add the saltine crackers. Make sure the bag is clean and ready for flavor magic.
Step 3: Drench Crackers in Goodness
Pour the prepared oil and spice mixture directly over the crackers inside the ziplock bag. The crackers will start to glisten with the delicious coating.
Step 4: Shake and Coat
Seal the bag tightly, ensuring no seasoning escapes. Gently tumble and toss the bag, rotating it from side to side. This ensures every single cracker gets an even, delectable coating of the flavorful mixture.
Step 5: Marinate and Infuse
Let the crackers rest and soak up all the incredible flavors for at least 4 hours. Every 30 minutes, give the bag a gentle shake to redistribute the seasonings and ensure maximum taste absorption.
Step 6: Enjoy Your Tangy Treat
Once the waiting time is complete, open the bag and dive into your homemade dill pickle saltines. Crunch, munch, and savor the explosion of zesty flavors!
Helpful Hints for Dill Pickle Saltines
Ways to Change Up Dill Pickle Saltines
Best Foods to Serve with Dill Pickle Saltines
How to Keep Dill Pickle Saltines Fresh
Common Questions About Dill Pickle Saltines
You’ll need saltine crackers, vegetable oil, ranch dressing mix, dill weed, garlic powder, cayenne pepper, and onion powder.
Yes, you can reduce or increase the cayenne pepper to control the heat according to your preference.
The recipe recommends letting the crackers sit for at least 4 hours, turning the bag every 30 minutes to ensure even coating.
Absolutely! These dill pickle saltines are a zesty, flavorful snack perfect for parties, game days, or casual munching.
Print
Dill Pickle Saltines Recipe
- Total Time: 4 hours 10 minutes
- Yield: 8 1x
Description
Crunchy dill pickle saltines deliver a tangy explosion of flavor that elevates classic crackers into an irresistible snack. Salty, zesty, and perfectly crisp, these addictive bites will become your new go-to party treat that keeps everyone coming back for more.
Ingredients
Crackers:
- 1 sleeve saltine crackers
Oils and Seasonings:
- 1/2 cup (120 milliliters) vegetable oil
- 1 packet ranch dressing mix
- 1 teaspoon (5 grams) dill weed
- 1/2 teaspoon (2.5 grams) garlic powder
- 1/4 teaspoon (1.25 grams) onion powder
- 1/4 teaspoon (1.25 grams) cayenne pepper
Instructions
- Whisk together oil, ranch seasoning, dill weed, garlic powder, cayenne, and onion powder in a mixing vessel to create a vibrant, herb-infused coating.
- Transfer saltine crackers into a large resealable plastic bag, ensuring ample space for even distribution.
- Drizzle the prepared oil mixture directly over the crackers, aiming for comprehensive coverage.
- Securely seal the bag, then gently manipulate and rotate to ensure each cracker receives a thorough, uniform coating.
- Allow the crackers to marinate at room temperature for 4-6 hours, periodically rotating the bag every half-hour to guarantee consistent flavor absorption.
- After marinating, spread crackers on a flat surface to air dry for 15-20 minutes, enabling the seasoning to set and create a crisp, zesty texture.
- Store in an airtight container to maintain crispness and flavor intensity, consuming within 3-5 days for optimal taste experience.
Notes
- Use room temperature crackers to ensure even coating and prevent breakage during mixing.
- Experiment with different ranch dressing mix brands for unique flavor profiles and intensity.
- Store crackers in an airtight container to maintain crispness and prevent sogginess.
- Adjust cayenne pepper quantity based on personal spice tolerance for a milder or spicier snack.
- Prep Time: 10 minutes
- Cook Time: 0 minutes
- Category: Snacks, Appetizer
- Method: Shaking
- Cuisine: American
Nutrition
- Serving Size: 8
- Calories: 230 kcal
- Sugar: 1 g
- Sodium: 350 mg
- Fat: 15 g
- Saturated Fat: 2 g
- Unsaturated Fat: 13 g
- Trans Fat: 0 g
- Carbohydrates: 20 g
- Fiber: 1 g
- Protein: 3 g
- Cholesterol: 0 mg
Samantha Lee
Recipe Developer & Content Creator
Expertise
Plant-based and vegetarian recipes, Recipe testing and development, Food blogging and digital content creation, Culinary education and workshops
Education
Oregon Culinary Institute (Portland, OR)
Samantha sees cooking like painting, every fresh herb, every juicy tomato, a new splash of color on a canvas.
After graduating from Oregon Culinary Institute, she blended her love of global cuisines and plant-based cooking into recipes that feel fresh, fearless, and full of heart.
Samantha’s kitchen is a place where comfort food gets a modern remix and every meal feels like a little adventure. When she’s not cooking, she’s out exploring farmers’ markets, sketching new recipe ideas, or getting her hands dirty in a community garden.