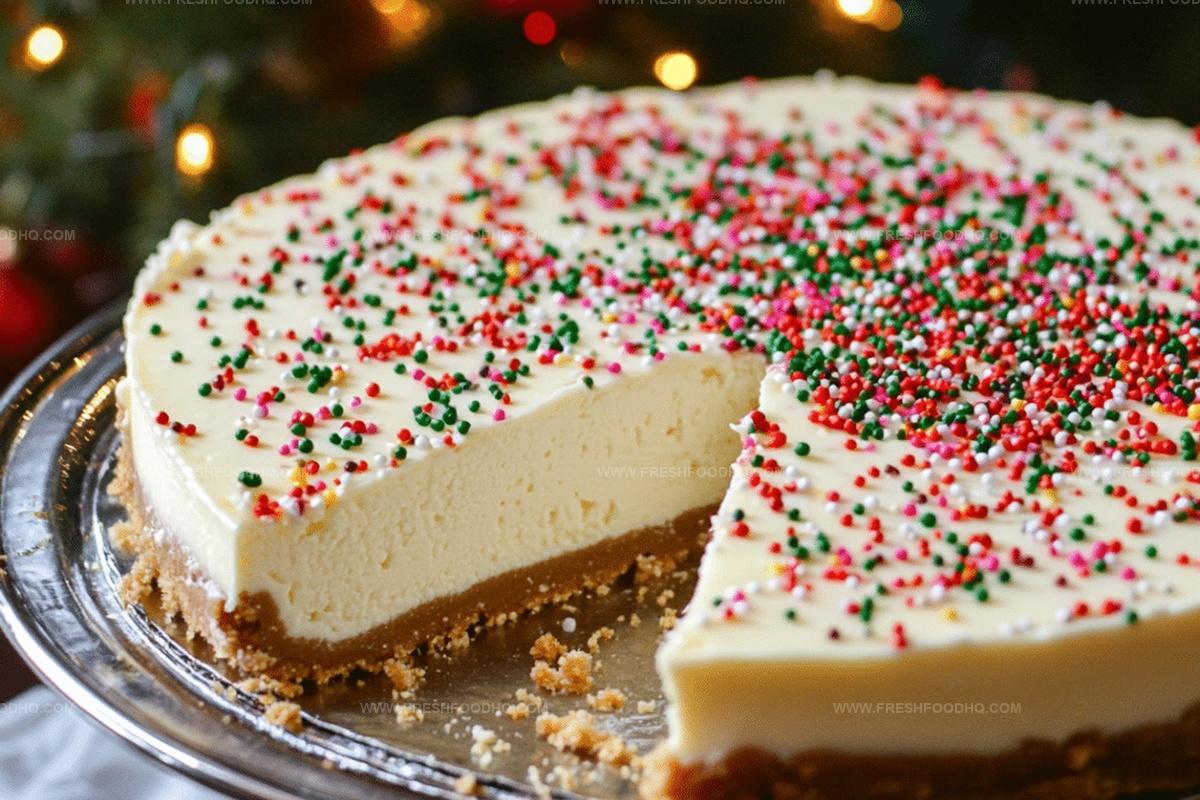
Festive Christmas-Decorated Cheesecake Recipe for Sweet Holidays
Nestled in holiday traditions, this christmas-decorated cheesecake brings festive cheer right to your dessert table.
Seasonal magic sparkles through delicate frosting and colorful sprinkles.
Soft cream cheese whispers sweet memories of family gatherings.
Elegant swirls and playful decorations capture winter’s enchantment with every slice.
Delightful layers promise a merry celebration of flavors and textures.
Warm hearts connect through this delectable dessert that transforms simple ingredients into a spectacular centerpiece.
You won’t want to miss creating this magical treat that blends comfort and celebration.
Why Christmas-Decorated Cheesecake Is a Festive Delight
Ingredients for Christmas-Decorated Cheesecake
Crust Ingredients:Cheesecake Filling:Decoration:How to Make Christmas-Decorated Cheesecake
Step 1: Prepare the Crust
Mix graham cracker crumbs, sugar, and melted butter in a bowl. Press the mixture firmly into the bottom of a springform pan, creating a solid base that will support your festive cheesecake.
Step 2: Create Creamy Cheesecake Base
Beat cream cheese, sugar, and vanilla extract until silky smooth. Add eggs one at a time, blending thoroughly after each addition to ensure a velvety texture.
Step 3: Design Festive Color Layers
Divide the cheesecake batter into two portions. Leave one half natural white and add red food coloring to the other half, creating a vibrant holiday-inspired mixture.
Step 4: Layer and Swirl Colors
Pour the white batter first into the pan, then gently add the red batter on top. Use a toothpick to create beautiful marbled patterns, mixing the colors delicately.
Step 5: Bake with Gentle Heat
Bake in a preheated oven at 325F for 45-50 minutes. The center should look almost set but slightly jiggly.
Step 6: Cool Slowly
Turn off the oven and let the cheesecake rest inside for one hour. This gradual cooling prevents cracking and ensures a smooth texture.
Step 7: Chill and Set
Refrigerate the cheesecake for at least 4 hours or overnight to allow complete setting and flavor development.
Step 8: Decorate for Celebration
Sprinkle Christmas-themed decorations on top just before serving to add a festive touch.
Pro Tips for Holiday Cheesecake
Variations to Personalize Christmas Cheesecake
Pairing Suggestions for Christmas Cheesecake
Storage Advice for Christmas-Decorated Cheesecake
FAQs About Christmas-Decorated Cheesecake
Avoid overmixing the batter, use room temperature ingredients, and don’t overbake. Baking in a water bath can also help prevent cracks by providing even, gentle heat.
Yes, you can prepare the cheesecake up to 3 days in advance. Keep it refrigerated and add Christmas sprinkles just before serving to maintain their color and crunch.
You can use a regular cake pan lined with parchment paper, but removing the cheesecake might be more challenging. A springform pan makes serving much easier.
Print
Christmas-Decorated Cheesecake Recipe
- Total Time: 5 hours 10 minutes (including cooling and refrigeration)
- Yield: 12 1x
Description
Festive winter magic sparkles in this Christmas Decorated Cheesecake, blending creamy richness with holiday cheer. Elegant swirls of frosting and seasonal garnishes make this dessert a delightful centerpiece for your celebration.
Ingredients
Cheesecake Base:
- 1 1/2 cups (180 grams) graham cracker crumbs
- 1/4 cup (50 grams) sugar
- 1/2 cup (113 grams) butter, melted
Cheesecake Filling:
- 24 ounces (680 grams) cream cheese, softened
- 1 cup (200 grams) sugar
- 1 teaspoon vanilla extract
- 4 eggs
Decorative Elements:
- Red food coloring
- Green food coloring
- Christmas-themed sprinkles
Instructions
- Prepare the springform pan by combining graham cracker crumbs with sugar and melted butter, pressing the mixture firmly into the bottom to create a uniform crust.
- In a spacious mixing bowl, whip cream cheese until velvety smooth, gradually incorporating sugar and vanilla extract.
- Introduce eggs individually, gently folding each one into the cream cheese mixture to maintain a silky texture.
- Divide the batter into two portions, keeping one half in its original white color.
- Transform the second half by blending in red food coloring, ensuring an even, vibrant crimson tone throughout.
- Carefully layer the white batter first, followed by the red batter, creating a festive base in the springform pan.
- Using a thin toothpick, delicately weave through both colors to generate an artistic marbled pattern.
- Position the cheesecake in a preheated 325°F oven, allowing it to bake for 45-50 minutes until the center achieves a subtle firmness.
- After baking, switch off the oven and allow the cheesecake to rest inside for one hour, promoting gradual cooling and preventing surface cracks.
- Transfer to the refrigerator and chill for a minimum of 4 hours or ideally overnight to set completely.
- Before serving, embellish the surface with playful Christmas-themed sprinkles for a festive final touch.
Notes
- Swap graham crackers with gluten-free alternatives like almond flour or crushed gluten-free cookies for celiac-friendly options.
- Prevent cracks by avoiding overmixing eggs and using a water bath during baking to create gentle, even heat distribution.
- Create vibrant red swirls by using gel food coloring instead of liquid, which provides more intense color without affecting batter consistency.
- Cool cheesecake gradually to prevent surface cracking by leaving it in the turned-off oven with door slightly open, allowing temperature to drop slowly.
- Prep Time: 20 minutes
- Cook Time: 50 minutes
- Category: Desserts
- Method: Baking
- Cuisine: American
Nutrition
- Serving Size: 12
- Calories: 370 kcal
- Sugar: 23 g
- Sodium: 250 mg
- Fat: 28 g
- Saturated Fat: 16 g
- Unsaturated Fat: 10 g
- Trans Fat: 1 g
- Carbohydrates: 21 g
- Fiber: 1 g
- Protein: 6 g
- Cholesterol: 110 mg
Samantha Lee
Recipe Developer & Content Creator
Expertise
Plant-based and vegetarian recipes, Recipe testing and development, Food blogging and digital content creation, Culinary education and workshops
Education
Oregon Culinary Institute (Portland, OR)
Samantha sees cooking like painting, every fresh herb, every juicy tomato, a new splash of color on a canvas.
After graduating from Oregon Culinary Institute, she blended her love of global cuisines and plant-based cooking into recipes that feel fresh, fearless, and full of heart.
Samantha’s kitchen is a place where comfort food gets a modern remix and every meal feels like a little adventure. When she’s not cooking, she’s out exploring farmers’ markets, sketching new recipe ideas, or getting her hands dirty in a community garden.