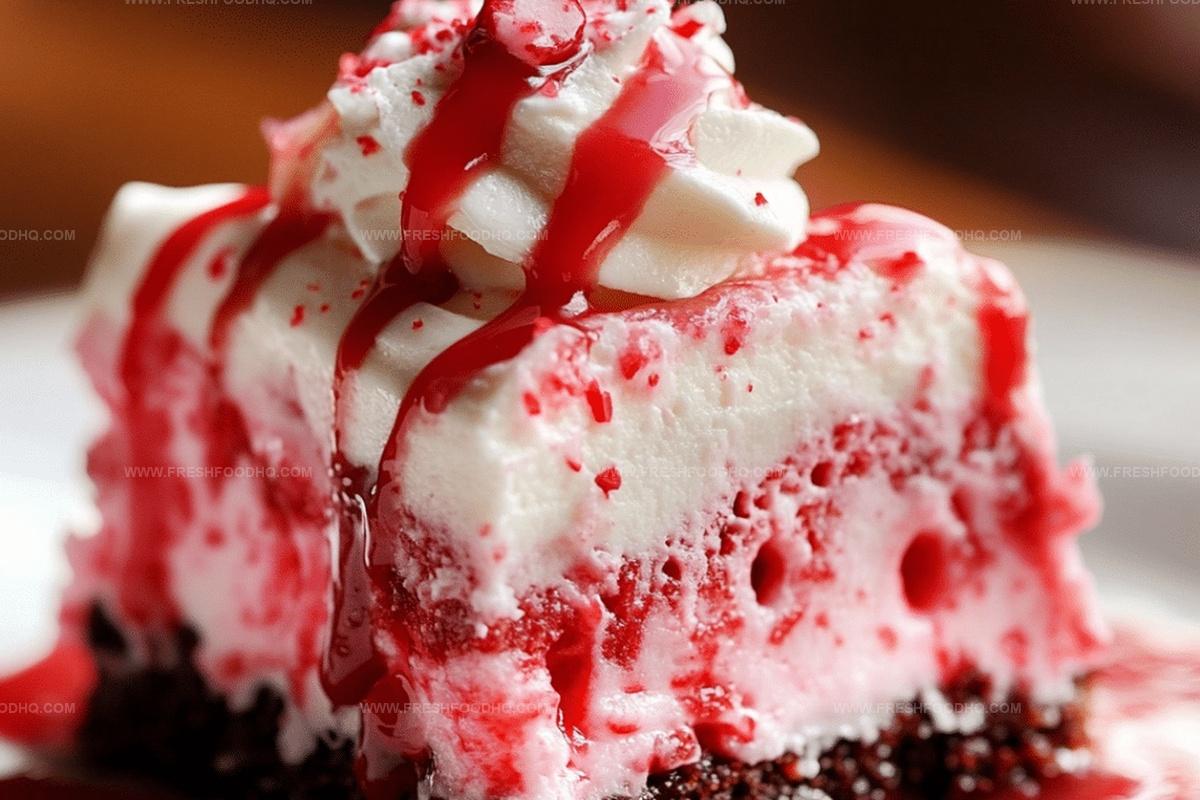
Festive Christmas Poke Cake Recipe That Dazzles Every Time
Sweet memories flood my mind when I think about this delightful christmas poke cake that brings joy to every festive gathering.
Layers of rich, moist goodness await you in this irresistible dessert.
Soft sponge cake becomes a canvas for creamy filling and delicate decorations.
Festive sprinkles dance across the surface, promising a celebration in every bite.
Hints of holiday spices weave through each delectable slice, creating a warm and inviting experience.
Comfort and cheer blend perfectly in this simple yet spectacular treat.
Dive in and let the magic of the season melt on your tongue.
Pairing Ideas for Christmas Poke Cake
Storage Tips for Poke Cake
FAQs About Christmas Poke Cake
You’ll need white cake mix, instant vanilla pudding mix, milk, whipped topping, and food coloring in red and green. Optional sprinkles can be added for extra festive decoration.
Use the end of a wooden spoon to create evenly spaced holes all over the top of the slightly cooled cake. These holes allow the pudding to seep into the cake and create a moist texture.
Absolutely! This cake actually tastes better when prepared in advance. You can make it a day before your event and keep it refrigerated until serving.
What Makes Christmas Poke Cake Special
Key Ingredients for Christmas Poke Cake
Cake Base:Filling:Topping:How to Bake Christmas Poke Cake
Step 1: Whip Up the Cake Base
Grab a white cake mix and follow the package instructions to bake in a 9×13-inch pan. Let the cake cool down for about 10 minutes, creating a warm canvas for the festive magic.
Step 2: Create Delightful Holes
Take the handle end of a wooden spoon and playfully poke holes all across the cake’s surface. These little caverns will soon be filled with creamy goodness.
Step 3: Pour Creamy Pudding Magic
In a mixing bowl, whisk together:Blend until silky smooth, then gently pour the pudding over the cake, ensuring it cascades into every hole.
Step 4: Chill and Set
Slide the cake into the refrigerator and let it rest for at least an hour. This allows the pudding to set and flavors to mingle.
Step 5: Craft Festive Frosting
Divide your whipped topping into two separate bowls. Add red food coloring to one portion and green to the other, creating a Christmas color palette.
Step 6: Decorate with Holiday Cheer
Spread the white whipped topping as a base layer. Then use red and green toppings to create a festive design. Sprinkle some holiday-themed sprinkles for extra sparkle.
Step 7: Final Chill
Return the cake to the refrigerator until you’re ready to serve this delightful Christmas treat.
Pro Tips for Moist and Flavorful Cake
Variations to Make It Your Own
Print
Christmas Poke Cake Recipe
- Total Time: 1 hour 50-55 minutes
- Yield: 12 1x
Description
Sweet Christmas magic springs to life with this festive poke cake, blanketed in creamy layers and holiday cheer. Seasonal flavors dance through each bite, inviting you to savor the delightful spirit of Christmas celebrations.
Ingredients
Cake Base:
- 1 box white cake mix
- 1 cup (240 milliliters) water
- 1/3 cup (80 milliliters) vegetable oil
- 3 egg whites
Filling and Topping:
- 1 (3.4 ounces / 96 grams) package instant vanilla pudding mix
- 2 cups (480 milliliters) milk
- 1 (8 ounces / 227 grams) container frozen whipped topping, thawed
Decorative Elements:
- Red food coloring
- Green food coloring
- Sprinkles
Instructions
- Prepare white cake mix in a 9×13-inch pan following package instructions at 350°F for approximately 25-30 minutes.
- Let cake cool for 10 minutes, then create multiple holes across the surface using a wooden spoon handle.
- Whisk vanilla pudding mix with milk until completely smooth and consistent.
- Carefully pour pudding mixture over cake, ensuring liquid penetrates all created holes thoroughly.
- Chill cake in refrigerator for minimum 1 hour to allow pudding to set completely.
- Separate whipped topping into two portions, tinting one portion vibrant red and the other festive green.
- Gently spread white whipped topping as base layer across entire cake surface.
- Artfully pipe red and green whipped topping decoratively over white base layer.
- Sprinkle holiday-themed decorative sprinkles across top for additional festive flair.
- Return decorated cake to refrigerator until serving time to maintain fresh, chilled texture.
Notes
- Ensure cake is slightly warm when poking holes to help pudding seep deeply into the cake’s interior for maximum flavor absorption.
- Use wooden spoon handle with consistent pressure to create uniform holes, preventing cake from cracking or breaking.
- Select food-safe gel colors for vibrant red and green decorations without altering whipped topping’s texture.
- Consider using sugar-free pudding mix and low-fat whipped topping for a lighter version of this festive dessert.
- Prep Time: 15 minutes
- Cook Time: 25-30 minutes
- Category: Desserts
- Method: Baking
- Cuisine: American
Nutrition
- Serving Size: 12
- Calories: 210 kcal
- Sugar: 18 g
- Sodium: 220 mg
- Fat: 7 g
- Saturated Fat: 2 g
- Unsaturated Fat: 4 g
- Trans Fat: 0 g
- Carbohydrates: 32 g
- Fiber: 0.5 g
- Protein: 3 g
- Cholesterol: 15 mg


Samantha Lee
Recipe Developer & Content Creator
Expertise
Plant-based and vegetarian recipes, Recipe testing and development, Food blogging and digital content creation, Culinary education and workshops
Education
Oregon Culinary Institute (Portland, OR)
Samantha sees cooking like painting, every fresh herb, every juicy tomato, a new splash of color on a canvas.
After graduating from Oregon Culinary Institute, she blended her love of global cuisines and plant-based cooking into recipes that feel fresh, fearless, and full of heart.
Samantha’s kitchen is a place where comfort food gets a modern remix and every meal feels like a little adventure. When she’s not cooking, she’s out exploring farmers’ markets, sketching new recipe ideas, or getting her hands dirty in a community garden.