The Best Christmas Cookie Bars Recipe for Festive Treats
Sweet memories often bloom around holiday baking, and these irresistible christmas cookie bars bring warmth to any festive gathering.
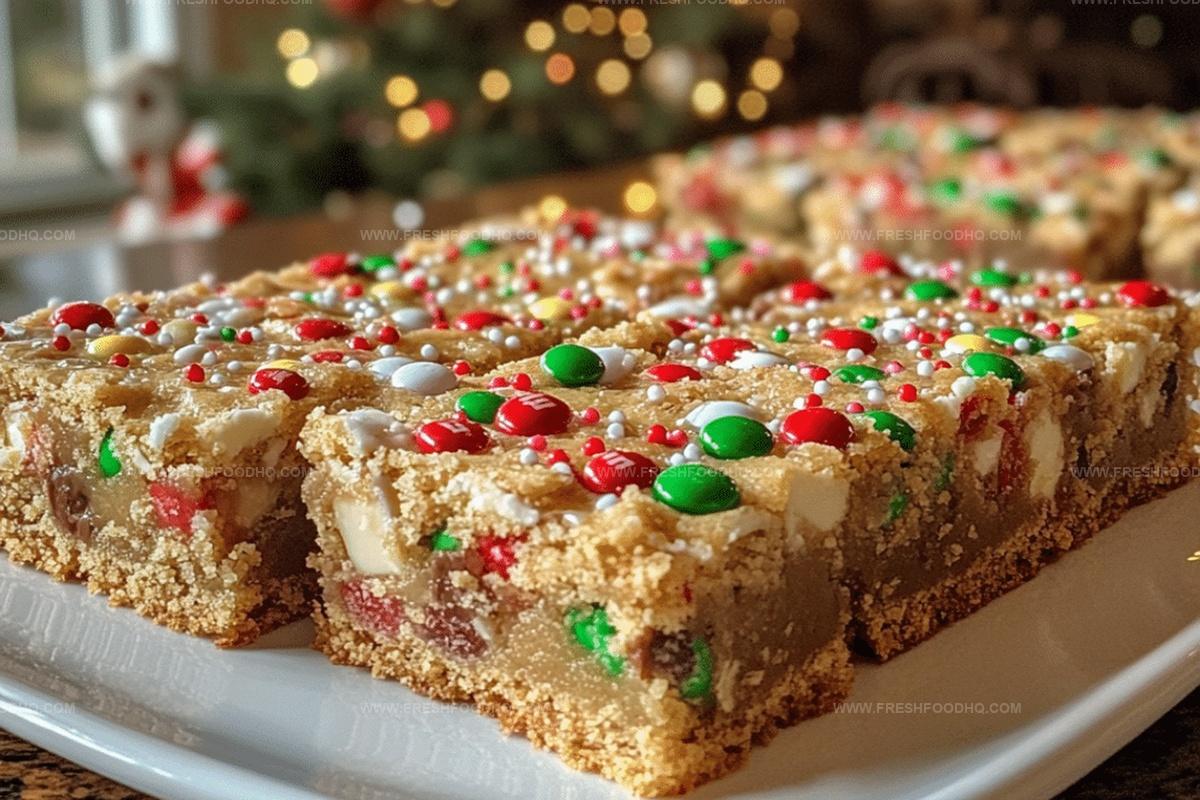
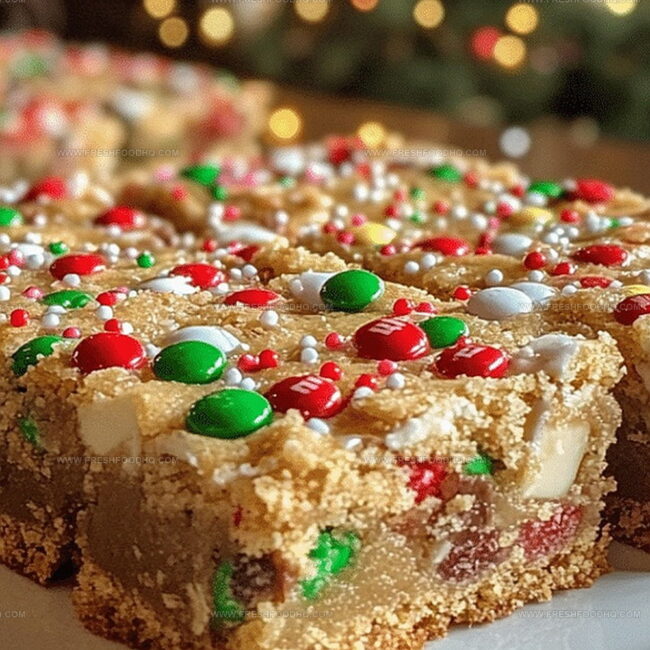
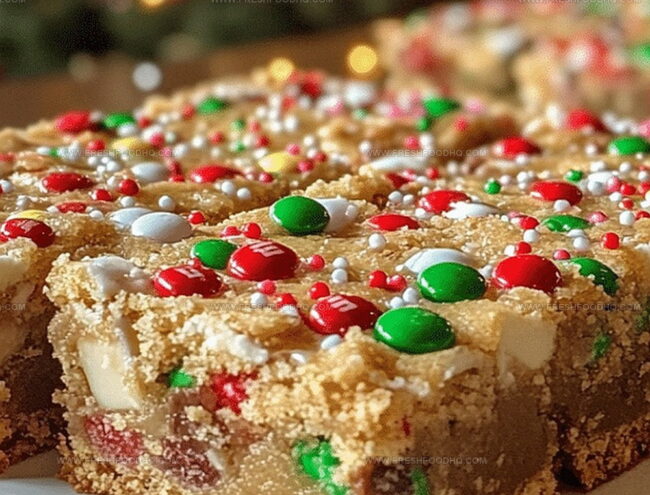
Soft, buttery layers melt together with rich chocolate chips and hints of vanilla.
Grandma’s favorite recipe transforms simple ingredients into something magical.
Each bite carries nostalgia and comfort from childhood kitchens.
Delicate crumbs and golden edges promise a delightful treat that sparks joy.
Our simple method ensures you can create these delectable bars without stress.
Bake these and watch smiles spread across eager faces.
Why Christmas Cookie Bars Are the Ultimate Holiday Treat
Ingredients for Christmas Cookie Bars
Base Ingredients:Dry Ingredients:Mix-In Ingredients:How to Prepare Christmas Cookie Bars
Step 1: Warm Up the Oven
Fire up your oven to a toasty 350F (175C). Grab a 9×13 inch baking pan and give it a light coating of grease to prevent any sticky situations.
Step 2: Create a Creamy Base
In a spacious mixing bowl, whip the butter, sugar, and brown sugar together until they become a smooth, dreamy mixture. Gently add eggs one by one, mixing thoroughly after each addition. Splash in the vanilla for an extra burst of flavor.
Step 3: Blend the Dry Ingredients
Gather your dry teammates:Slowly introduce these dry ingredients into your creamy mixture, stirring until everything comes together in delicious harmony.
Step 4: Add Some Excitement
Toss in your crunchy companions:Stir these goodies throughout the dough, ensuring an even distribution of deliciousness.
Step 5: Prepare for Baking
Spread the dough evenly across the greased pan, creating a smooth, inviting surface that promises sweet treats.
Step 6: Bake to Perfection
Slide the pan into the preheated oven and let the magic happen. Bake for 25-30 minutes, watching for those golden-brown edges that signal cookie bar perfection.
Step 7: Cool and Slice
Patience is key! Allow the bars to cool completely before cutting into squares. This helps them set and makes for clean, beautiful slices of pure joy.
Pro Tips for Perfect Cookie Bars
Variations for Festive Cookie Bars
Pairing Ideas for Christmas Cookie Bars
Storage Guidelines for Cookie Bars
FAQs for Christmas Cookie Bars
The key ingredients include butter, sugar, brown sugar, eggs, vanilla, flour, baking soda, salt, chocolate chips, and optional nuts.
Yes, you can easily omit the nuts if you prefer or have allergies. The recipe will still turn out delicious without them.
Look for golden brown edges and a slightly firm center. Insert a toothpick in the middle – if it comes out with a few moist crumbs, the bars are done.
Absolutely! These bars are perfect for holiday gift-giving. They cut cleanly, travel well, and have a festive chocolate chip flavor that everyone loves.
Print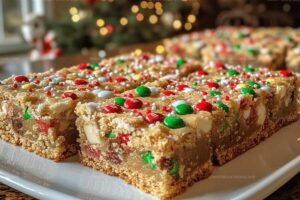
Christmas Cookie Bars Recipe
- Total Time: 40-45 minutes
- Yield: 24 1x
Description
Sweet holiday magic unfolds with Christmas Cookie Bars, a festive delight blending buttery richness and seasonal cheer. Crumbly, spiced layers promise delectable moments that connect families and friends around warm, nostalgic memories.
Ingredients
Main Ingredients:
- 3 cups all-purpose flour
- 2 cups chocolate chips
- 1 cup butter, softened
Sweeteners:
- 1 cup sugar
- 1 cup brown sugar
Other Ingredients:
- 2 eggs
- 1 teaspoon vanilla extract
- 1 teaspoon baking soda
- 1/2 teaspoon salt
- 1 cup chopped nuts (optional)
Instructions
- Prepare the oven by heating to 350F (175C) and coat a 9×13 inch baking dish with a thin layer of grease.
- In a spacious mixing bowl, whip butter, white sugar, and brown sugar until achieving a silky, uniform consistency.
- Incorporate eggs individually into the butter mixture, ensuring thorough blending after each addition, then fold in vanilla extract.
- Sift together flour, baking soda, and salt in a separate container, then gradually fold dry ingredients into the creamy mixture until fully integrated.
- Gently fold chocolate chips and chopped nuts into the dough, distributing evenly throughout the mixture.
- Transfer the dough into the prepared baking pan, using a spatula to spread it uniformly across the surface, ensuring an even layer.
- Place the pan in the preheated oven and bake for 25-30 minutes, watching for golden-brown edges as an indicator of doneness.
- Remove from oven and allow the cookie bars to cool completely at room temperature before slicing into square portions.
Notes
- Swap out nuts for seeds like pumpkin or sunflower to make the recipe nut-free and allergy-friendly.
- Use gluten-free flour blend to transform these bars into a celiac-safe dessert without compromising texture.
- Experiment with different chocolate variations like white chocolate chips or dark chocolate chunks for unique flavor profiles.
- Chill the dough for 30 minutes before baking to prevent excessive spreading and create thicker, chewier bars.
- Prep Time: 15 minutes
- Cook Time: 25-30 minutes
- Category: Desserts, Snacks
- Method: Baking
- Cuisine: American
Nutrition
- Serving Size: 24
- Calories: 270
- Sugar: 17 g
- Sodium: 120 mg
- Fat: 15 g
- Saturated Fat: 8 g
- Unsaturated Fat: 6 g
- Trans Fat: 0.5 g
- Carbohydrates: 33 g
- Fiber: 2 g
- Protein: 3 g
- Cholesterol: 35 mg
Samantha Lee
Recipe Developer & Content Creator
Expertise
Plant-based and vegetarian recipes, Recipe testing and development, Food blogging and digital content creation, Culinary education and workshops
Education
Oregon Culinary Institute (Portland, OR)
Samantha sees cooking like painting, every fresh herb, every juicy tomato, a new splash of color on a canvas.
After graduating from Oregon Culinary Institute, she blended her love of global cuisines and plant-based cooking into recipes that feel fresh, fearless, and full of heart.
Samantha’s kitchen is a place where comfort food gets a modern remix and every meal feels like a little adventure. When she’s not cooking, she’s out exploring farmers’ markets, sketching new recipe ideas, or getting her hands dirty in a community garden.