
Dreamy Cherry Vanilla Cheesecake Bars Recipe for Sweet Lovers
Sweet moments often demand a delightful cherry vanilla cheesecake bars surprise that melts right into your afternoon.
Creamy layers promise pure indulgence with minimal kitchen effort.
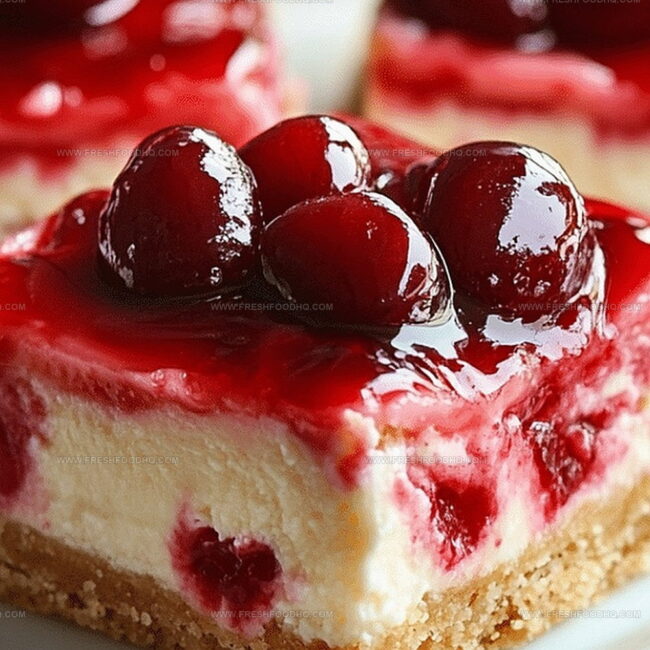
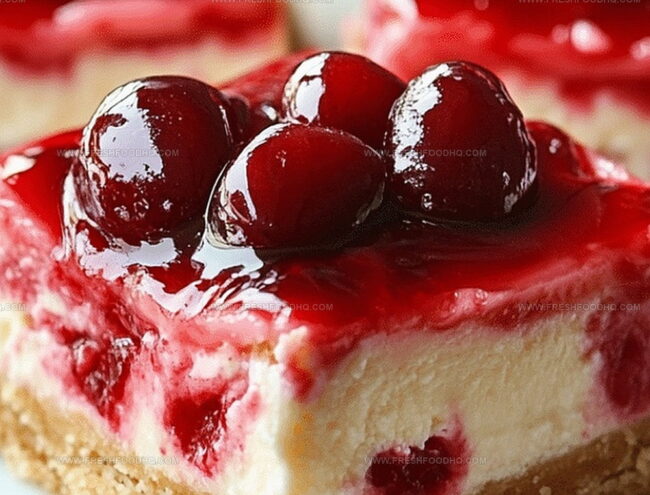
Soft cream cheese blends seamlessly with bright cherry notes for a dreamy dessert.
Subtle vanilla undertones complement each rich, velvety bite.
Delicate graham cracker crusts provide perfect textural contrast against smooth filling.
Elegant yet simple, these bars invite casual celebration without complicated techniques.
Every slice promises pure comfort and sweet satisfaction.
I bet you cannot resist trying this irresistible treat.
Reasons To Adore Cherry Vanilla Cheesecake Bars
Essential Ingredients For Cherry Vanilla Cheesecake Bars
Crust:Cheesecake Filling:Topping:How To Craft Cherry Vanilla Cheesecake Bars
Step 1: Prepare Oven And Baking Dish
Crank up your oven to a toasty 350°F. Grab a 9×13 inch baking pan and give it a light spray with cooking oil to prevent sticking.
Step 2: Create Crumbly Crust
Combine graham cracker crumbs, sugar, and melted butter in a mixing bowl. Press this delightful mixture firmly into the bottom of the pan, creating an even, compact base for your cheesecake bars.
Step 3: Whip Up Creamy Cheesecake Filling
In a separate bowl, blend cream cheese, sugar, eggs, and vanilla extract. Mix until the texture becomes silky smooth and free of lumps. Pour this luxurious mixture directly over the prepared graham cracker crust.
Step 4: Bake To Perfection
Slide the pan into the preheated oven and bake for approximately 15 minutes. The filling should look set but still have a slight jiggle in the center.
Step 5: Cool And Top With Cherries
Remove the cheesecake from the oven and let it cool completely at room temperature. Once cooled, generously spread cherry pie filling across the entire surface.
Step 6: Chill And Serve
Place the pan in the refrigerator and let it chill for several hours. This helps the bars set and enhances the flavors. Slice into squares and serve cold for a delectable dessert.
Expert Advice For Cherry Vanilla Cheesecake Bars
Creative Twists For Cherry Vanilla Cheesecake Bars
Ideal Food Matches For Cherry Vanilla Cheesecake Bars
Guidelines For Storing Cherry Vanilla Cheesecake Bars
Answers To Common Cherry Vanilla Cheesecake Bars Questions
Yes, you can use fresh cherries. Pit and chop them, then mix with a little sugar and cornstarch to create a similar consistency to pie filling.
The edges will look set and slightly puffy, while the center might still be slightly jiggly. A toothpick inserted near the edge should come out clean.
Absolutely! Replace graham cracker crumbs with gluten-free graham crackers or use ground gluten-free cookies like almond or coconut flour-based options.
Print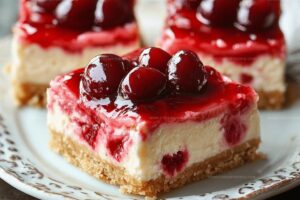
Cherry Vanilla Cheesecake Bars Recipe
- Total Time: 30 minutes
- Yield: 9 1x
Description
Silky smooth cherry vanilla cheesecake bars blend creamy richness with fruity elegance, creating a dessert that whispers indulgence. Sweet cherries and delicate vanilla dance across a buttery graham cracker crust, promising pure bliss in each delectable bite you savor.
Ingredients
Main Ingredients:
- 16 ounces (454 grams) cream cheese, softened
- 2 eggs
- 1 can cherry pie filling
Crust Ingredients:
- 1 1/2 cups (190 grams) graham cracker crumbs
- 1/2 cup (113 grams) butter, melted
- 1/4 cup (50 grams) sugar
Flavoring Ingredients:
- 1 teaspoon vanilla extract
- 1/2 cup (100 grams) sugar
Instructions
- Line a 9×13 inch baking pan with parchment paper, creating an overhang for easy removal.
- Combine graham cracker crumbs with melted butter and sugar, firmly pressing the mixture into the pan’s base to create a compact, even crust.
- In a separate mixing bowl, whip cream cheese until smooth, gradually incorporating sugar, eggs, and vanilla extract until the mixture becomes creamy and well-blended.
- Carefully pour the cream cheese mixture over the prepared graham cracker crust, ensuring an even distribution.
- Place the pan in a preheated oven at 350°F (175°C) and bake for approximately 20-25 minutes, watching for the edges to set and the center to remain slightly jiggly.
- Remove from the oven and allow the cheesecake to cool completely at room temperature for about 1 hour.
- Once cooled, generously spread cherry pie filling across the entire surface of the cheesecake, creating a vibrant and glossy topping.
- Refrigerate the cheesecake bars for a minimum of 3 hours or overnight to ensure proper setting and enhanced flavor development.
- When ready to serve, lift the cheesecake out using the parchment paper overhang, slice into uniform bars, and plate.
Notes
- Swap graham crackers with gluten-free alternatives like almond flour or oat cookies for a celiac-friendly version.
- Enhance flavor by adding a touch of almond extract to the cherry pie filling for deeper complexity.
- Prevent cracks in cheesecake by avoiding overmixing and letting the bars cool gradually at room temperature before refrigerating.
- Create a swirl effect by gently dragging a knife through cherry filling to give a beautiful marbled appearance.
- Prep Time: 15 minutes
- Cook Time: 15 minutes
- Category: Desserts
- Method: Baking
- Cuisine: American
Nutrition
- Serving Size: 9
- Calories: 283 kcal
- Sugar: 23 g
- Sodium: 152 mg
- Fat: 18 g
- Saturated Fat: 10 g
- Unsaturated Fat: 6 g
- Trans Fat: 0.5 g
- Carbohydrates: 26 g
- Fiber: 1 g
- Protein: 5 g
- Cholesterol: 75 mg
Samantha Lee
Recipe Developer & Content Creator
Expertise
Plant-based and vegetarian recipes, Recipe testing and development, Food blogging and digital content creation, Culinary education and workshops
Education
Oregon Culinary Institute (Portland, OR)
Samantha sees cooking like painting, every fresh herb, every juicy tomato, a new splash of color on a canvas.
After graduating from Oregon Culinary Institute, she blended her love of global cuisines and plant-based cooking into recipes that feel fresh, fearless, and full of heart.
Samantha’s kitchen is a place where comfort food gets a modern remix and every meal feels like a little adventure. When she’s not cooking, she’s out exploring farmers’ markets, sketching new recipe ideas, or getting her hands dirty in a community garden.