Irresistible Butterfinger Balls Recipe: Sweet Homemade Bliss
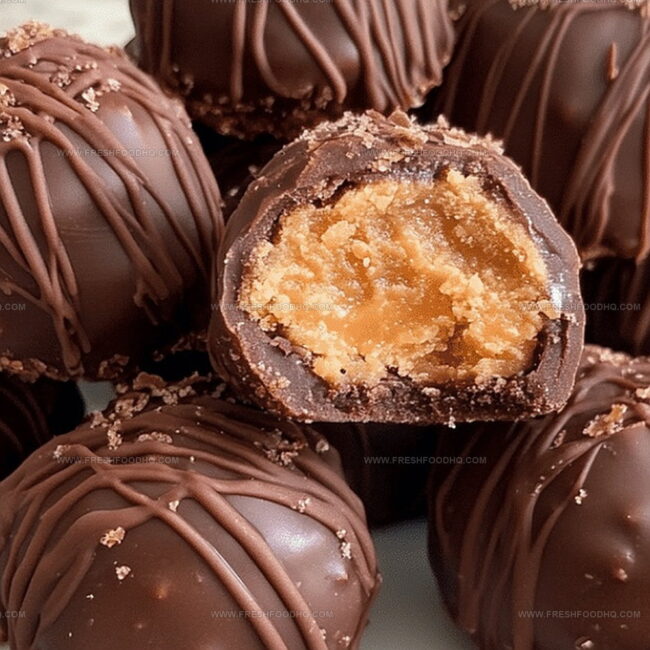
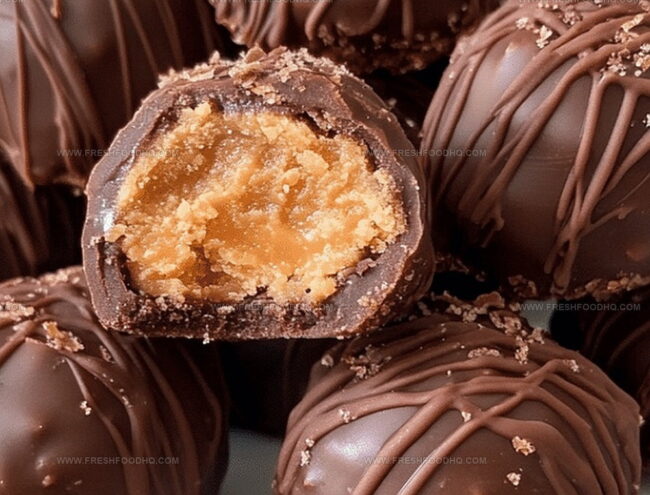
Sweet tooth enthusiasts adore this butterfinger balls recipe that delivers a knockout punch of crunchy, creamy goodness.
Chocolate lovers can’t resist the irresistible combination of peanut butter and crispy candy bits.
Dessert magic happens when simple ingredients transform into bite-sized delights that spark instant joy.
Crafting these treats requires minimal kitchen skills and maximum flavor potential.
Delicate yet decadent, these balls promise a quick escape from ordinary snacking moments.
Crunchy, smooth, and utterly addictive, they’ll become your new go-to indulgence that everyone will request at gatherings.
Why Butterfinger Balls Are a Sweet Treat
Ingredients for Butterfinger Balls
Base Ingredients:Coating Ingredients:Preparation Ingredients:How to Prepare Butterfinger Balls
Step 1: Crush and Combine Ingredients
In a spacious mixing bowl, thoroughly crush graham crackers into fine crumbs. Add powdered sugar, creamy peanut butter, crushed Butterfinger bars, and melted butter. Mix everything together until the ingredients form a consistent, moldable texture that holds its shape when pressed.
Ingredients:Step 2: Shape Delightful Treats
Using clean hands, gently roll the mixture into small, bite-sized balls. Carefully place each ball onto a wax paper-lined baking sheet, ensuring they are not touching each other.
Step 3: Chill and Firm
Transfer the baking sheet to the refrigerator. Allow the balls to cool and solidify for approximately 30 minutes, which helps them maintain their shape during the chocolate coating process.
Step 4: Melt Chocolate Coating
Select a microwave-safe bowl and pour chocolate chips inside. Microwave the chips in short 30-second intervals, stirring between each interval to ensure smooth, even melting. Continue until the chocolate reaches a silky, fully liquefied consistency.
Step 5: Dip and Cover
Hold each chilled ball and delicately dip it into the melted chocolate, rotating to ensure complete and even coverage. Gently tap off excess chocolate and return the coated ball to the wax paper.
Step 6: Final Chill and Set
Place the chocolate-covered balls back in the refrigerator. Allow them to set and harden completely, which typically takes about 15-20 minutes. Once firm, your Butterfinger Balls are ready to enjoy!
Insider Tips for Butterfinger Balls
Creative Twists for Butterfinger Balls
Pairing Suggestions for Butterfinger Balls
Storage Tips for Butterfinger Balls
FAQs About Butterfinger Balls
Not at all! These no-bake treats are super easy and require minimal cooking skills. You simply mix ingredients, roll into balls, and coat with chocolate.
Absolutely! While Butterfinger bars work best, you can experiment with other chocolate or peanut butter candy bars like Reese’s or Crunch bars for a fun twist.
When stored in an airtight container in the refrigerator, they’ll remain delicious for up to a week. Just make sure to keep them chilled to maintain their texture.
Print
Butterfinger Balls Recipe
- Total Time: 50 minutes
- Yield: 24 1x
Description
Indulgent Butterfinger Balls bring classic candy crush into a homemade treat that melts hearts with creamy peanut butter and crispy chocolate coating. Sweet memories crumble together, inviting you to savor each delightful bite of pure confectionery bliss.
Ingredients
Main Ingredients:
- 1 cup peanut butter
- 1 cup Butterfinger candy bars, crushed
- 1/2 cup butter, melted
Dry Ingredients:
- 2 cups graham crackers, crushed
- 1 cup powdered sugar
Coating:
- 1 package chocolate chips
Instructions
- Crush graham crackers and Butterfinger bars into fine crumbs using a food processor or rolling pin.
- Combine graham cracker crumbs, powdered sugar, peanut butter, and melted butter in a mixing bowl, blending until a cohesive mixture forms.
- Use clean hands to shape the mixture into uniform bite-sized spheres, placing them on a parchment-lined baking sheet.
- Chill the formed balls in the refrigerator for approximately 25-30 minutes to firm up their structure.
- Melt chocolate chips in a microwave-safe bowl at 50% power, stirring every 20-30 seconds until completely smooth and glossy.
- Carefully submerge each chilled ball into the melted chocolate, ensuring full and even coverage using a dipping fork.
- Gently tap the fork on the bowl’s edge to remove excess chocolate and return the coated balls to the parchment-lined sheet.
- Refrigerate the chocolate-covered balls for 15-20 minutes or until the chocolate shell has completely hardened.
- Transfer to an airtight container and store in the refrigerator for up to one week.
Notes
- Customize the sweetness by adjusting powdered sugar based on personal taste preferences.
- Choose creamy peanut butter for smoother texture and easier mixing.
- Crush Butterfinger bars finely to ensure even distribution throughout the mixture.
- Use high-quality chocolate chips for a richer coating and glossier finish.
- Prep Time: 15 minutes
- Cook Time: 5 minutes
- Category: Snacks, Desserts
- Method: Chilling
- Cuisine: American
Nutrition
- Serving Size: 24
- Calories: 198 kcal
- Sugar: 14 g
- Sodium: 97 mg
- Fat: 13 g
- Saturated Fat: 6 g
- Unsaturated Fat: 5 g
- Trans Fat: 0.2 g
- Carbohydrates: 17 g
- Fiber: 1 g
- Protein: 3 g
- Cholesterol: 18 mg


Samantha Lee
Recipe Developer & Content Creator
Expertise
Plant-based and vegetarian recipes, Recipe testing and development, Food blogging and digital content creation, Culinary education and workshops
Education
Oregon Culinary Institute (Portland, OR)
Samantha sees cooking like painting, every fresh herb, every juicy tomato, a new splash of color on a canvas.
After graduating from Oregon Culinary Institute, she blended her love of global cuisines and plant-based cooking into recipes that feel fresh, fearless, and full of heart.
Samantha’s kitchen is a place where comfort food gets a modern remix and every meal feels like a little adventure. When she’s not cooking, she’s out exploring farmers’ markets, sketching new recipe ideas, or getting her hands dirty in a community garden.