Sizzling Bacon Jalapeño Popper Cheese Balls Recipe For Game Day
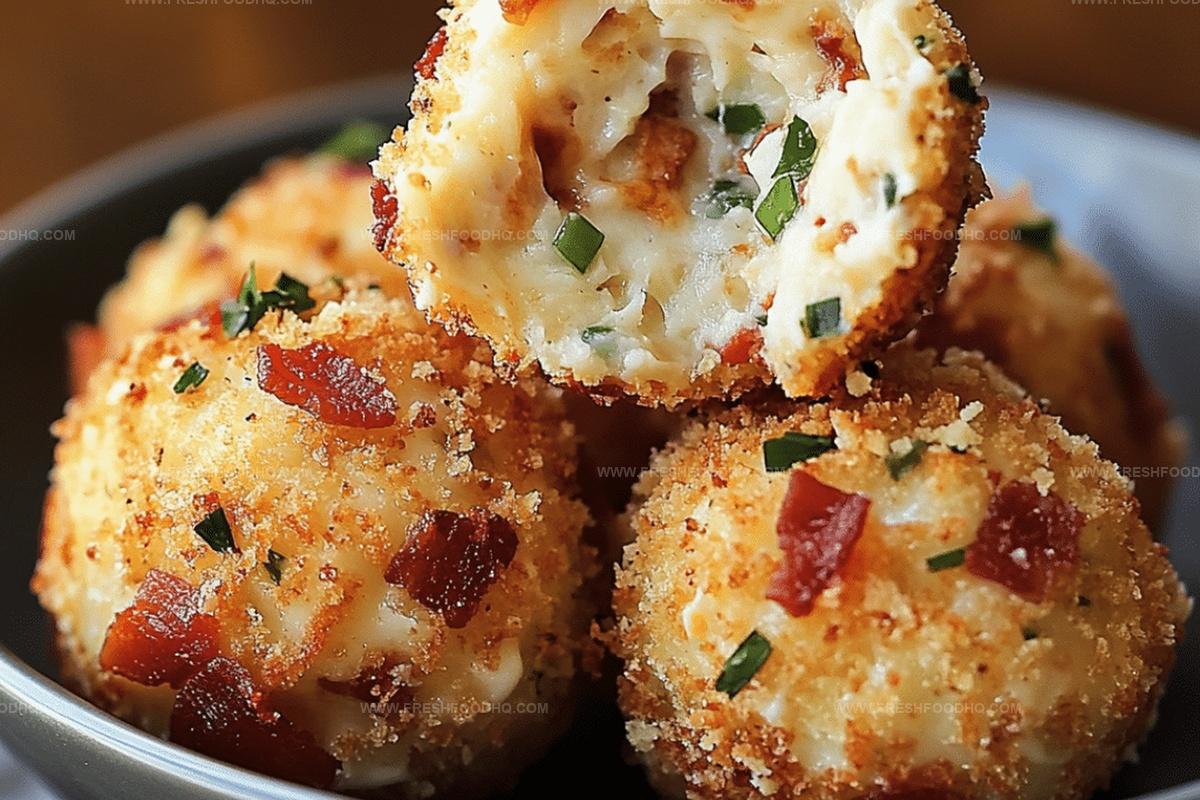
Crispy bacon and zesty jalapeño popper cheese balls deliver an explosive appetizer that’ll make your taste buds dance with excitement.
Cheese lovers rejoice as these bite-sized delights combine creamy texture with spicy kick.
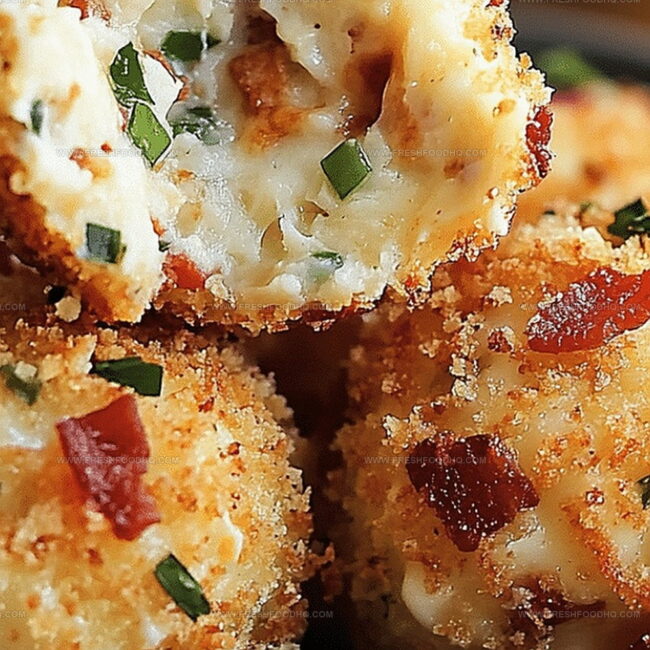
Crunchy exterior gives way to smooth, melted center packed with bold flavors.
Sharp cheddar blends perfectly with cream cheese, creating a rich, indulgent base.
Jalapeños add a subtle heat that tingles without overwhelming your palate.
Crumbled bacon brings a smoky, salty dimension that elevates the entire experience.
Prepare to become the ultimate party hero with this crowd-pleasing recipe.
Why Bacon Jalapeno Popper Cheese Balls Are Party-Perfect
What You’ll Need For Jalapeno Popper Cheese Balls
Main Ingredients:Coating Ingredients:Seasoning Ingredients:How To Make Bacon Jalapeno Cheese Balls Fast

Step 1: Blend Creamy Cheesy Goodness
In a spacious mixing bowl, combine softened cream cheese, shredded cheddar cheese, diced jalapenos, crispy crumbled bacon, and a mix of seasonings including:Mix all ingredients thoroughly until they form a uniform, flavorful mixture.
Step 2: Shape Tasty Bite-Sized Spheres
Gently roll the cheese mixture into small round balls, each approximately one inch wide. Aim for consistent sizing to ensure even cooking.
Step 3: Create Crispy Coating
Prepare three separate stations for coating the cheese balls:Roll each cheese ball through these stations, ensuring complete and even coverage.
Step 4: Chill and Set
Place the coated cheese balls on a baking sheet and refrigerate for 30 minutes. This helps the coating adhere and maintains the ball’s shape during cooking.
Step 5: Preheat Oven
Set the oven temperature to 375°F (190°C). Allow the oven to fully heat while the cheese balls are chilling.
Step 6: Bake to Golden Perfection
Transfer the chilled cheese balls into the preheated oven. Bake for 15-20 minutes until they turn a beautiful golden brown and develop a crispy exterior.
Step 7: Serve and Savor
Remove the bacon jalapeno popper cheese balls from the oven. Serve immediately while hot and enjoy the delightful blend of creamy, spicy, and crunchy flavors.
Tips For The Best Popper Cheese Ball Texture
Tasty Variations For Cheese Ball Fillings
What To Serve With Jalapeno Popper Balls
How To Store Bacon Jalapeno Cheese Balls Properly
FAQs About Jalapeno Popper Cheese Balls
You can control the heat by removing the seeds and membranes from jalapeños, which reduces their spiciness significantly.
Yes, you can assemble the cheese balls and keep them refrigerated for up to 24 hours before baking, making them perfect for party prep.
Sharp cheddar cheese provides the best flavor, but you can also use a blend of monterey jack and cheddar for extra creaminess.
Make sure to refrigerate the formed balls for at least 30 minutes before coating and baking, which helps them hold their shape and prevents crumbling.
Print
Bacon Jalapeno Popper Cheese Balls Recipe
- Total Time: 45-50 minutes
- Yield: 8 1x
Description
Creamy cheese balls wrapped with crispy bacon and zesty jalapeño elevate classic appetizer flavors into an irresistible party snack. Spicy, cheesy, and perfectly portable, these bite-sized treats deliver maximum flavor in one delightful handful for hungry guests.
Ingredients
Main Ingredients:
- 1 cup shredded cheddar cheese
- 8 oz (226 grams) cream cheese, softened
- 8 slices bacon, cooked and crumbled
- 1/2 cup pickled jalapenos, chopped
Coating and Binding Ingredients:
- 2 eggs, beaten
- 1/4 cup flour
- 2 cups breadcrumbs (1/2 cup for mixture, 1 cup for coating)
Seasoning Ingredients:
- 1/4 cup chopped fresh parsley
- 1/2 teaspoon garlic powder
- 1/2 teaspoon onion powder
- 1/4 teaspoon salt
- 1/4 teaspoon black pepper
Instructions
- Blend cream cheese, cheddar, diced jalapenos, crumbled bacon, herbs, and seasonings in a mixing bowl until thoroughly incorporated.
- Gently form the mixture into compact, uniform spheres approximately one inch in diameter.
- Create a three-stage coating process: first dust each sphere lightly with flour, then dip into whisked eggs, and finally roll in breadcrumbs for a crisp exterior.
- Arrange the prepared cheese balls on a chilled baking sheet and allow them to rest in the refrigerator for half an hour, which helps solidify their structure.
- Heat the oven to 375°F (190°C), ensuring the temperature is consistent for even cooking.
- Transfer the chilled cheese balls to the preheated oven and bake for 15-20 minutes, monitoring until they transform into a golden, crunchy exterior.
- Remove from the oven and serve immediately while maintaining optimal temperature and crispness.
Notes
- Prep ahead by mixing and shaping balls the night before, storing them covered in the refrigerator to save time during cooking.
- Adjust spice levels by removing jalapeno seeds for milder version or adding extra chopped peppers for heat lovers.
- Use gluten-free breadcrumbs to make recipe celiac-friendly without compromising crispy exterior texture.
- Freeze unbaked cheese balls for up to 1 month, allowing convenient make-ahead appetizer option for unexpected guests or quick party snacks.
- Prep Time: 30 minutes
- Cook Time: 15-20 minutes
- Category: Appetizer, Snacks
- Method: Baking
- Cuisine: American
Nutrition
- Serving Size: 8
- Calories: 203 kcal
- Sugar: 1 g
- Sodium: 352 mg
- Fat: 16 g
- Saturated Fat: 7 g
- Unsaturated Fat: 8 g
- Trans Fat: 0.3 g
- Carbohydrates: 8 g
- Fiber: 1 g
- Protein: 9 g
- Cholesterol: 57 mg
Samantha Lee
Recipe Developer & Content Creator
Expertise
Plant-based and vegetarian recipes, Recipe testing and development, Food blogging and digital content creation, Culinary education and workshops
Education
Oregon Culinary Institute (Portland, OR)
Samantha sees cooking like painting, every fresh herb, every juicy tomato, a new splash of color on a canvas.
After graduating from Oregon Culinary Institute, she blended her love of global cuisines and plant-based cooking into recipes that feel fresh, fearless, and full of heart.
Samantha’s kitchen is a place where comfort food gets a modern remix and every meal feels like a little adventure. When she’s not cooking, she’s out exploring farmers’ markets, sketching new recipe ideas, or getting her hands dirty in a community garden.