The Perfect Amish White Bread Recipe for Golden Homemade Goodness
Crafting delectable amish white bread feels like unwrapping a warm culinary tradition passed through generations.
Soft, pillowy loaves emerge from family kitchens with secrets whispered between sisters.
Humble ingredients dance together, creating something magical beyond simple flour and yeast.
Generations of bakers have perfected this simple yet sublime recipe that connects us to pastoral kitchens.
Rural wisdom transforms basic components into golden, tender slices that comfort the soul.
Kneading becomes a meditation, connecting you to generations of home cooks who understood bread’s profound ability to nourish.
You can recreate this cherished recipe and fill your kitchen with an irresistible, nostalgic aroma that beckons everyone close.
Why Amish White Bread Is So Special
What Goes Into Amish White Bread
Bread Essentials:Liquid Ingredients:Baking Preparation:How To Bake Amish White Bread Easily
Step 1: Activate Yeast Magic
In a spacious mixing bowl, dissolve sugar in warm water. Sprinkle yeast over the liquid and let it bloom for 10 minutes until it transforms into a creamy, frothy layer that signals it’s ready to work its magic.
Step 2: Create Dough Foundation
Blend salt and oil into the activated yeast mixture. Gradually incorporate flour, adding one cup at a time. Transfer the mixture to a lightly floured surface and knead until the dough becomes smooth and elastic, developing a soft and supple texture.
Step 3: First Rising Adventure
Transfer the dough to a generously oiled bowl, rotating to ensure complete oil coverage. Drape a damp cloth over the bowl and let the dough rest in a warm spot. Allow it to rise and expand until it doubles in size, typically around 1 hour.
Step 4: Shape Bread Masterpiece
Gently deflate the risen dough by punching it down. Knead briefly, then divide into two equal portions. Carefully mold each section into a loaf shape and nestle them into two well-oiled 9×5 inch loaf pans. Let the dough rise again for 30 minutes, until it crests about an inch above the pan edges.
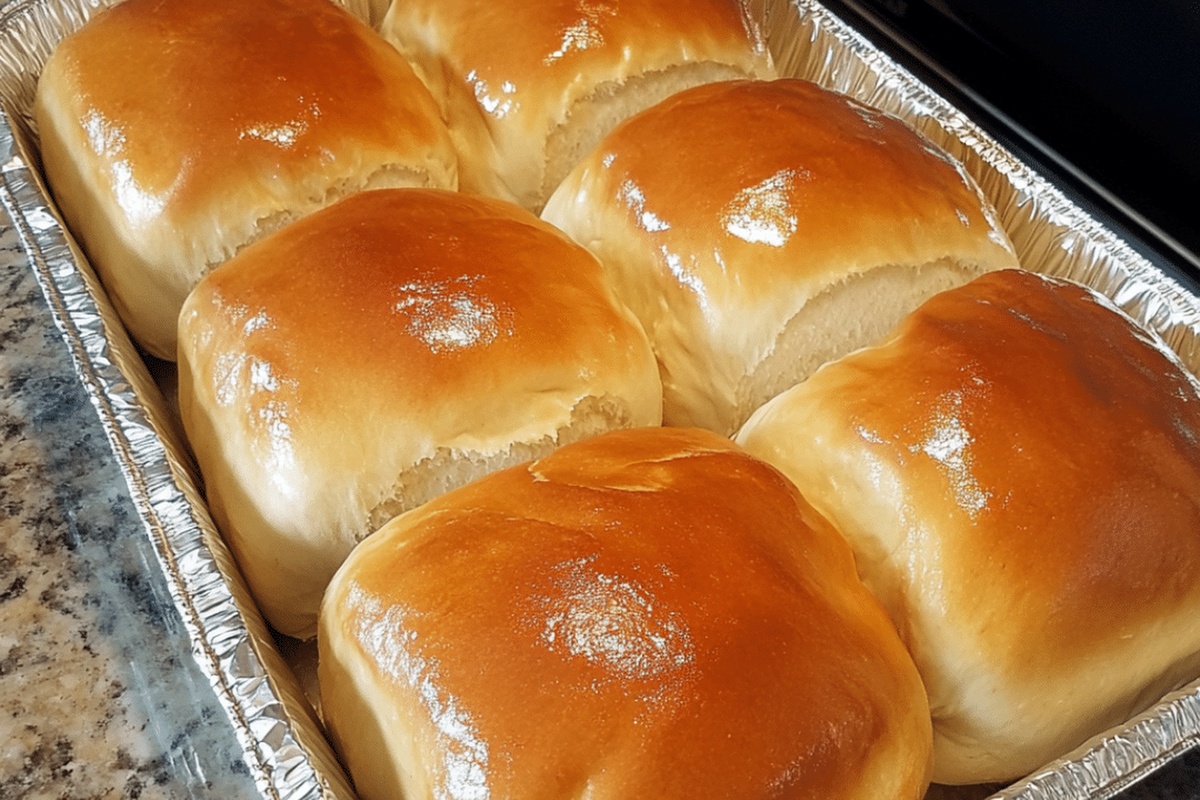
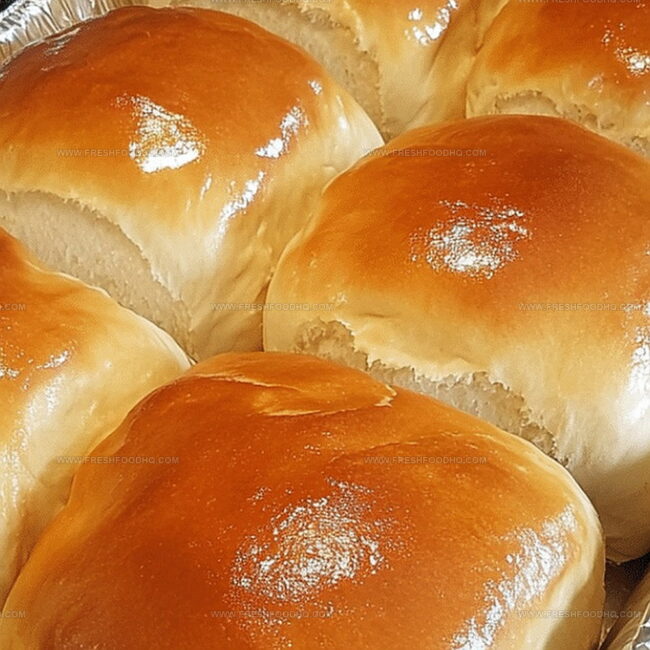
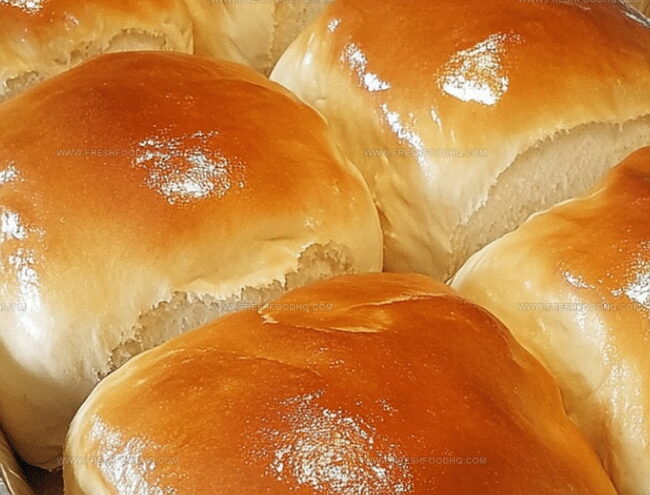
Step 5: Bake to Golden Perfection
Preheat the oven to 350°F (175°C). Slide the pans into the oven and bake for 30 minutes. The loaves are ready when they turn a beautiful golden brown and produce a hollow sound when gently tapped on the bottom.
Best Tips For Amish White Bread Baking
Ways To Change Up Amish White Bread
What Goes Well With Amish White Bread
How To Store Amish White Bread Correctly
Questions About Amish White Bread Explained
This bread uses a simple combination of basic ingredients like sugar, water, yeast, flour, salt, and oil, creating a classic, soft, and slightly sweet homemade loaf that’s characteristic of traditional Amish baking.
Absolutely! This recipe is perfect for hand-kneading. You’ll need to knead the dough on a floured surface for about 8-10 minutes until it becomes smooth and elastic, which helps develop the gluten and create a soft texture.
When you dissolve the yeast in warm water with sugar, it should become foamy and bubbly within 10 minutes.
Print
Amish White Bread Recipe
- Total Time: 2 hours 10 minutes
- Yield: 12 1x
Description
Homemade Amish White Bread delivers classic comfort straight from Pennsylvania kitchens, with its pillowy texture and golden crust promising pure nostalgic delight. Simple ingredients and traditional techniques create a slice of wholesome happiness you can savor warm from the oven.
Ingredients
Bread Flour:
- 6 cups bread flour
Sweeteners:
- 2/3 cup white sugar
Liquids and Leavening:
- 2 cups warm water (110°F/45°C)
- 1/4 cup vegetable oil
- 1 1/2 tablespoons active dry yeast
Seasonings:
- 1 1/2 teaspoons salt
Instructions
- Activate the yeast by dissolving sugar in warm water, then gently sprinkle yeast on top. Let the mixture sit for 10 minutes until it transforms into a frothy, creamy foam.
- Incorporate salt and oil into the activated yeast mixture. Gradually fold in flour, mixing thoroughly until a cohesive dough forms. Transfer to a floured surface and knead vigorously for 8-10 minutes until the texture becomes smooth and elastic.
- Transfer the kneaded dough to a generously oiled bowl, rotating to ensure complete oil coverage. Drape a damp cloth over the bowl and allow the dough to rest in a warm environment until it doubles in volume, approximately 60 minutes.
- Deflate the risen dough by pressing down firmly. Briefly knead the dough and separate into two equal portions. Carefully shape each portion into a loaf and nestle into well-greased 9×5 inch loaf pans. Allow the loaves to rise for an additional 30 minutes, expanding until they crest 1 inch above the pan edges.
- Preheat the oven to 350°F. Position the loaves in the center rack and bake for 30 minutes. The bread is ready when the surface achieves a golden-brown hue and produces a hollow sound when gently tapped.
Notes
- Use water at precisely 110°F (43°C) to activate yeast perfectly without killing it, ensuring a fluffy bread rise.
- Knead dough thoroughly for 8-10 minutes to develop gluten, creating a soft, stretchy texture with excellent crumb structure.
- Brush freshly baked bread with melted butter for a golden, shiny crust that adds rich flavor and prevents drying out.
- Store bread in an airtight container at room temperature for 3-4 days, or freeze wrapped tightly for up to one month to maintain freshness.
- Prep Time: 1 hour 40 minutes
- Cook Time: 30 minutes
- Category: Breakfast, Lunch, Dinner, Snacks
- Method: Baking
- Cuisine: American
Nutrition
- Serving Size: 12
- Calories: 195
- Sugar: 7 g
- Sodium: 190 mg
- Fat: 3 g
- Saturated Fat: 0.4 g
- Unsaturated Fat: 2.6 g
- Trans Fat: 0 g
- Carbohydrates: 39 g
- Fiber: 1 g
- Protein: 5 g
- Cholesterol: 0 mg
Samantha Lee
Recipe Developer & Content Creator
Expertise
Plant-based and vegetarian recipes, Recipe testing and development, Food blogging and digital content creation, Culinary education and workshops
Education
Oregon Culinary Institute (Portland, OR)
Samantha sees cooking like painting, every fresh herb, every juicy tomato, a new splash of color on a canvas.
After graduating from Oregon Culinary Institute, she blended her love of global cuisines and plant-based cooking into recipes that feel fresh, fearless, and full of heart.
Samantha’s kitchen is a place where comfort food gets a modern remix and every meal feels like a little adventure. When she’s not cooking, she’s out exploring farmers’ markets, sketching new recipe ideas, or getting her hands dirty in a community garden.