Try 6-Minute Foolproof Caramels Recipe for Sweet Homemade Treats
Sweet moments happen when you whip up these irresistible 6 minute caramels that melt in your mouth.
Creamy textures and rich flavors combine in this lightning-fast dessert miracle.
Candy making sounds complicated, but this recipe breaks down every step into simple moves.
No fancy equipment stands between you and delectable homemade treats.
Kitchen magic happens with just a few basic ingredients and minimal effort.
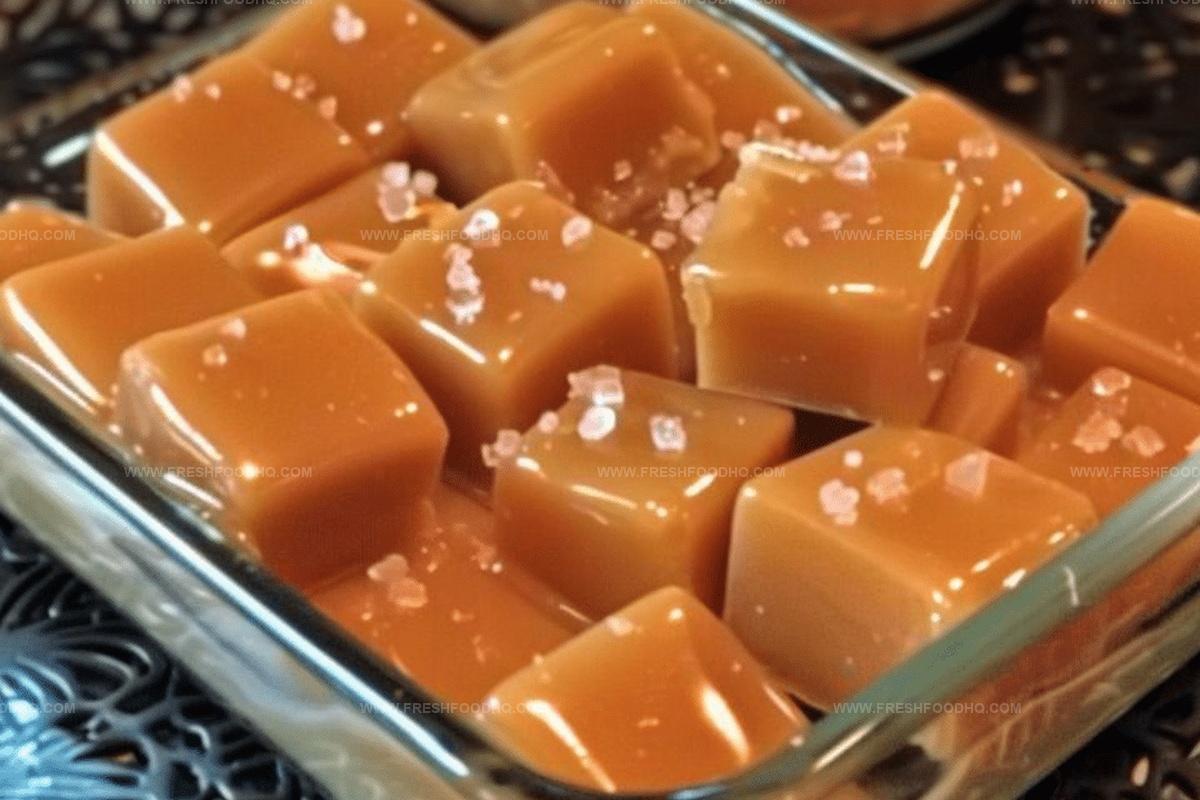
Smooth, golden caramels await your culinary adventure, promising pure deliciousness in mere minutes.
Prepare to impress everyone with these mouthwatering delights that come together faster than you can imagine.
Why 6 Minute Caramels Are a Sweet Quick Treat
Ingredients for 6 Minute Caramels
Main Ingredients:Optional Additions:Preparation Ingredients:How to Make 6 Minute Caramels Perfectly

Step 1: Prep Your Workspace
Grab a microwave-safe bowl and a baking dish. Line the baking dish with parchment paper or grease it thoroughly to prevent sticking. This will make your caramel removal super smooth later.
Ingredients:Step 2: Mix Magical Caramel Base
Dump all ingredients into the microwave-safe bowl. Stir everything together until the mixture looks completely blended and smooth. Make sure no dry sugar crystals are hiding at the bottom of the bowl.
Step 3: Microwave Transformation
Place the bowl in the microwave. Cook on high power, stopping every 2 minutes to give the mixture a good stir. This prevents burning and helps create that perfect golden caramel color. The total cooking time will be 6 minutes.
Step 4: Watch for Caramel Magic
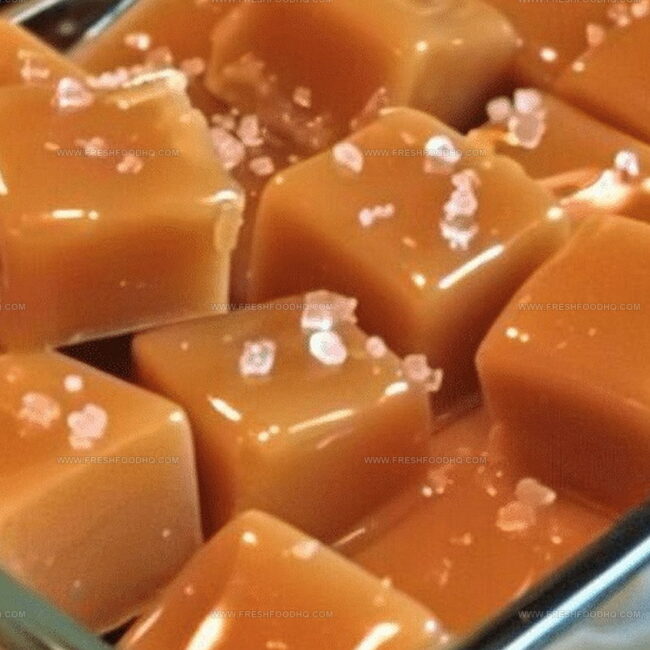
During microwave intervals, notice how the mixture changes. It will start bubbling and transforming from a liquid to a rich, golden caramel. The color should become a deep amber shade.
Step 5: Pour and Set
Carefully remove the hot caramel from the microwave. Slowly pour the molten mixture into your prepared baking dish. Let it spread evenly without touching the sides.
Step 6: Cool and Cut
Allow the caramel to sit at room temperature until completely cooled and firm. This might take about an hour. Once set, lift the caramel out using the parchment paper and slice into bite-sized squares.
Step 7: Enjoy Your Homemade Treat
Store your caramels in an airtight container. They’ll stay delicious for several days – if they last that long!
Expert Tips for 6 Minute Caramels
Flavorful Variations of 6 Minute Caramels
Best Pairings for 6 Minute Caramels
Storage Advice for 6 Minute Caramels
Frequently Asked Questions on 6 Minute Caramels
You’ll need a microwave-safe bowl, a microwave, a wooden spoon or spatula, and a greased 8×8 inch baking dish for setting the caramels.
Stick to white and brown sugar as specified in the recipe. Changing sugar types might affect the caramel’s texture and flavor.
The mixture will turn a golden brown color and become thick and glossy. Stirring every 2 minutes helps prevent burning and ensures even cooking.
Yes, this method is quick and easy. Just be careful when handling the hot mixture and use oven mitts when removing the bowl from the microwave.
Print
6-Minute Caramels Recipe
- Total Time: 8 minutes
- Yield: 24 1x
Description
Sweet caramel magic happens with this 6-minute caramel recipe, delivering rich, buttery goodness in mere moments. Silky smooth confections melt perfectly on palates, promising delightful indulgence you’ll savor with each delectable bite.
Ingredients
Main Ingredients:
- 1/2 cup brown sugar
- 1/2 cup white sugar
- 1/2 cup light corn syrup
Dairy Ingredients:
- 1/4 cup (4 tablespoons) butter
- 1/2 cup sweetened condensed milk
Instructions
- Combine butter, white sugar, brown sugar, corn syrup, and sweetened condensed milk in a microwave-safe bowl, ensuring all ingredients are thoroughly mixed.
- Place the mixture in the microwave and heat on high power, stopping to stir every 2 minutes to prevent scorching and promote uniform heating.
- After 6 minutes of total cooking time, carefully remove the bowl using oven mitts, as the caramel will be extremely hot.
- Immediately transfer the molten caramel into a pre-greased dish, using a silicone spatula to spread it evenly across the surface.
- Allow the caramel to rest and solidify at room temperature for approximately 1-2 hours, or until it reaches a firm yet slightly pliable consistency.
- Once completely cooled, use a sharp knife to slice the caramel into uniform square or rectangular pieces.
- For easy cutting and serving, lightly dust the caramel squares with powdered sugar to prevent sticking and enhance presentation.
- Store the caramels in an airtight container at room temperature, separating layers with parchment paper to maintain their individual shape and prevent clumping.
Notes
- Prevent burning by using a large, microwave-safe bowl to allow room for bubbling and expansion during cooking.
- Customize sweetness levels by adjusting sugar ratios or experimenting with alternative sweeteners like honey or maple syrup for a unique flavor profile.
- Enhance texture and prevent sticking by lining the greased dish with parchment paper, creating easy removal and clean cutting of caramels.
- Consider dietary modifications by using dairy-free butter alternatives and coconut condensed milk for vegan or lactose-intolerant friendly versions of these quick caramels.
- Prep Time: 2 minutes
- Cook Time: 6 minutes
- Category: Desserts, Snacks
- Method: Microwaving
- Cuisine: American
Nutrition
- Serving Size: 24
- Calories: 153 kcal
- Sugar: 24 g
- Sodium: 46 mg
- Fat: 6 g
- Saturated Fat: 4 g
- Unsaturated Fat: 2 g
- Trans Fat: 0.1 g
- Carbohydrates: 27 g
- Fiber: 0 g
- Protein: 1 g
- Cholesterol: 15 mg
Samantha Lee
Recipe Developer & Content Creator
Expertise
Plant-based and vegetarian recipes, Recipe testing and development, Food blogging and digital content creation, Culinary education and workshops
Education
Oregon Culinary Institute (Portland, OR)
Samantha sees cooking like painting, every fresh herb, every juicy tomato, a new splash of color on a canvas.
After graduating from Oregon Culinary Institute, she blended her love of global cuisines and plant-based cooking into recipes that feel fresh, fearless, and full of heart.
Samantha’s kitchen is a place where comfort food gets a modern remix and every meal feels like a little adventure. When she’s not cooking, she’s out exploring farmers’ markets, sketching new recipe ideas, or getting her hands dirty in a community garden.